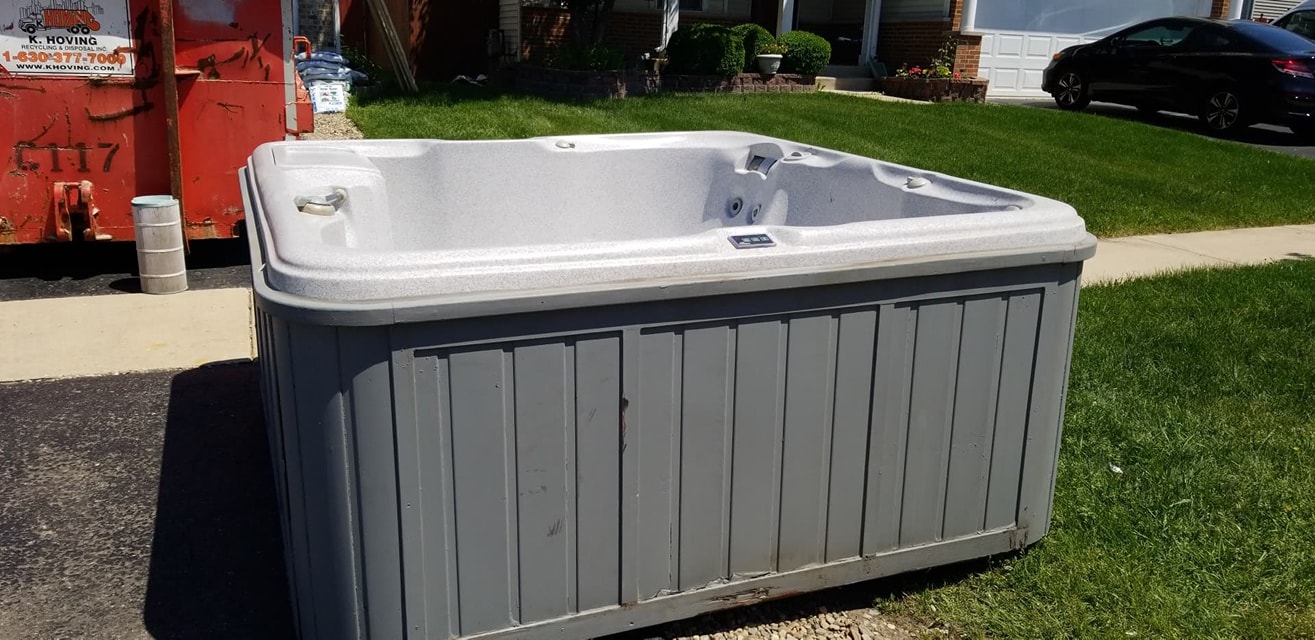
There It Is
Our first look at the free hot tub sitting alongside the street, waiting for somebody crazy enough to take it home.
What happens when you get a free hot tub on Facebook Marketplace? In my case, you bring home a 1999 Sundance Altamar and discover that “free” is only the beginning of the story.
Ginger had always wanted a hot tub, so every once in a while we would check Craigslist and Facebook Marketplace looking for one. We had already tried to pick up another free tub about 30 minutes away, but after seeing where it was sitting in the backyard, there was no way two people were getting that thing out.
Then in the spring of 2018, Ginger found another one on Facebook Marketplace. It was about 45 minutes away and sitting right at the curb. Other people had already shown up, looked at it, and left without taking it. Apparently that should have been a clue.
Our first look at the free hot tub sitting alongside the street, waiting for somebody crazy enough to take it home.
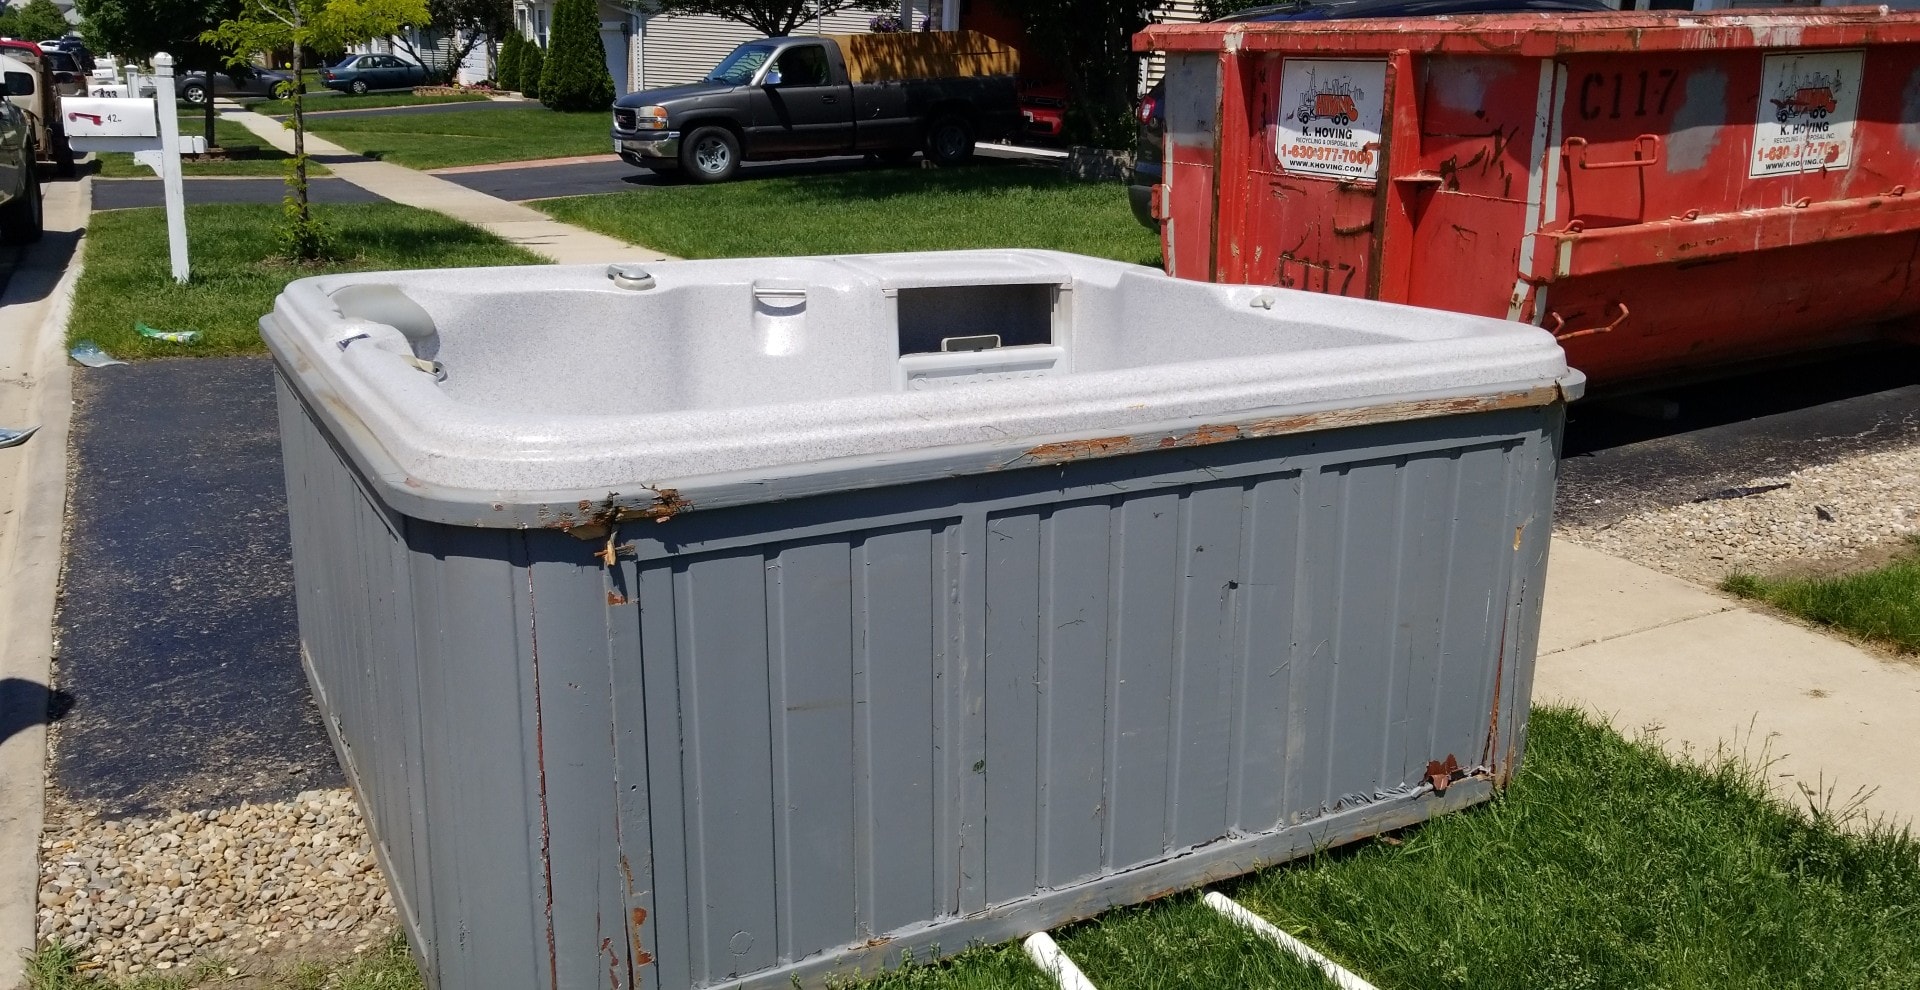
I grabbed my son, one of his friends and my 4x8 trailer. Then we discovered the hot tub was too big for the trailer we brought.
Once it was in the driveway, the first job was figuring out exactly what we had. The identification plate told the story: a Sundance Altamar manufactured June 4, 1999. By the time I picked it up in 2018, the tub was already almost 20 years old.
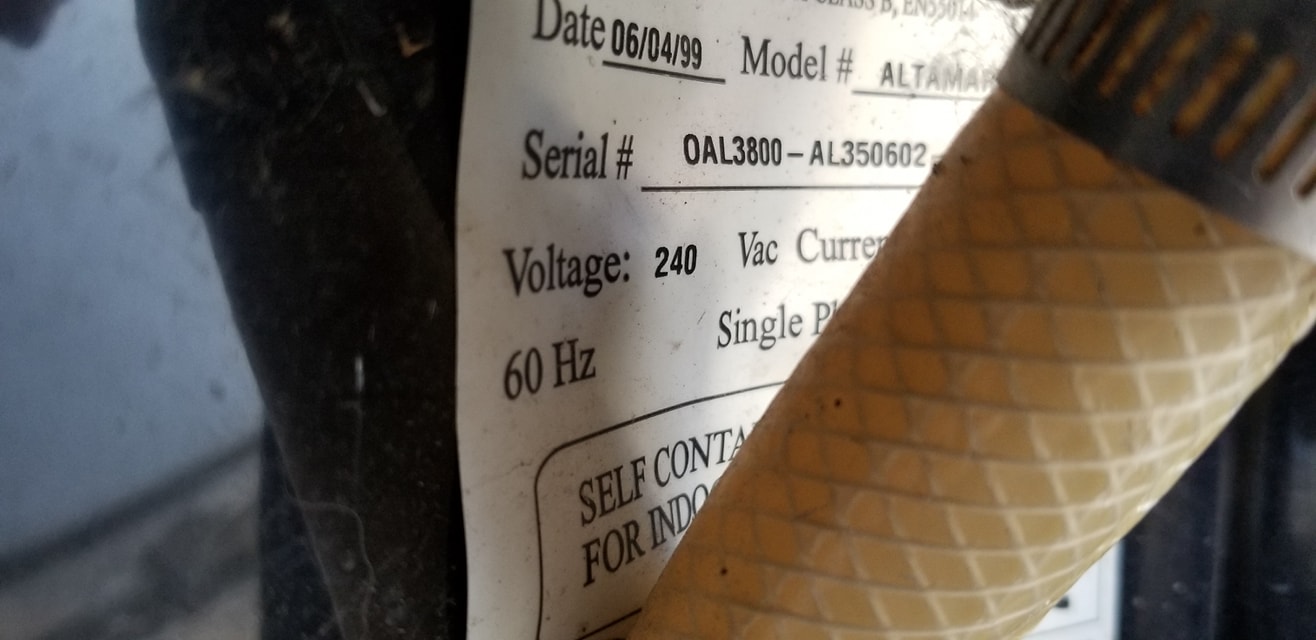
The label gave me the model, manufacturing date and electrical information I needed to start researching manuals, parts and repairs.
The former owner said the tub had a small leak. So once it was in the driveway, I filled it up and started testing everything I could. The pumps ran, the heater came on, and for a little while it looked like maybe this project was going to be easier than expected.
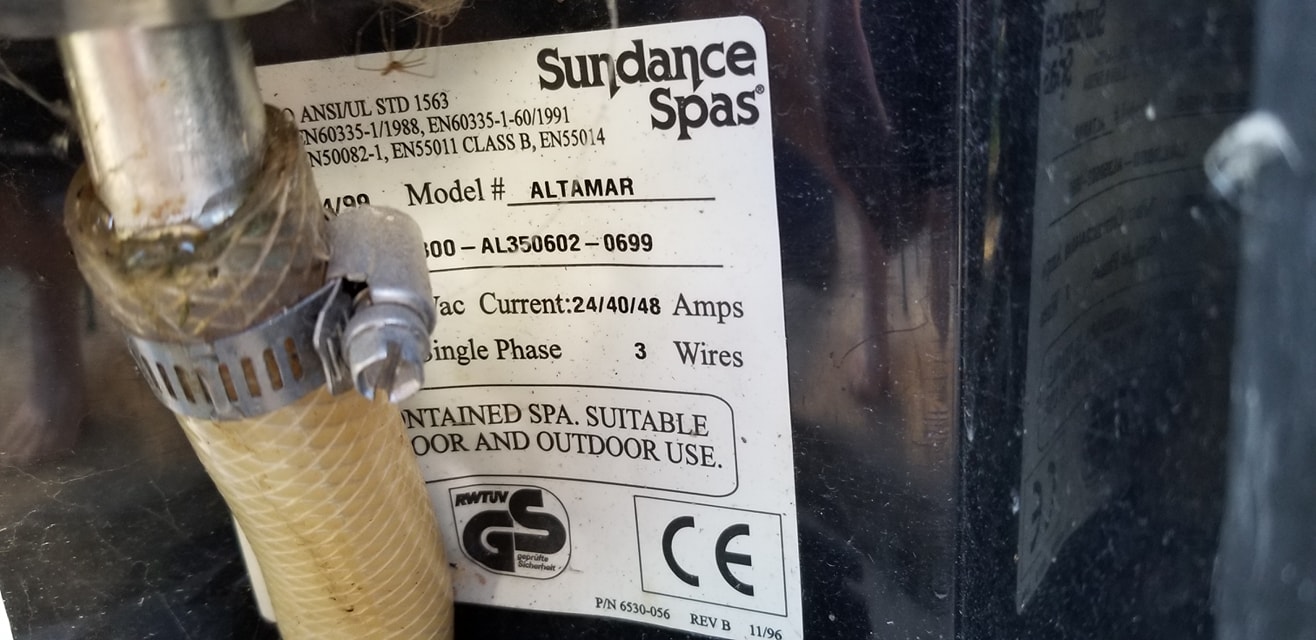
While I was taking identification photos, I noticed the hose coming off the heater outlet. That explained one leak, but unfortunately not the biggest one.
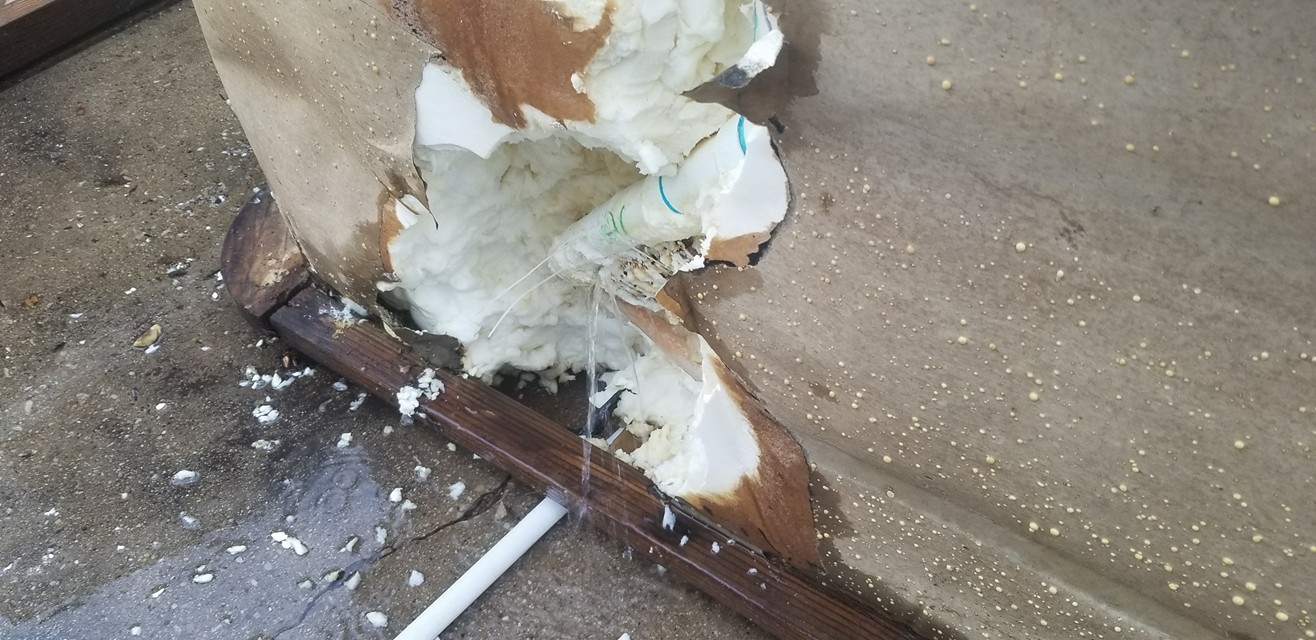
After digging into the foam insulation, I found the real problem: a cracked plumbing manifold, apparently damaged after water had been left in the tub and frozen.
The leak actually happening before the damaged manifold was removed.
The damaged manifold was buried inside the foam, with all of the jet-feed hoses connected to it. I had to dig it out, disconnect the plumbing and adapt a replacement manifold that was not exactly the same as the original 1999 part.
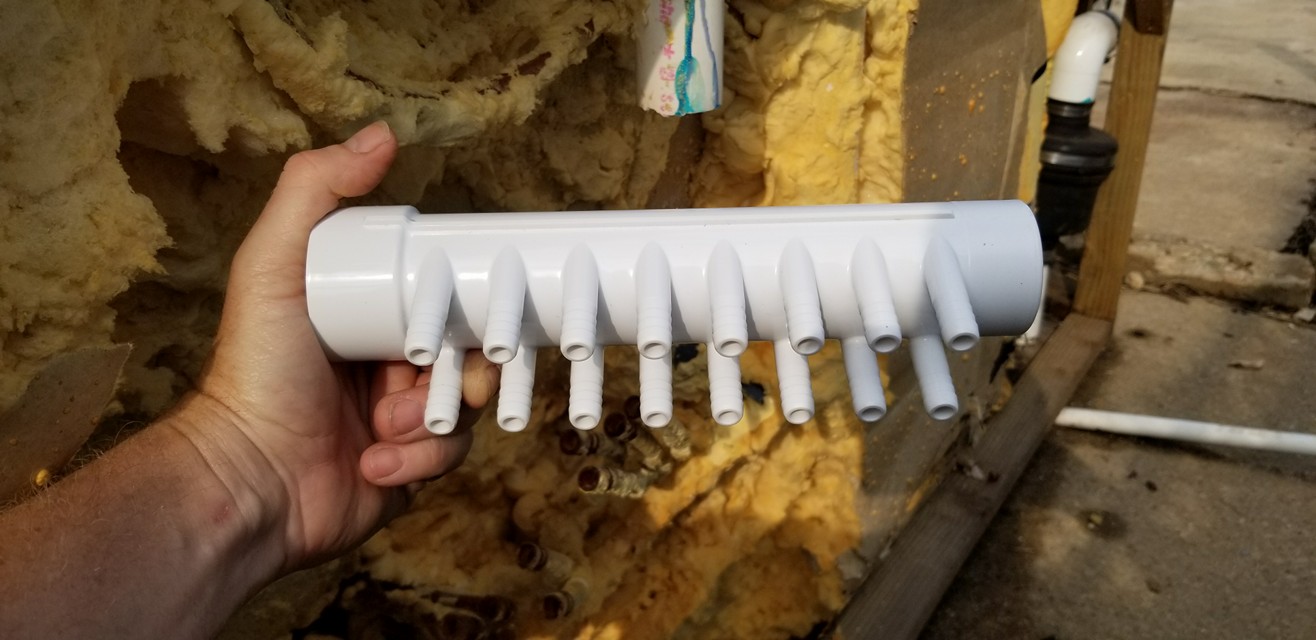
The old manifold was out, the tools were assembled, and the Amazon replacement was ready to go in.
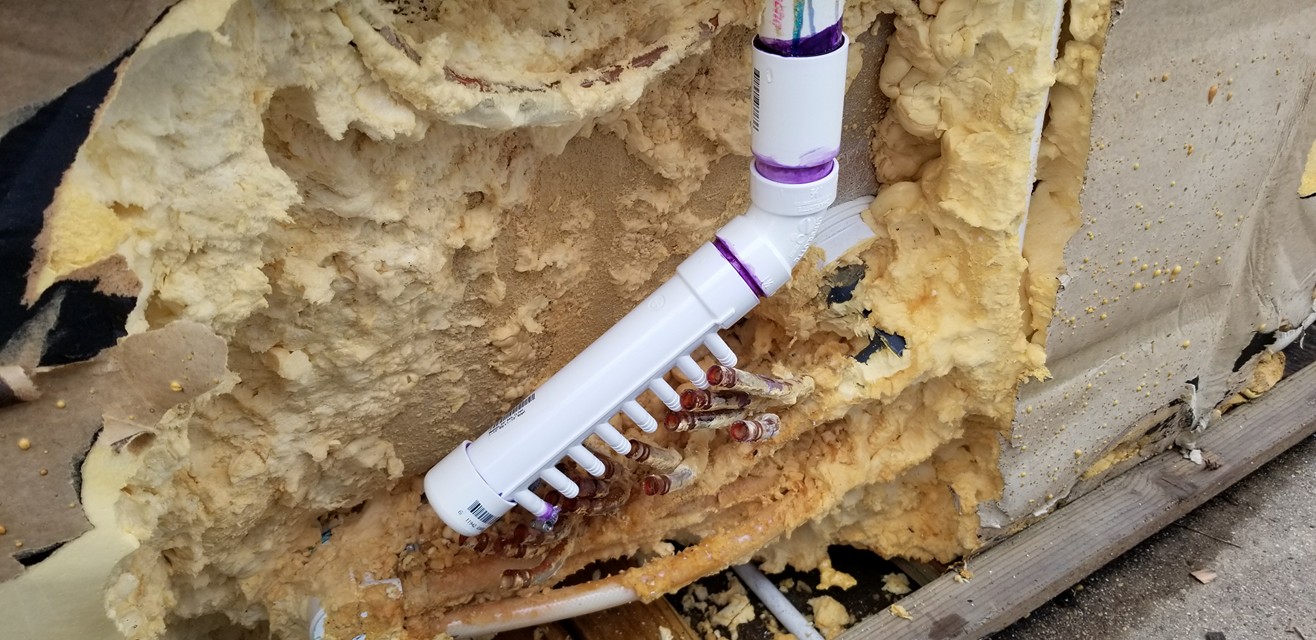
The replacement manifold was finally installed and connected back into the tub's plumbing system.
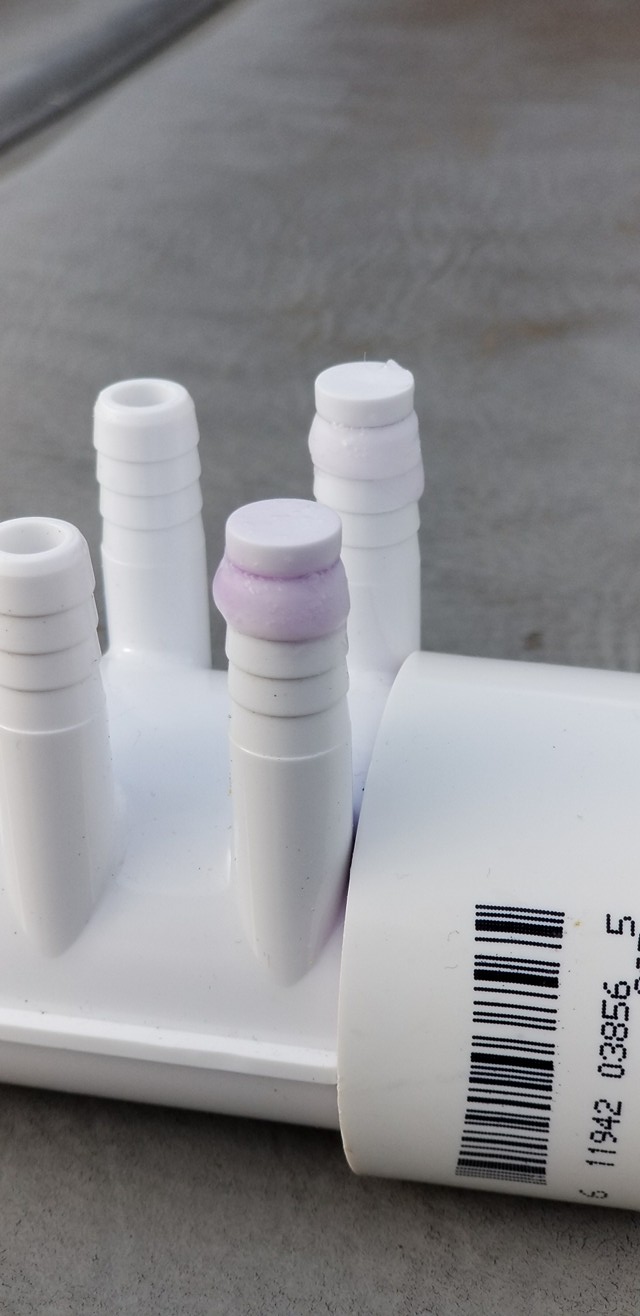
The new manifold had extra outlets, so two unused ports had to be capped and the surrounding plumbing adapted to fit.
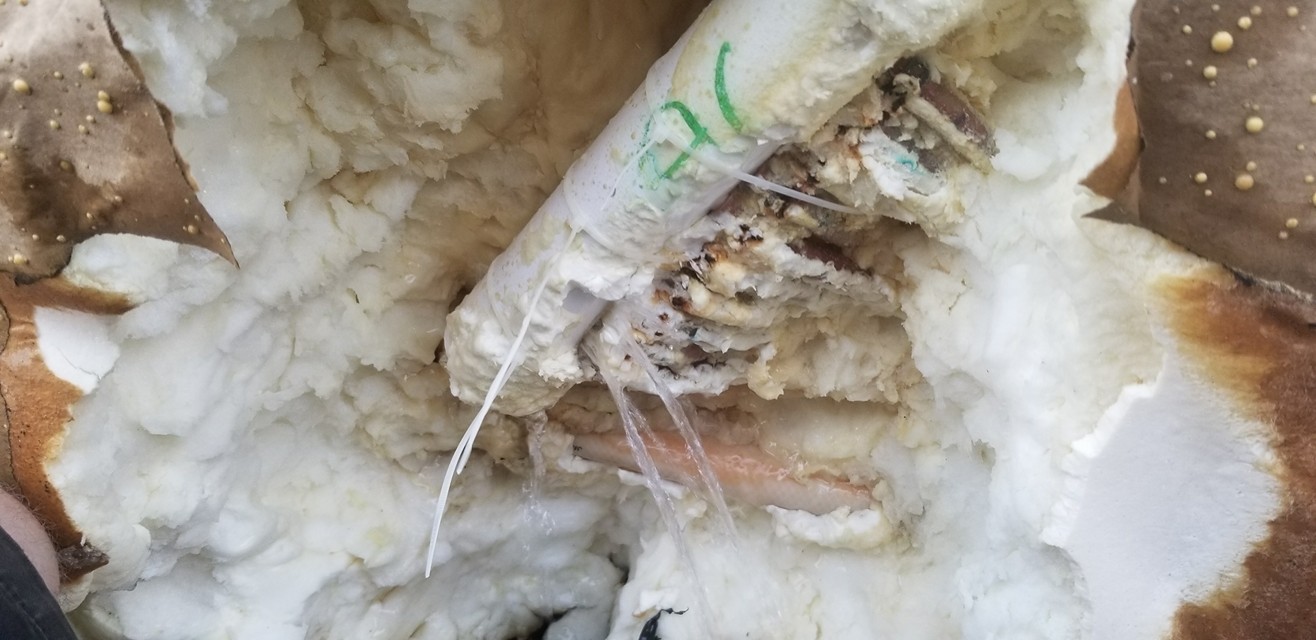
A closer look at the freeze damage that turned a supposedly small leak into a major repair.
Once the sides were opened up, another problem showed itself. Parts of the wooden frame had rotted badly enough that they needed to be rebuilt before the tub could ever be considered finished.
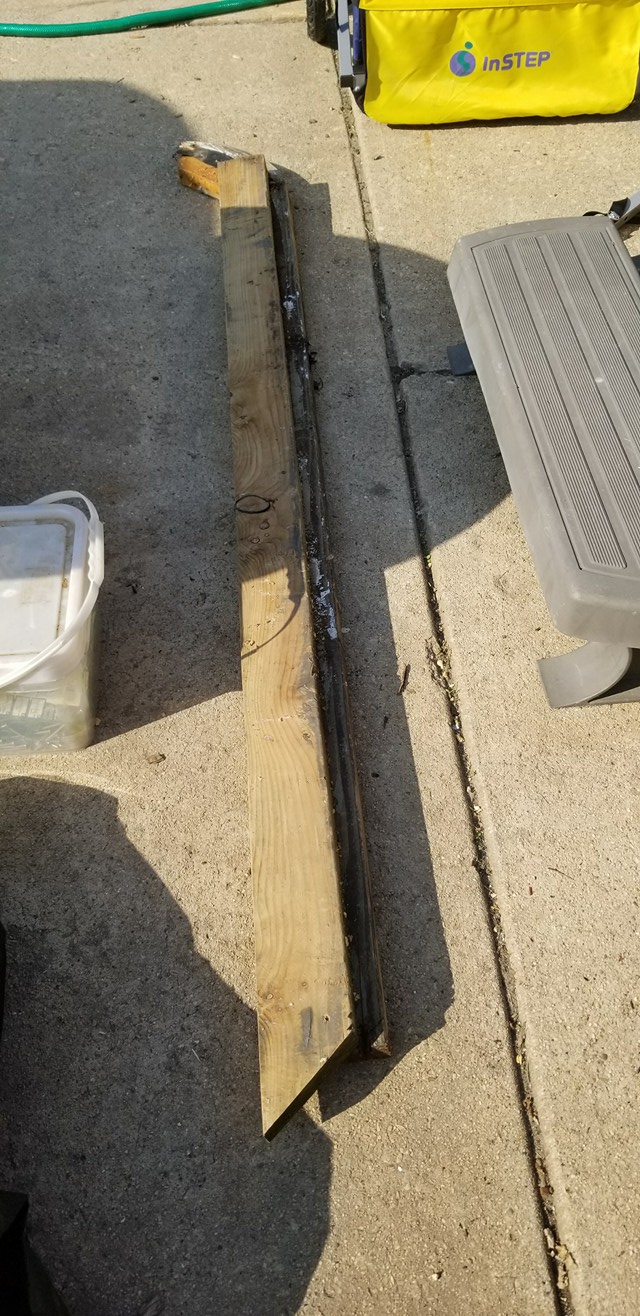
The original framing pieces became templates for cutting new 2x4 replacements to the correct dimensions.
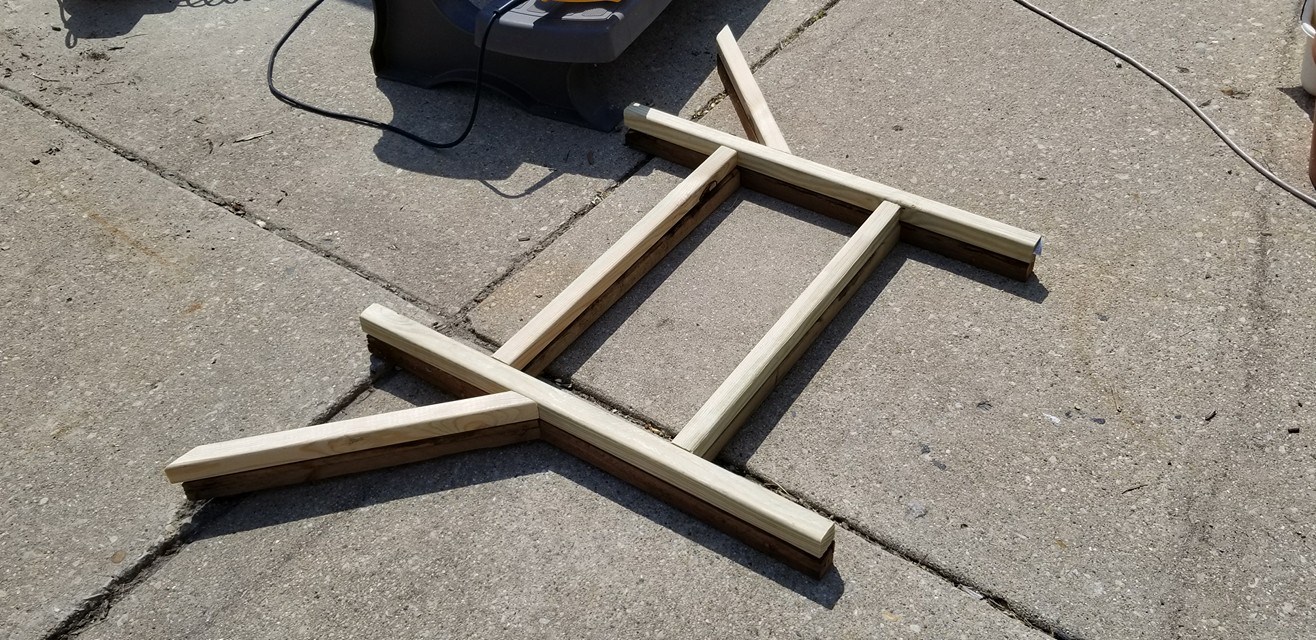
The original side support is shown alongside the newly built replacement before installation.
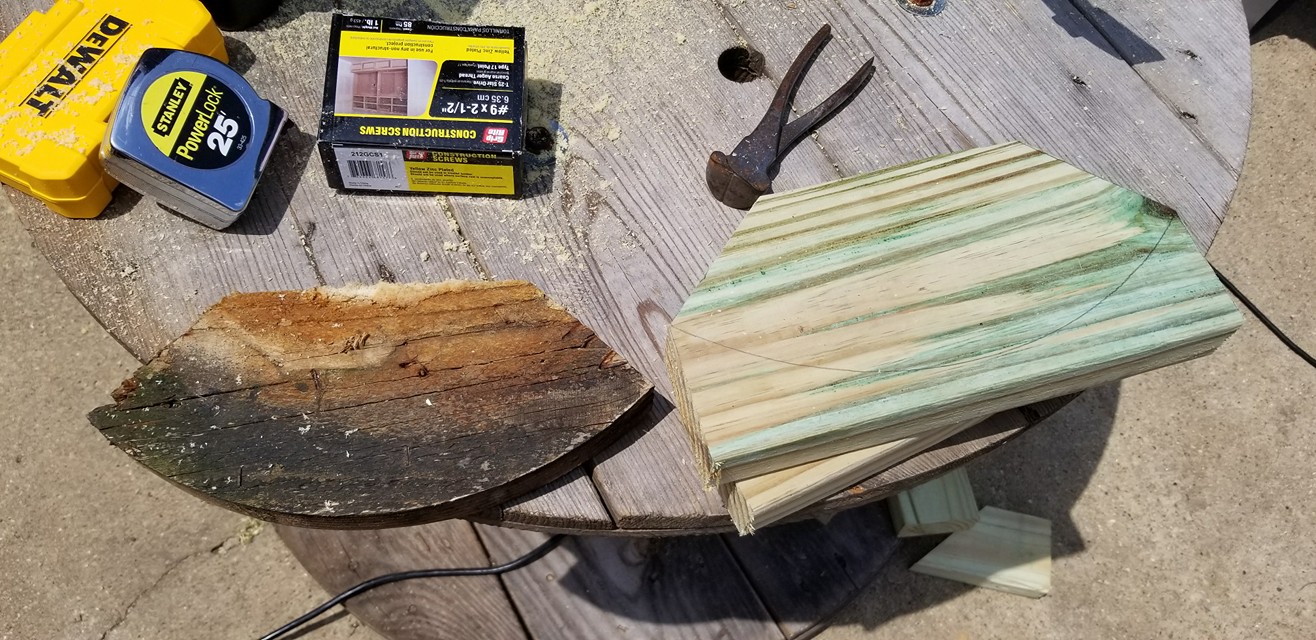
The old curved corner pieces were traced and duplicated so the replacement frame would follow the original shape of the tub.
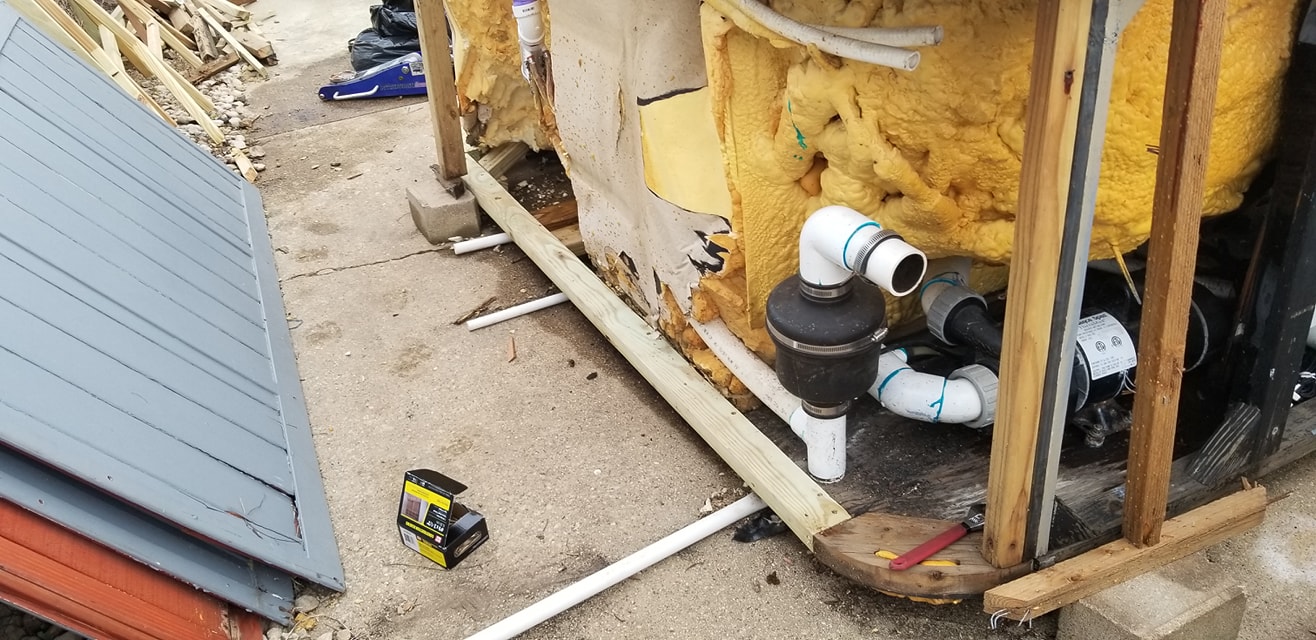
New bottom rails, supports and corner pieces were tied back into the good original framing until the damaged side was solid again.
The plumbing and frame were not the only things that needed attention. I also found cracks in the shell. Small holes were drilled at the ends of the cracks to help stop them from spreading, and a channel was opened over the damaged area so the repair material had somewhere to bond.
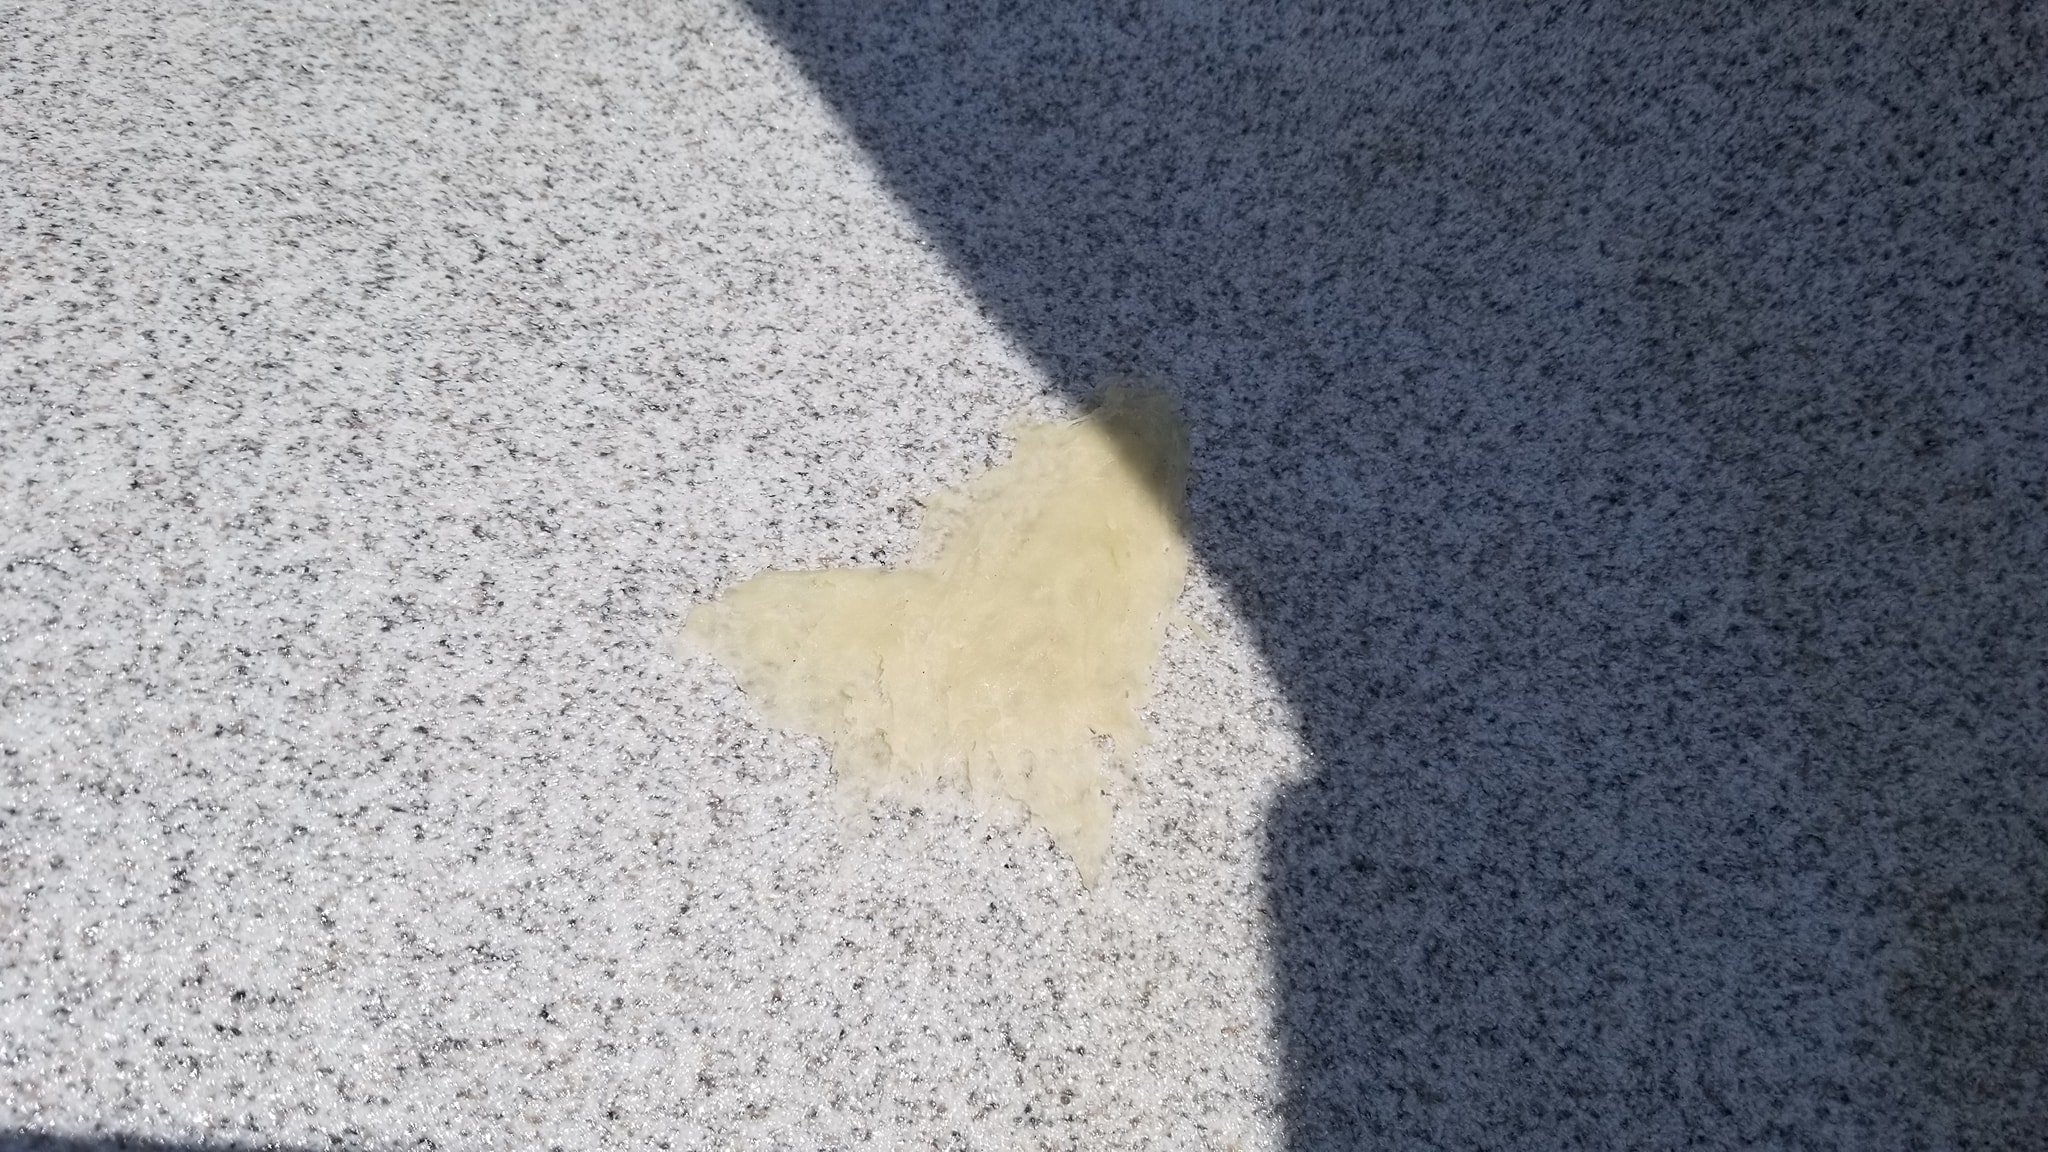
A high-temperature hot tub shell repair resin was worked into the prepared crack and allowed to harden.
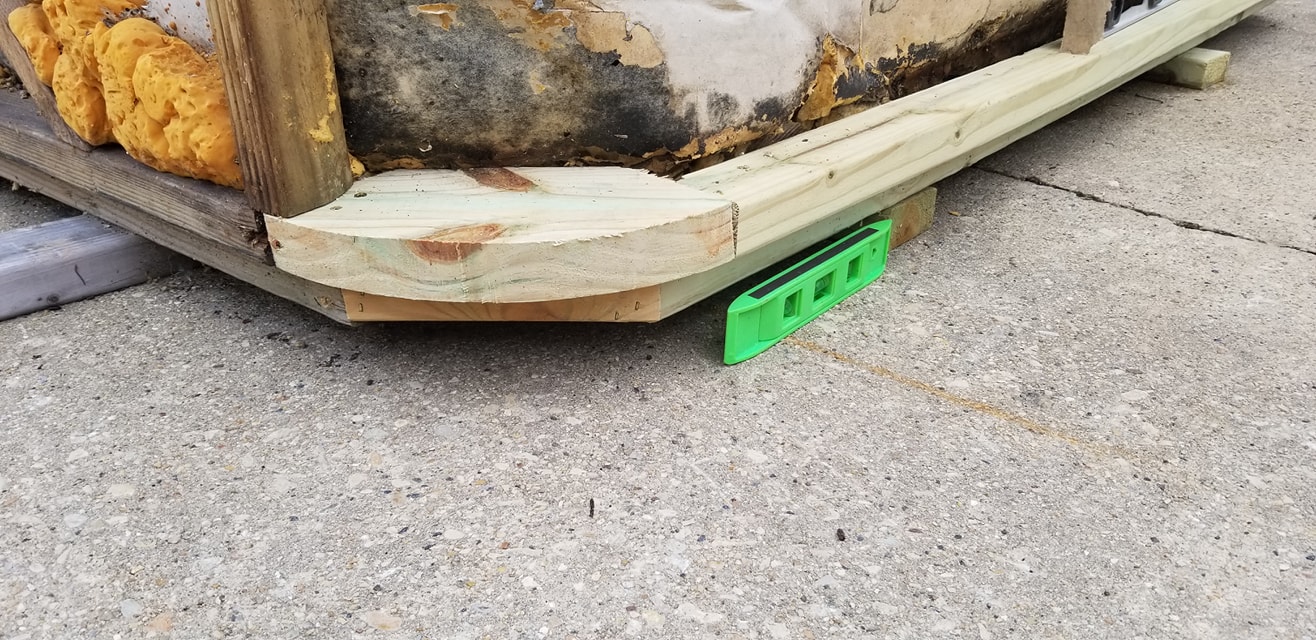
The replacement structure was built back into the surviving original frame instead of replacing good wood unnecessarily.
One of the main jet pumps was not working, so I photographed the original pump and wiring before removing anything. That way I knew what to order and where everything went when it was time to put the replacement back in.
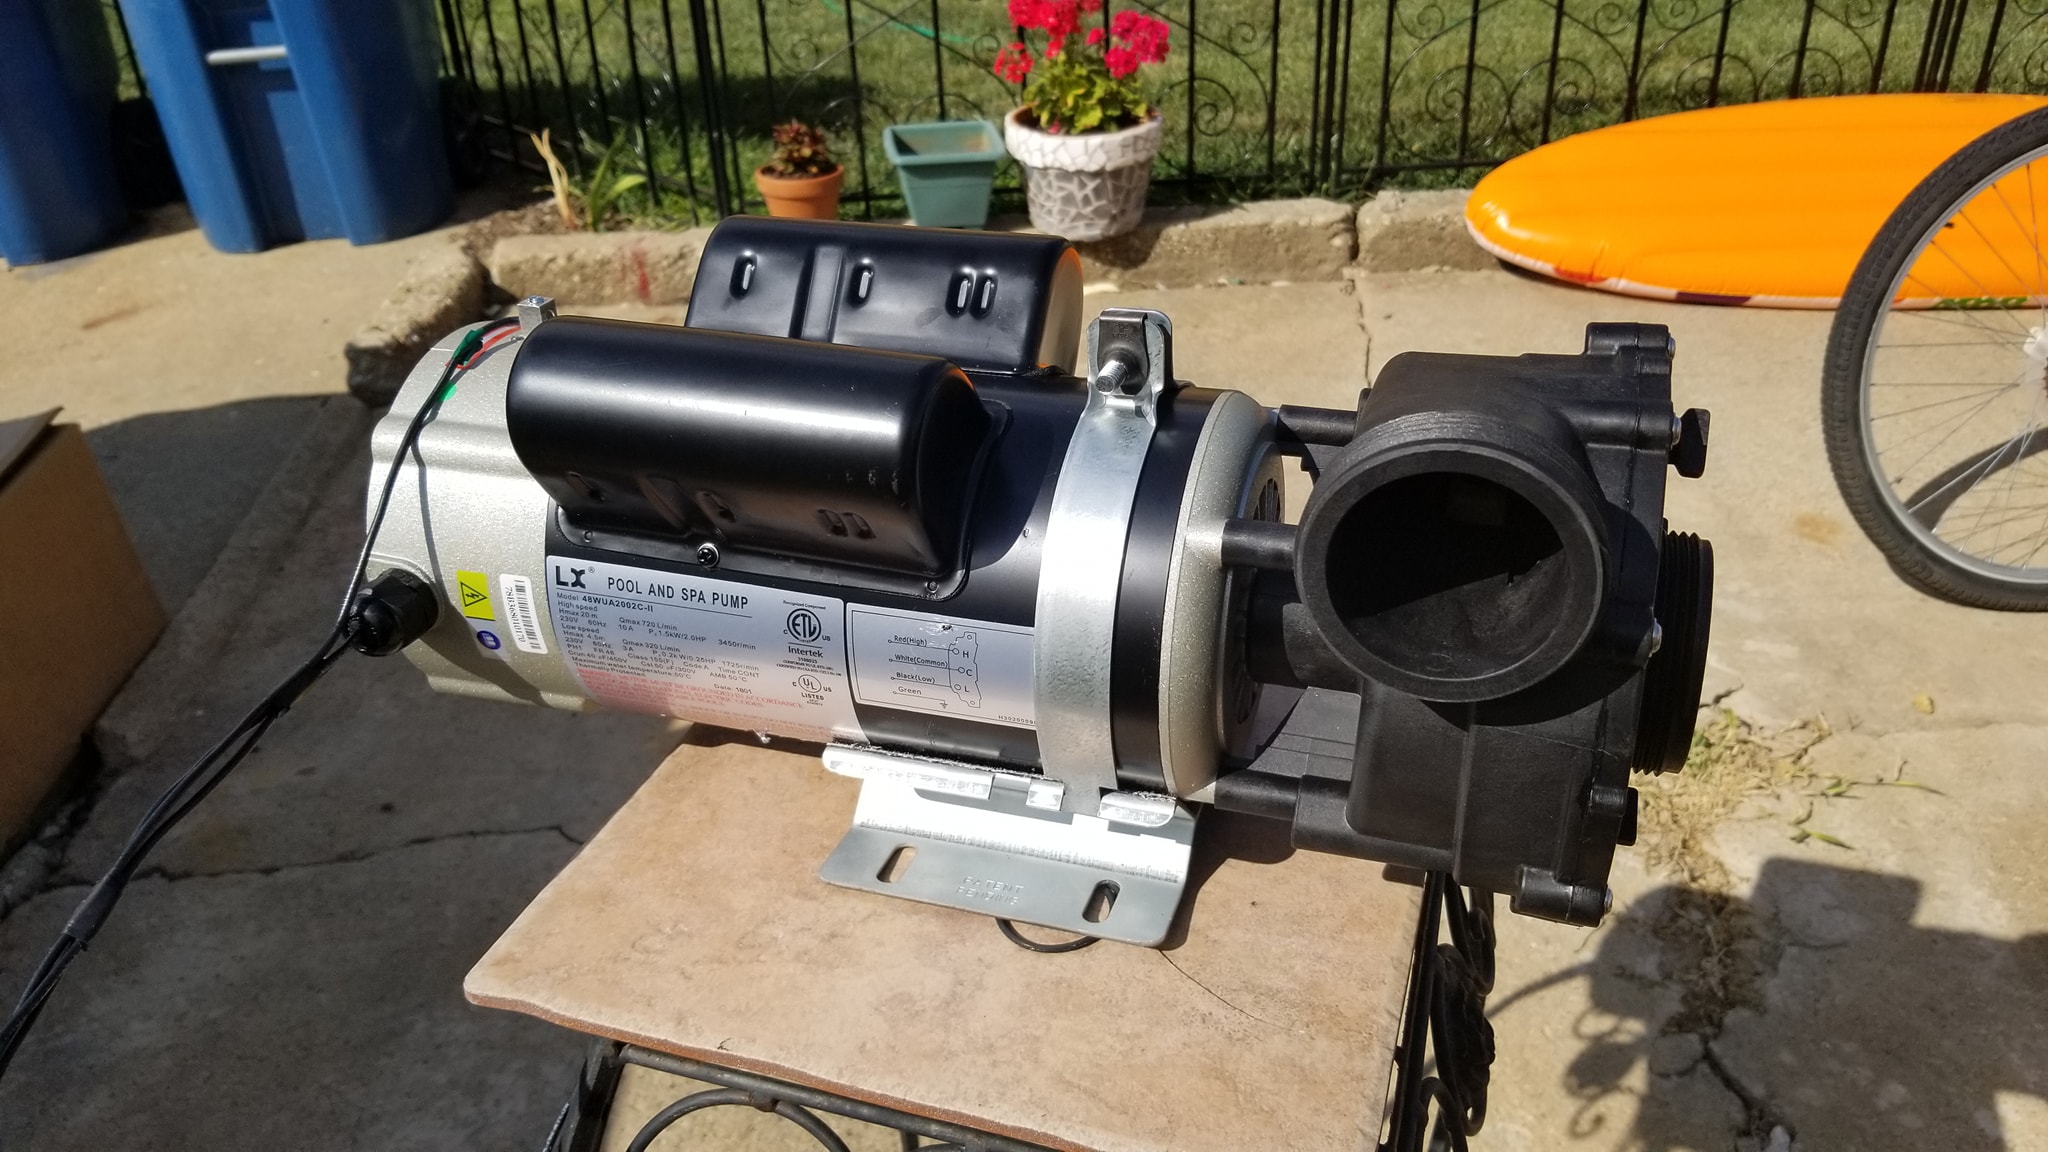
A replacement jet pump finally showed up and was ready to take the place of the failed original.
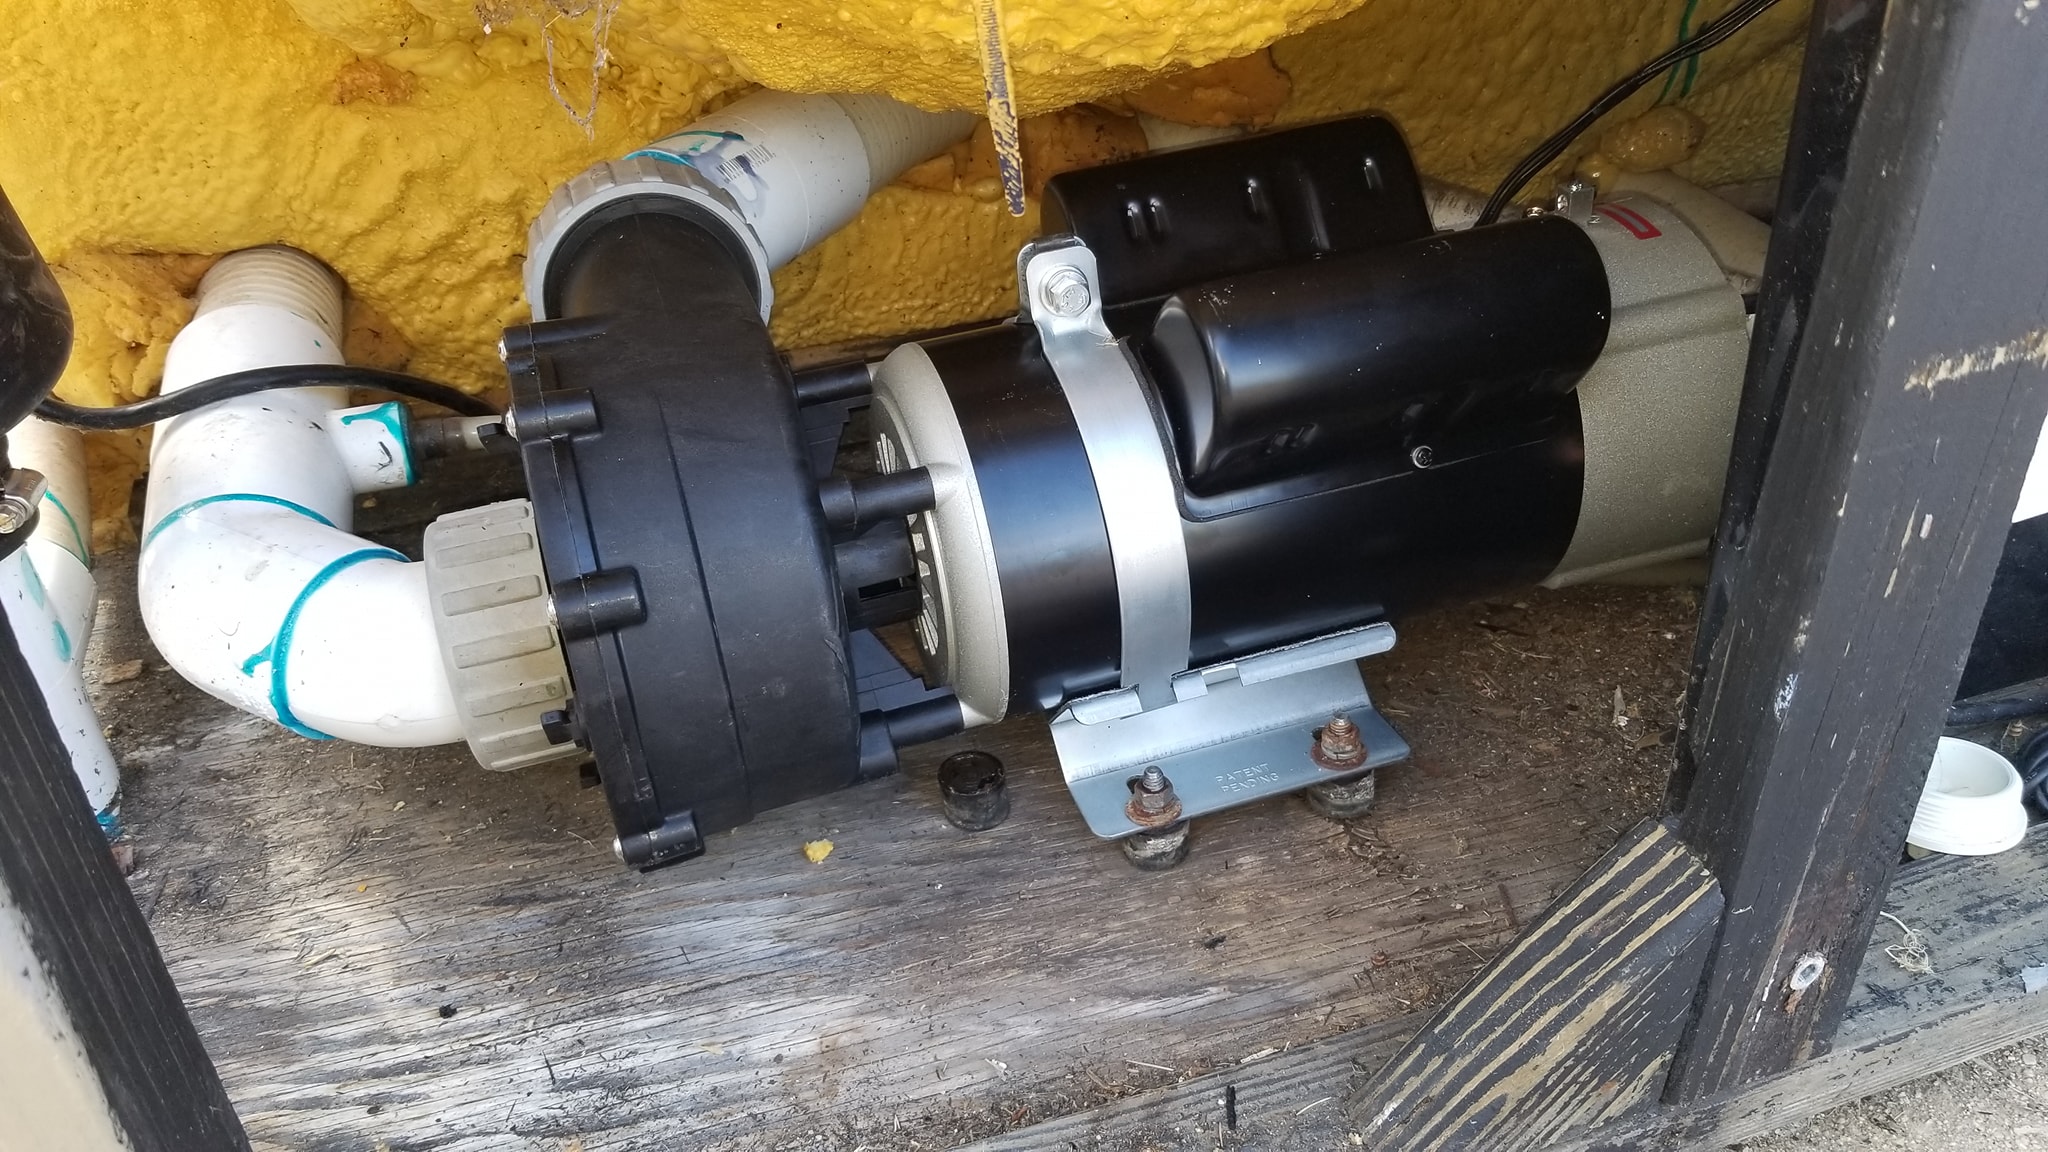
The replacement pump was installed and connected, checking another major repair off the list.
While the tub repairs continued in the driveway, I started preparing its permanent home behind the house next to the deck. What looked like a straightforward pad installation quickly turned into excavation, demolition and another collection of new tools.
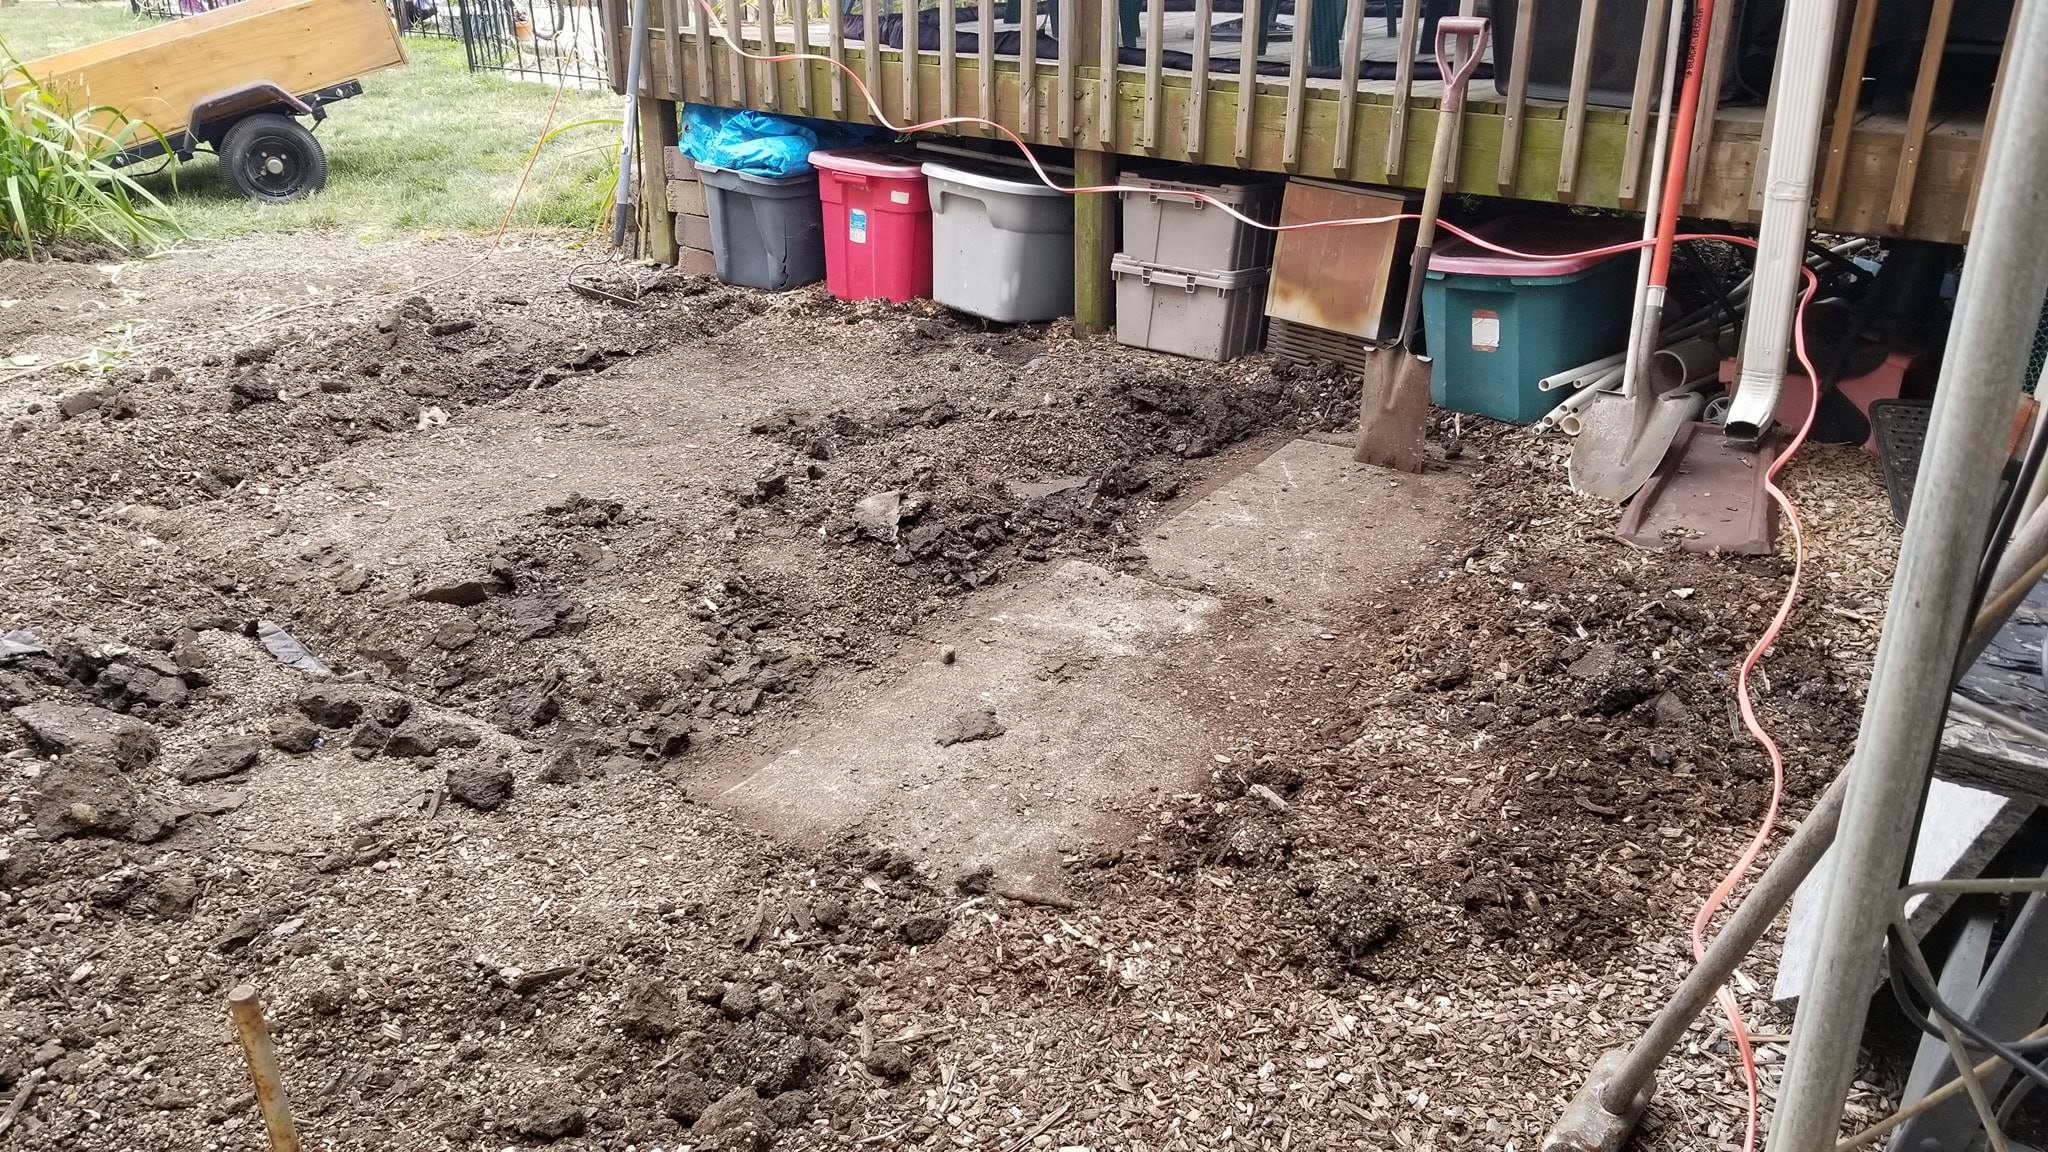
The area was marked out and excavation began for the base that would eventually support the Easy Pad and the hot tub.
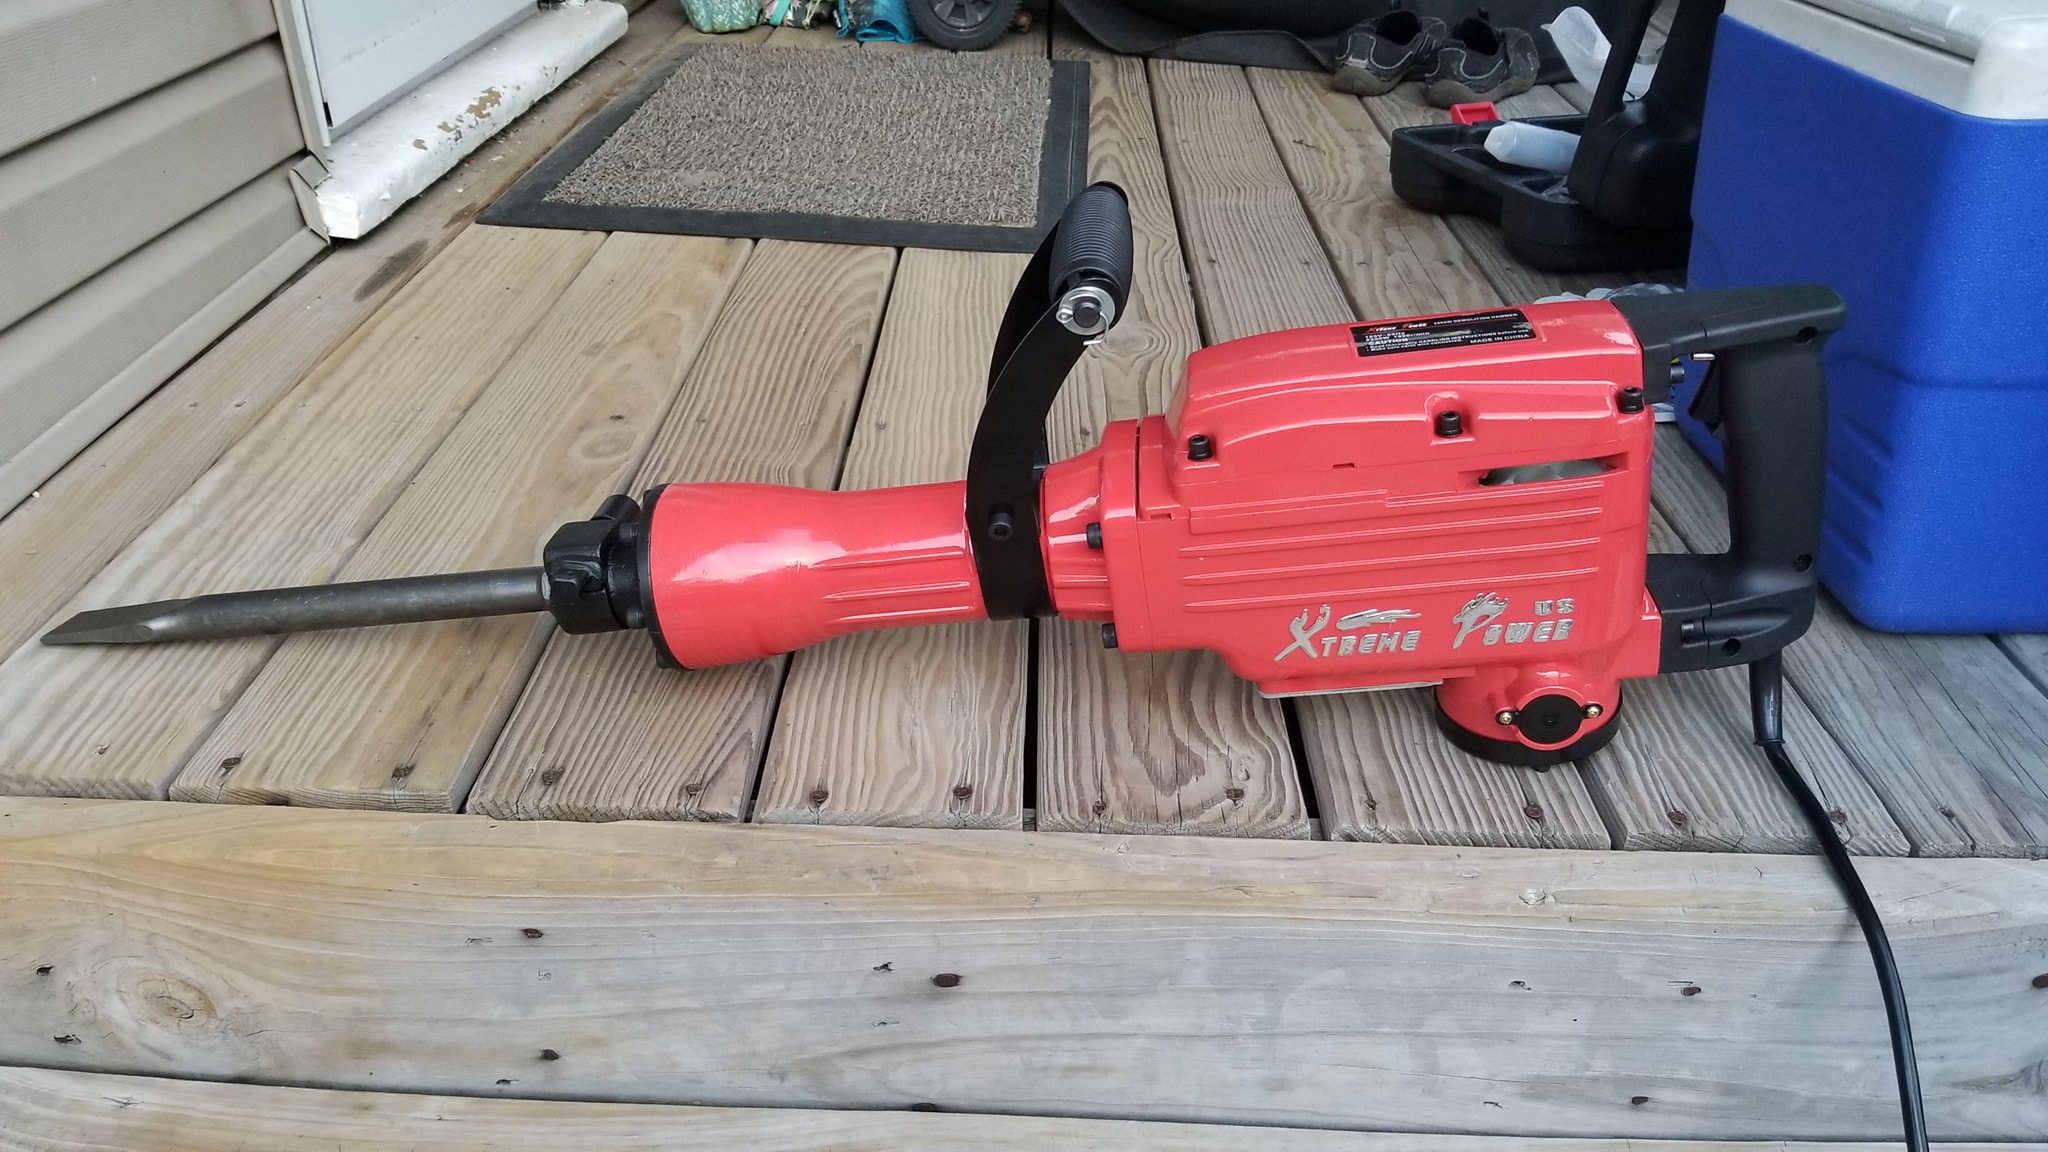
Excavation uncovered an old concrete landing pad that had been covered during a 2008 remodeling project. So I bought an electric jackhammer and started removing it.
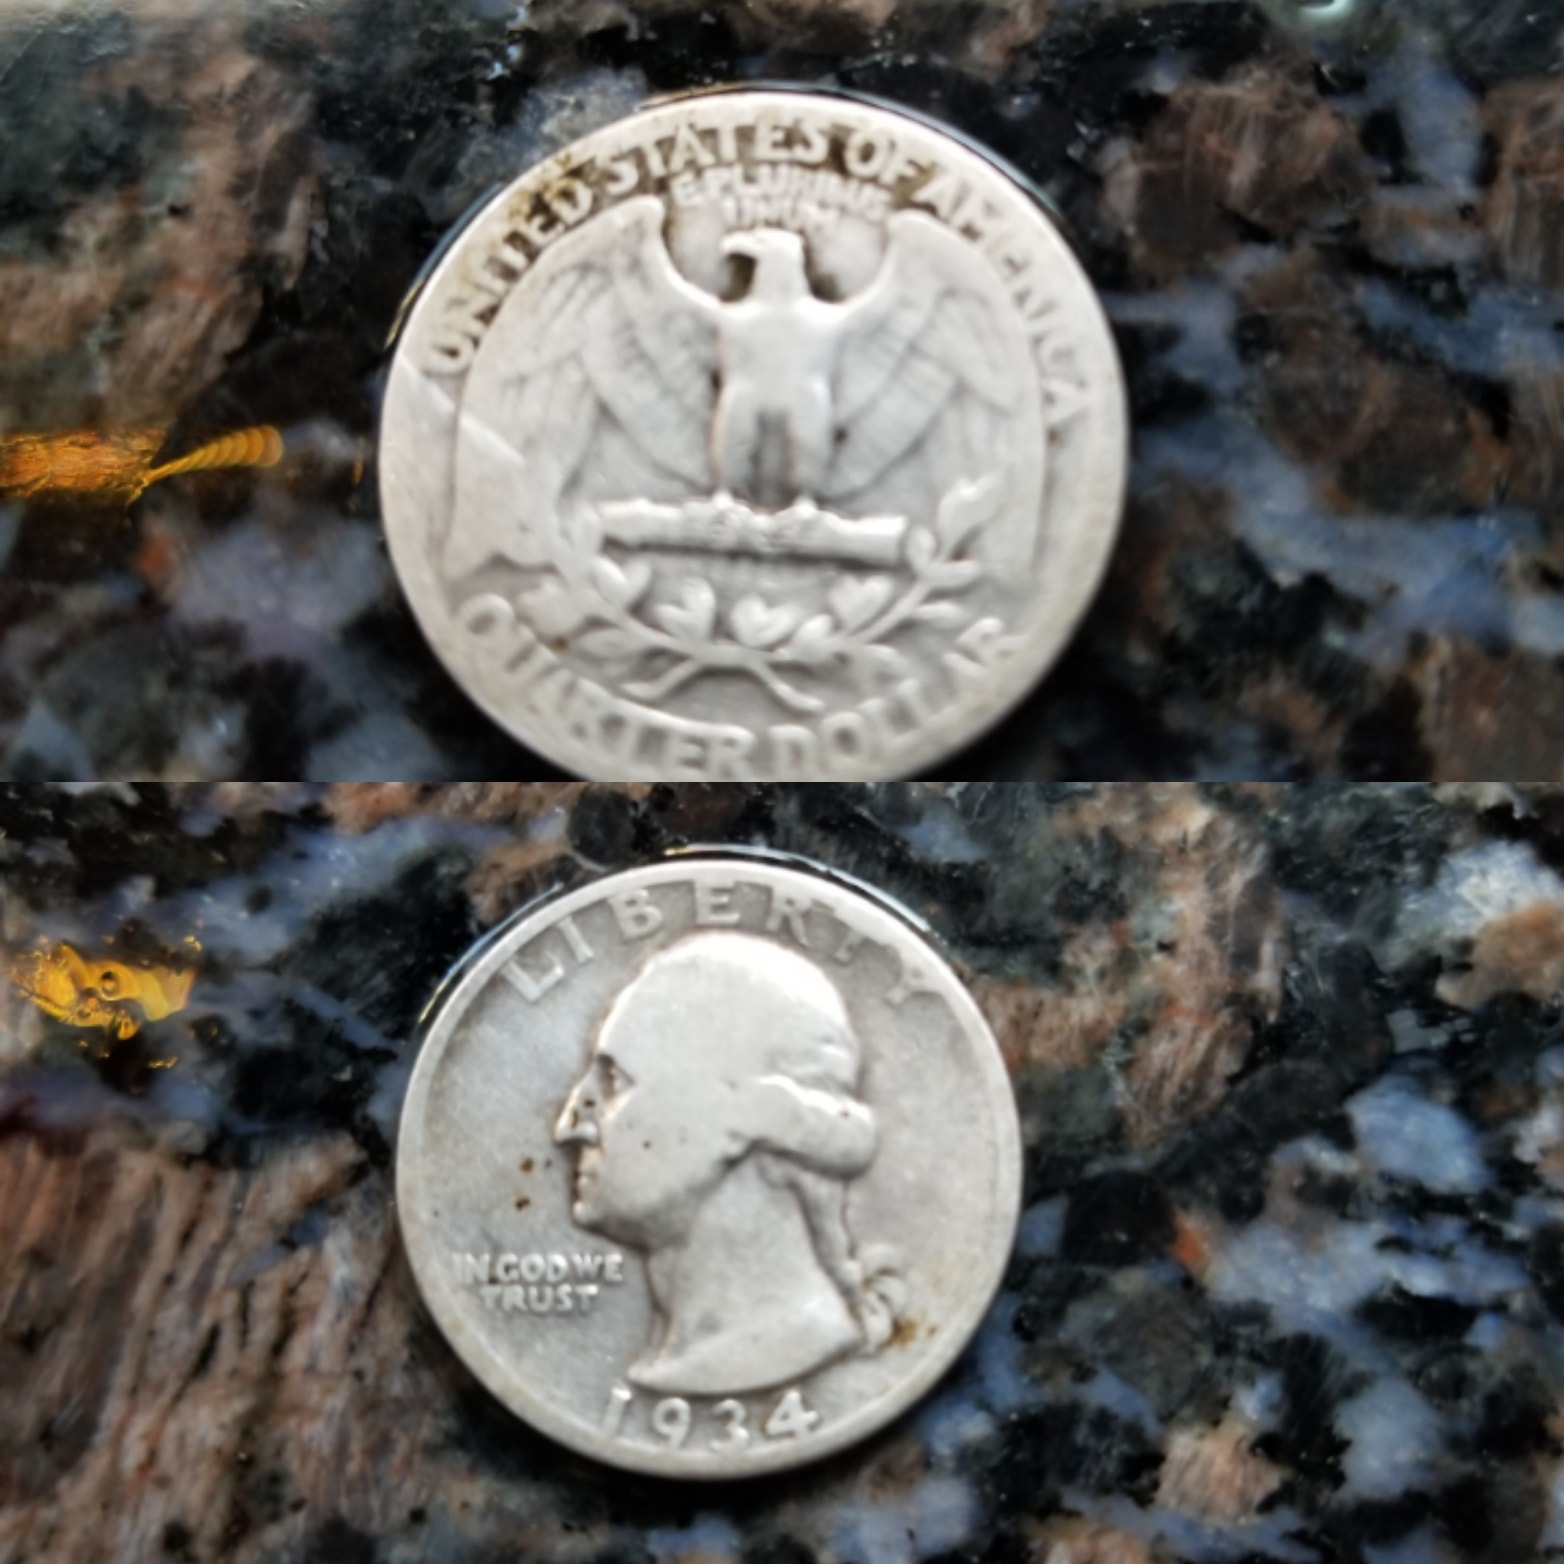
While digging, I found a 1934 silver quarter. The hot tub had not even reached the backyard yet and the project was already turning up surprises.
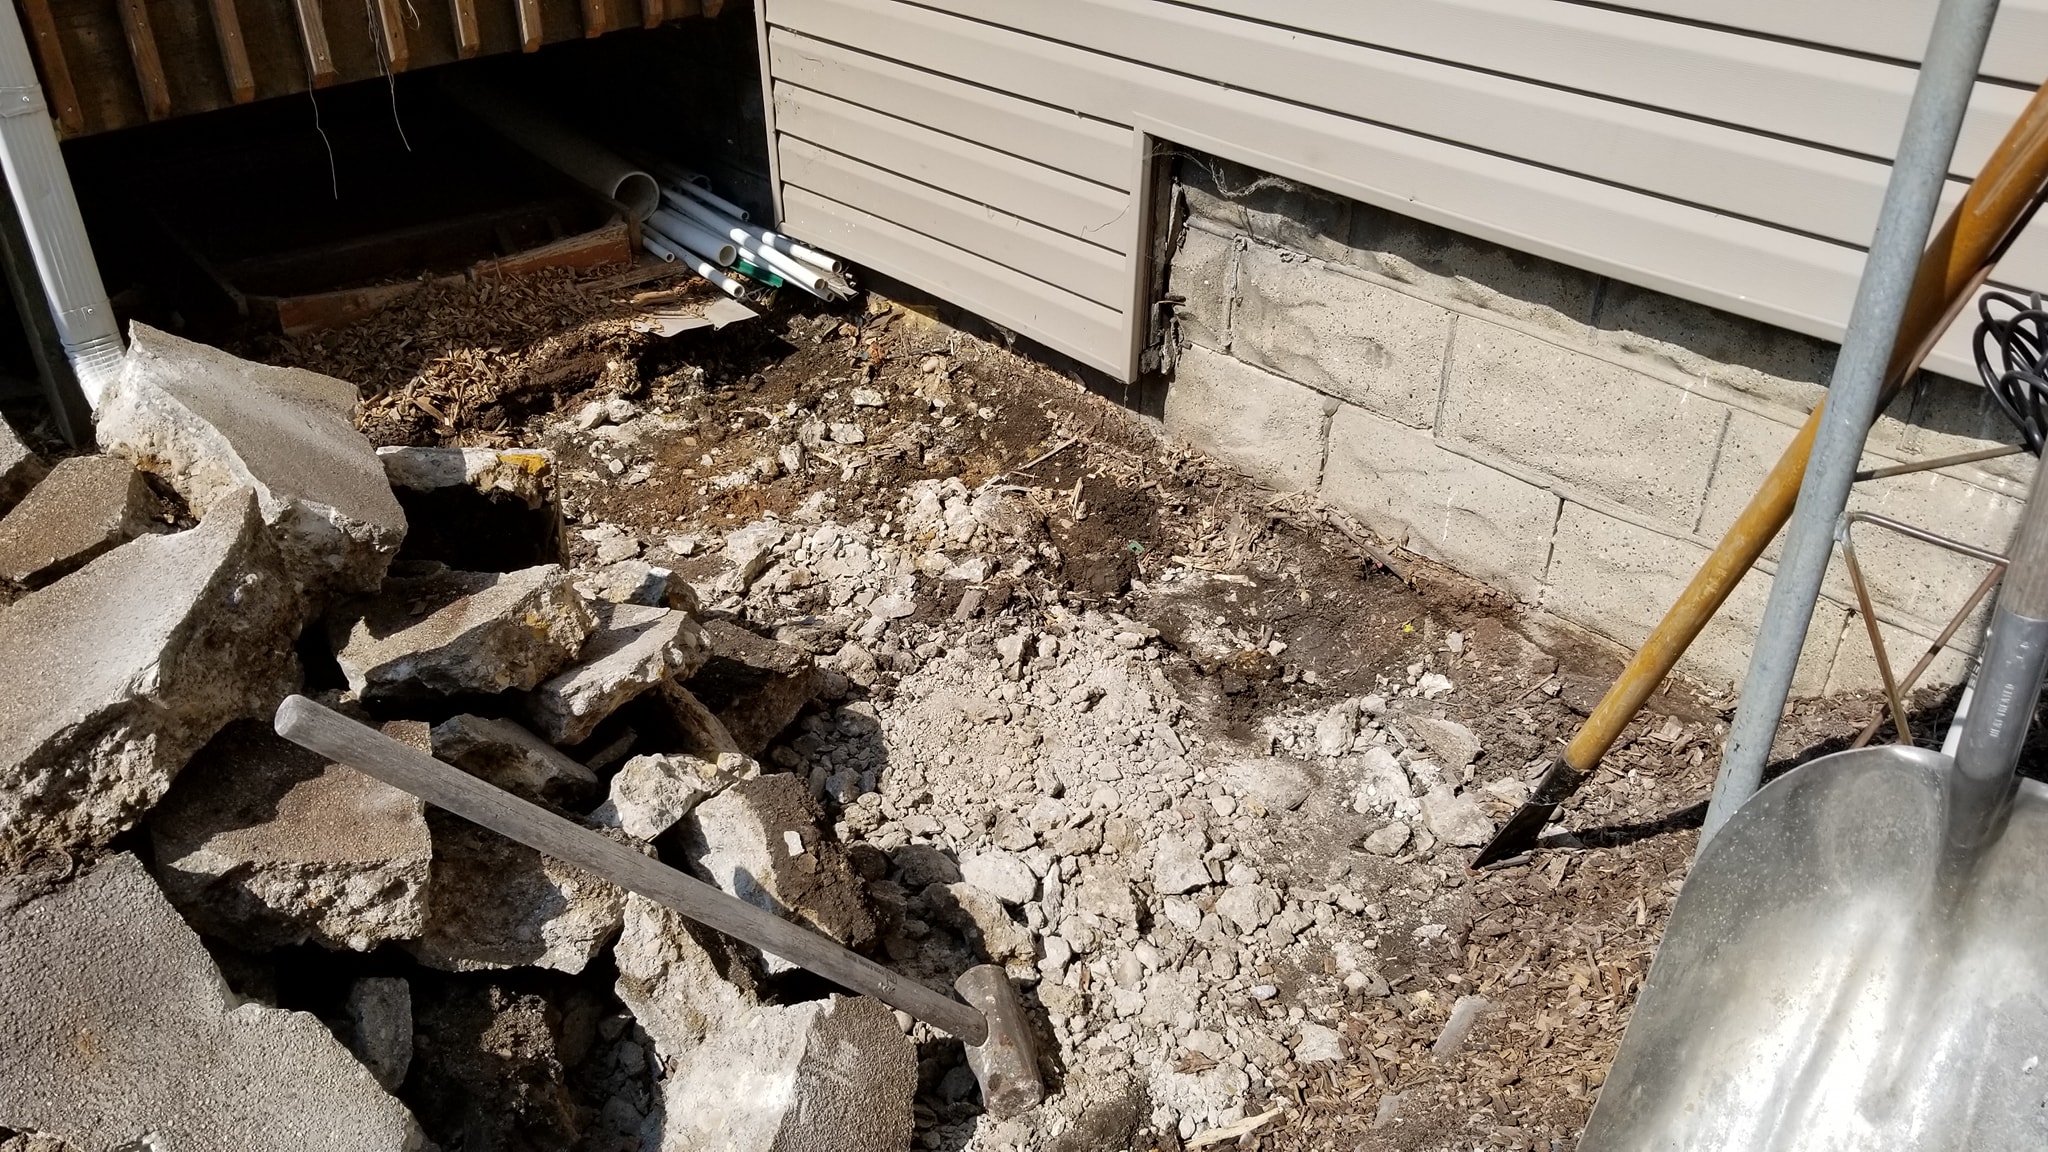
After the old slab was broken apart and hauled away, the site was finally clear for the new hot tub base.
Breaking up the buried concrete pad with the electric jackhammer.
With the old concrete out of the way, I could finally build the base for the tub. The plan was to use an Easy Pad supported by a carefully leveled gravel bed.
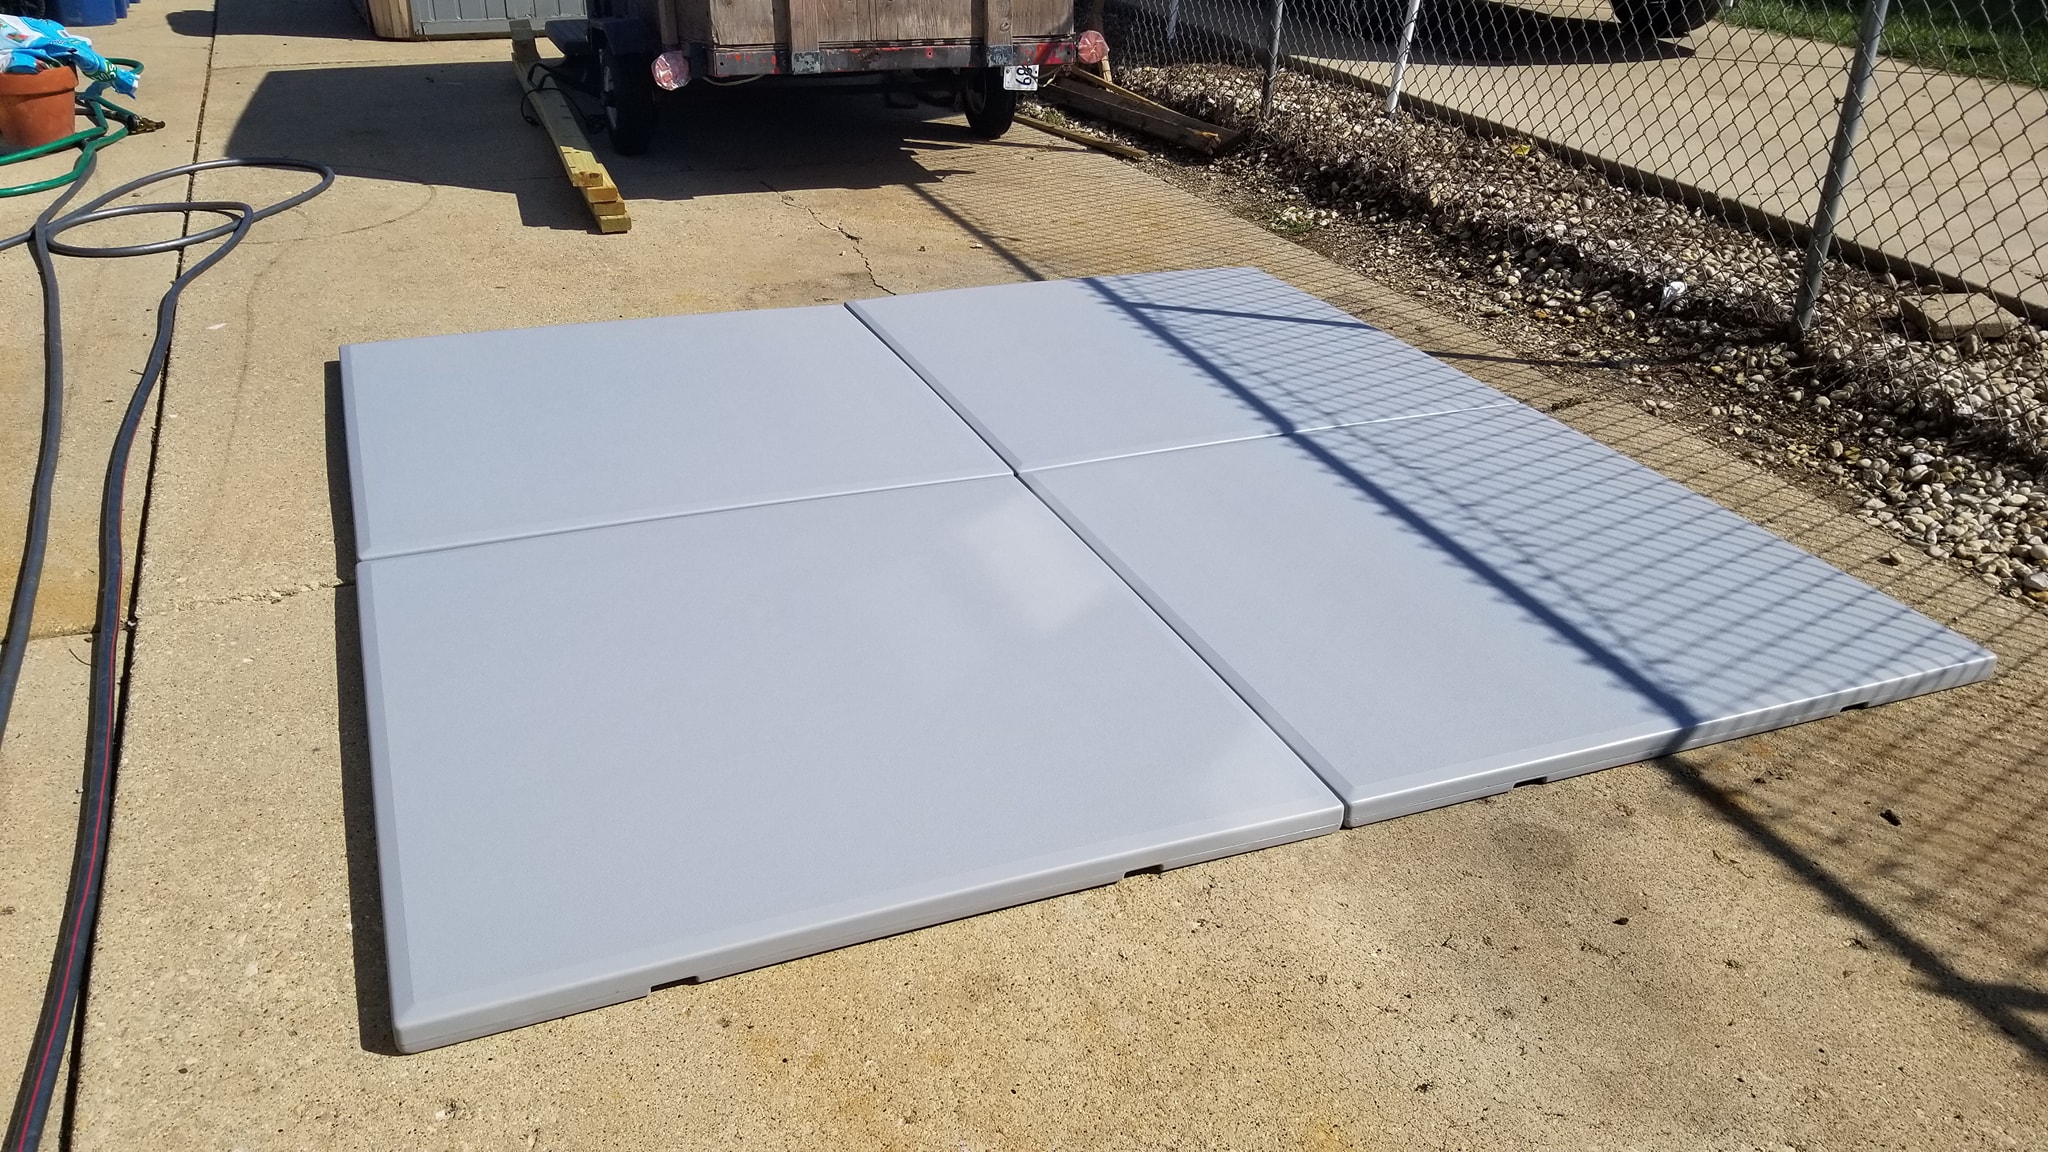
The Easy Pad was laid out so I could measure everything and build the surrounding frame to the correct dimensions.
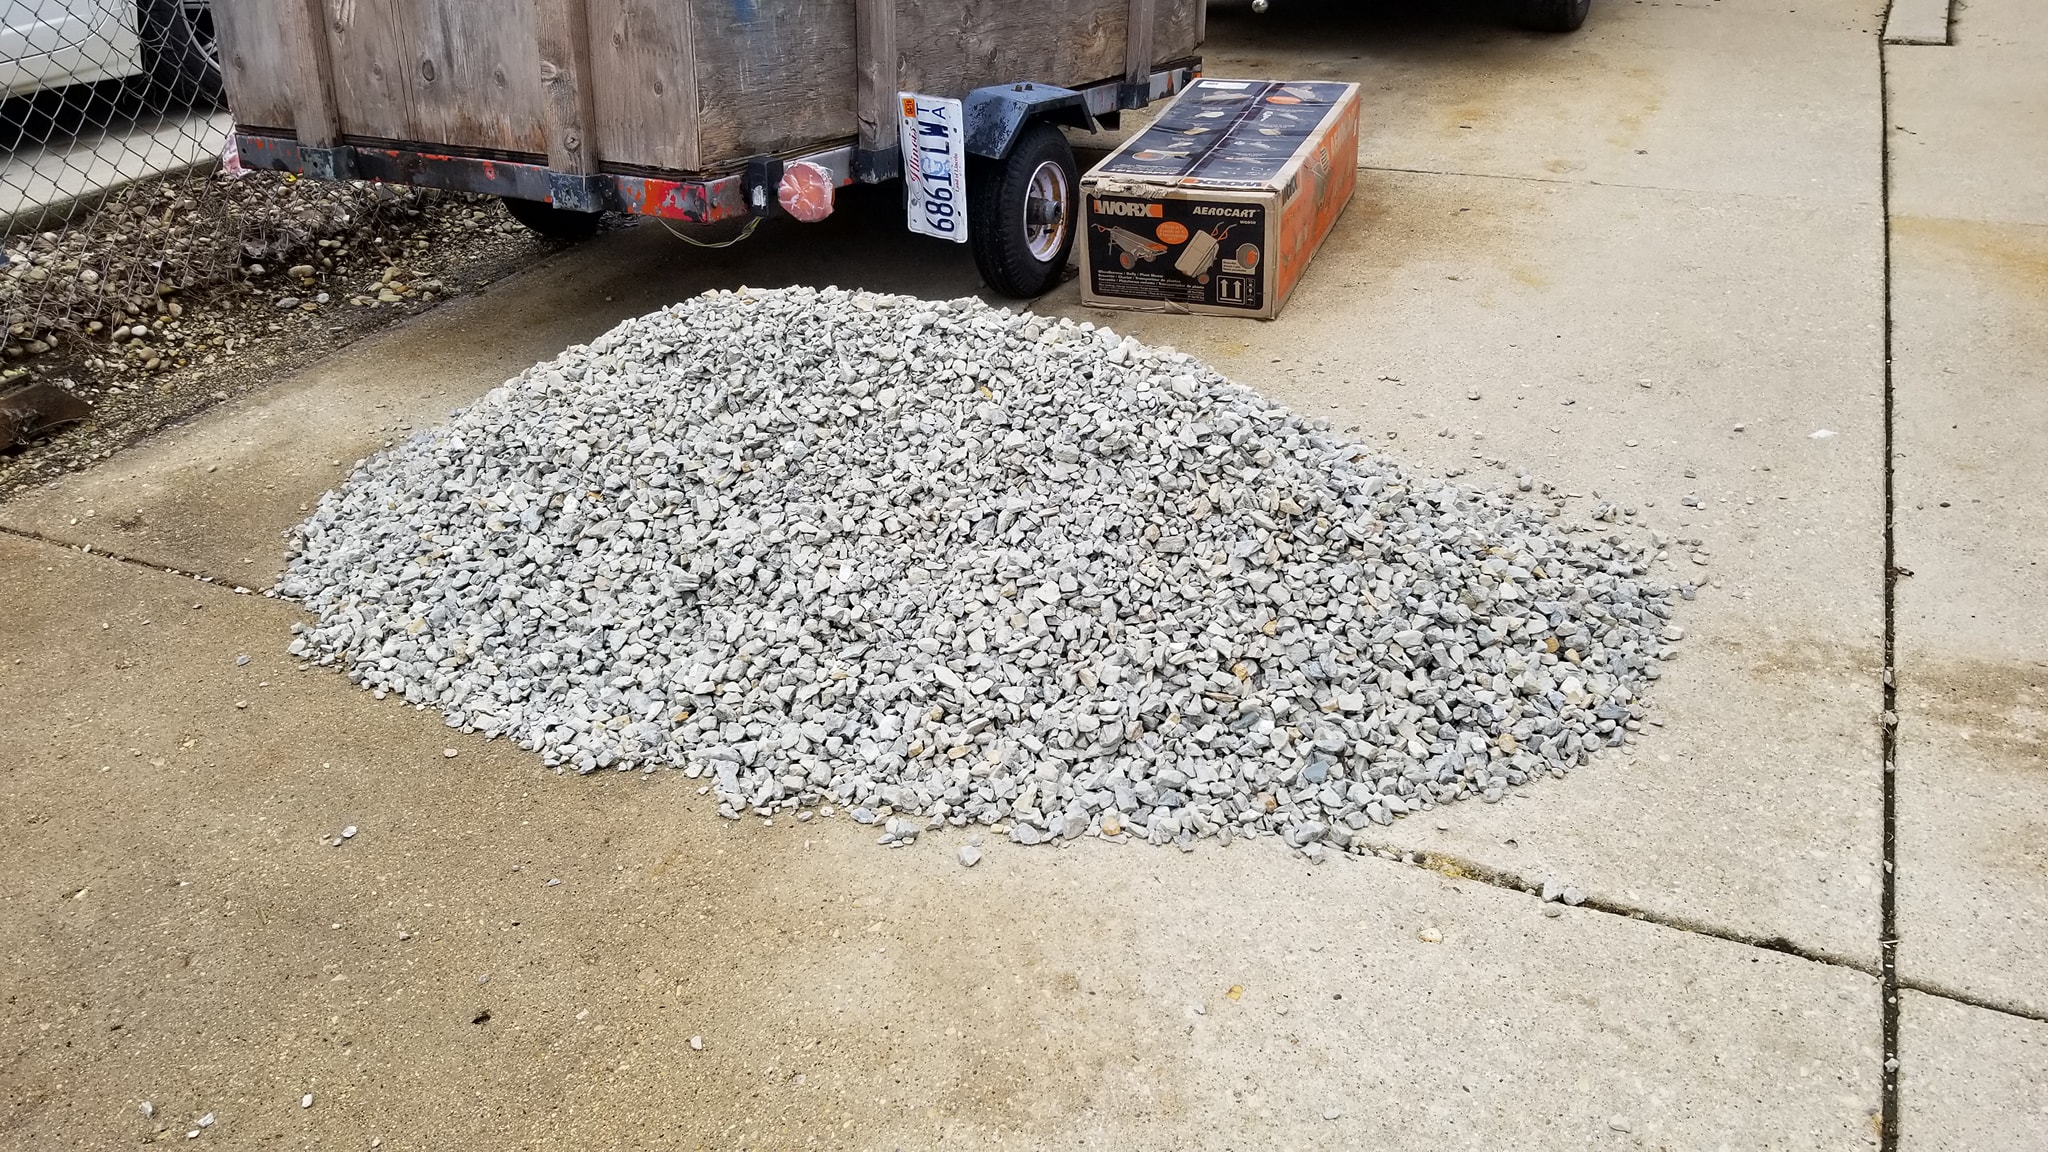
The gravel arrived for the base, along with a new WORX AeroCart I bought to move it. That AeroCart is still earning its keep on other projects years later.
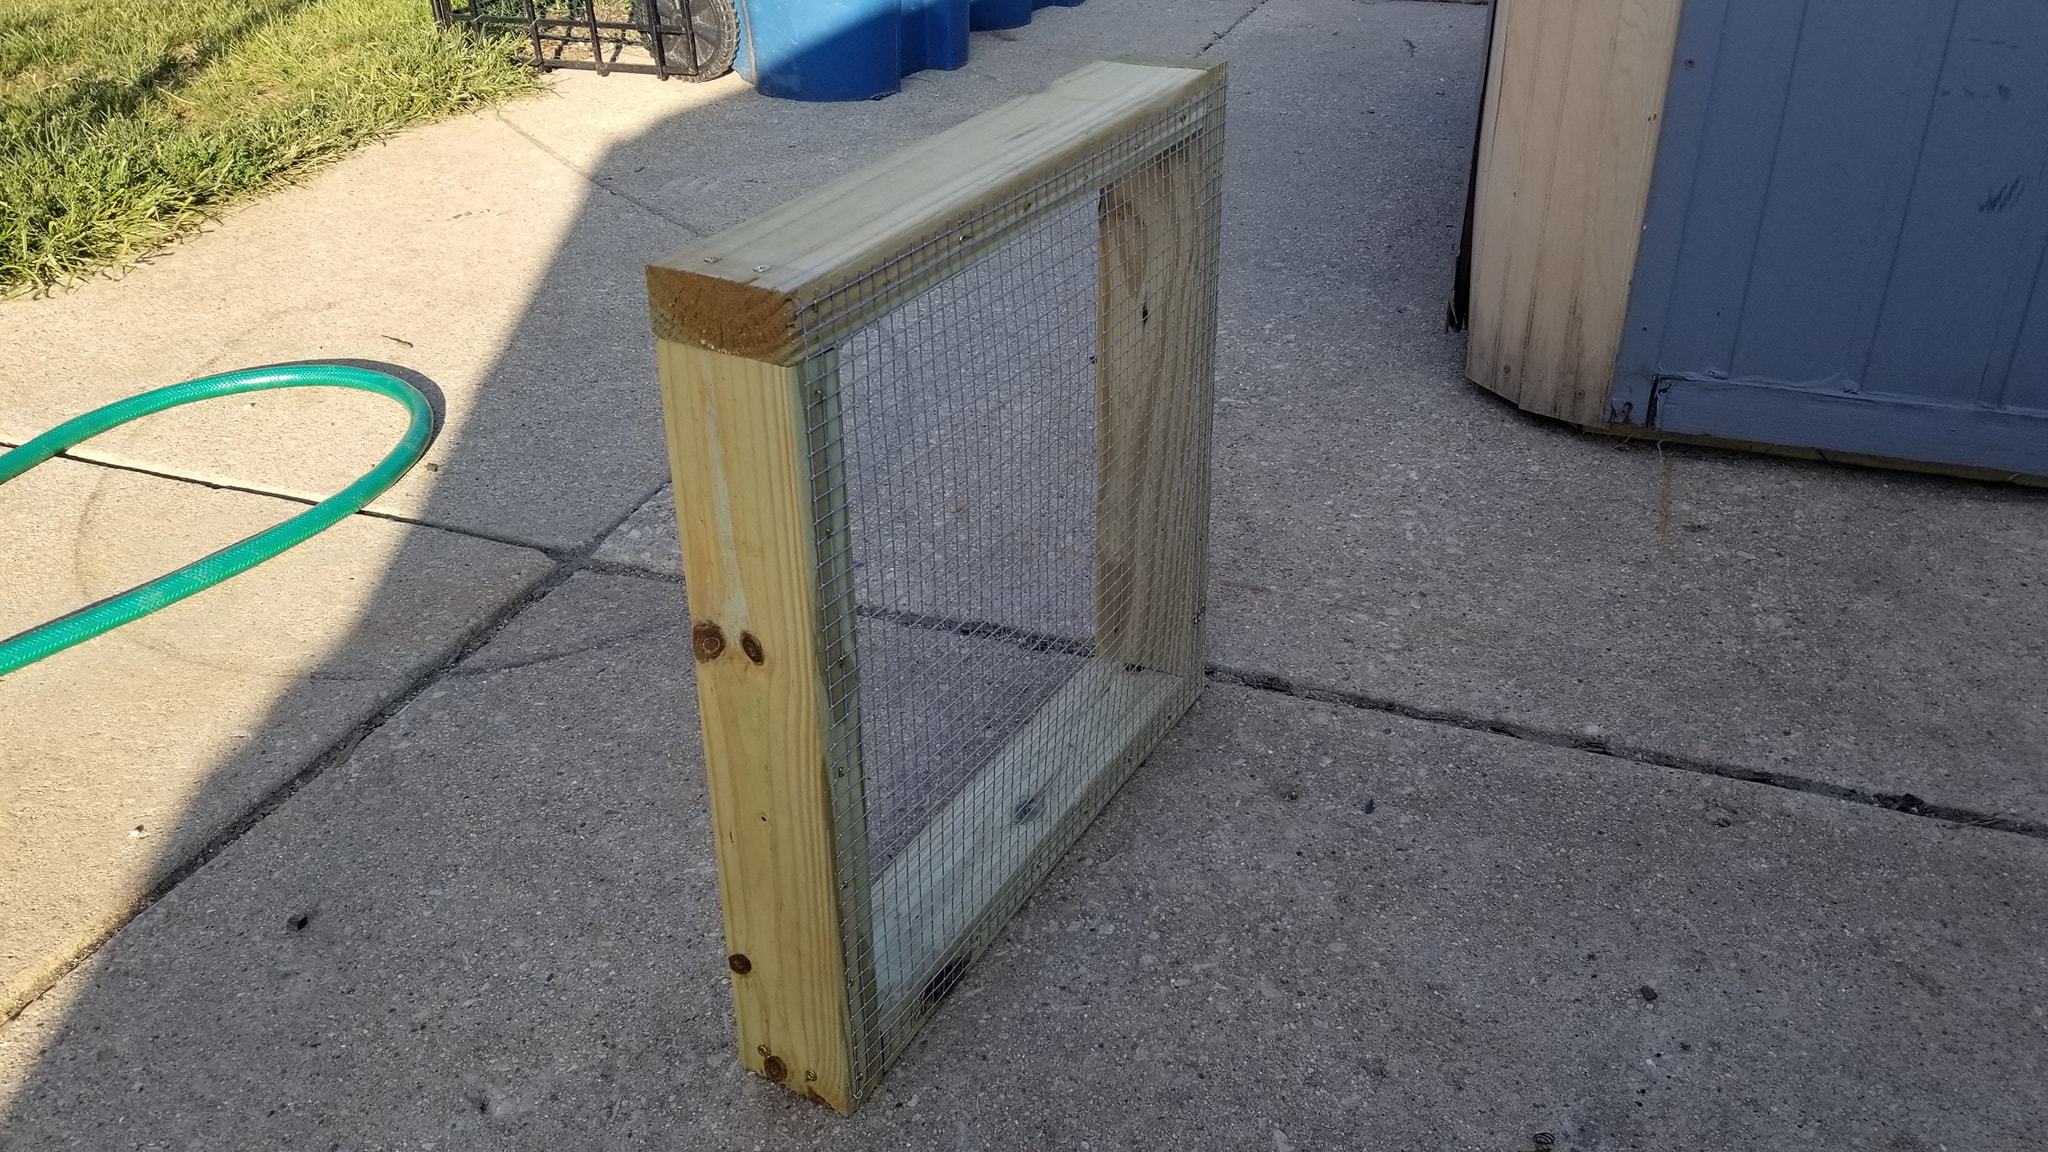
I built a homemade sifter with half-inch wire mesh so I could separate rocks from the excavated dirt and keep the usable soil.
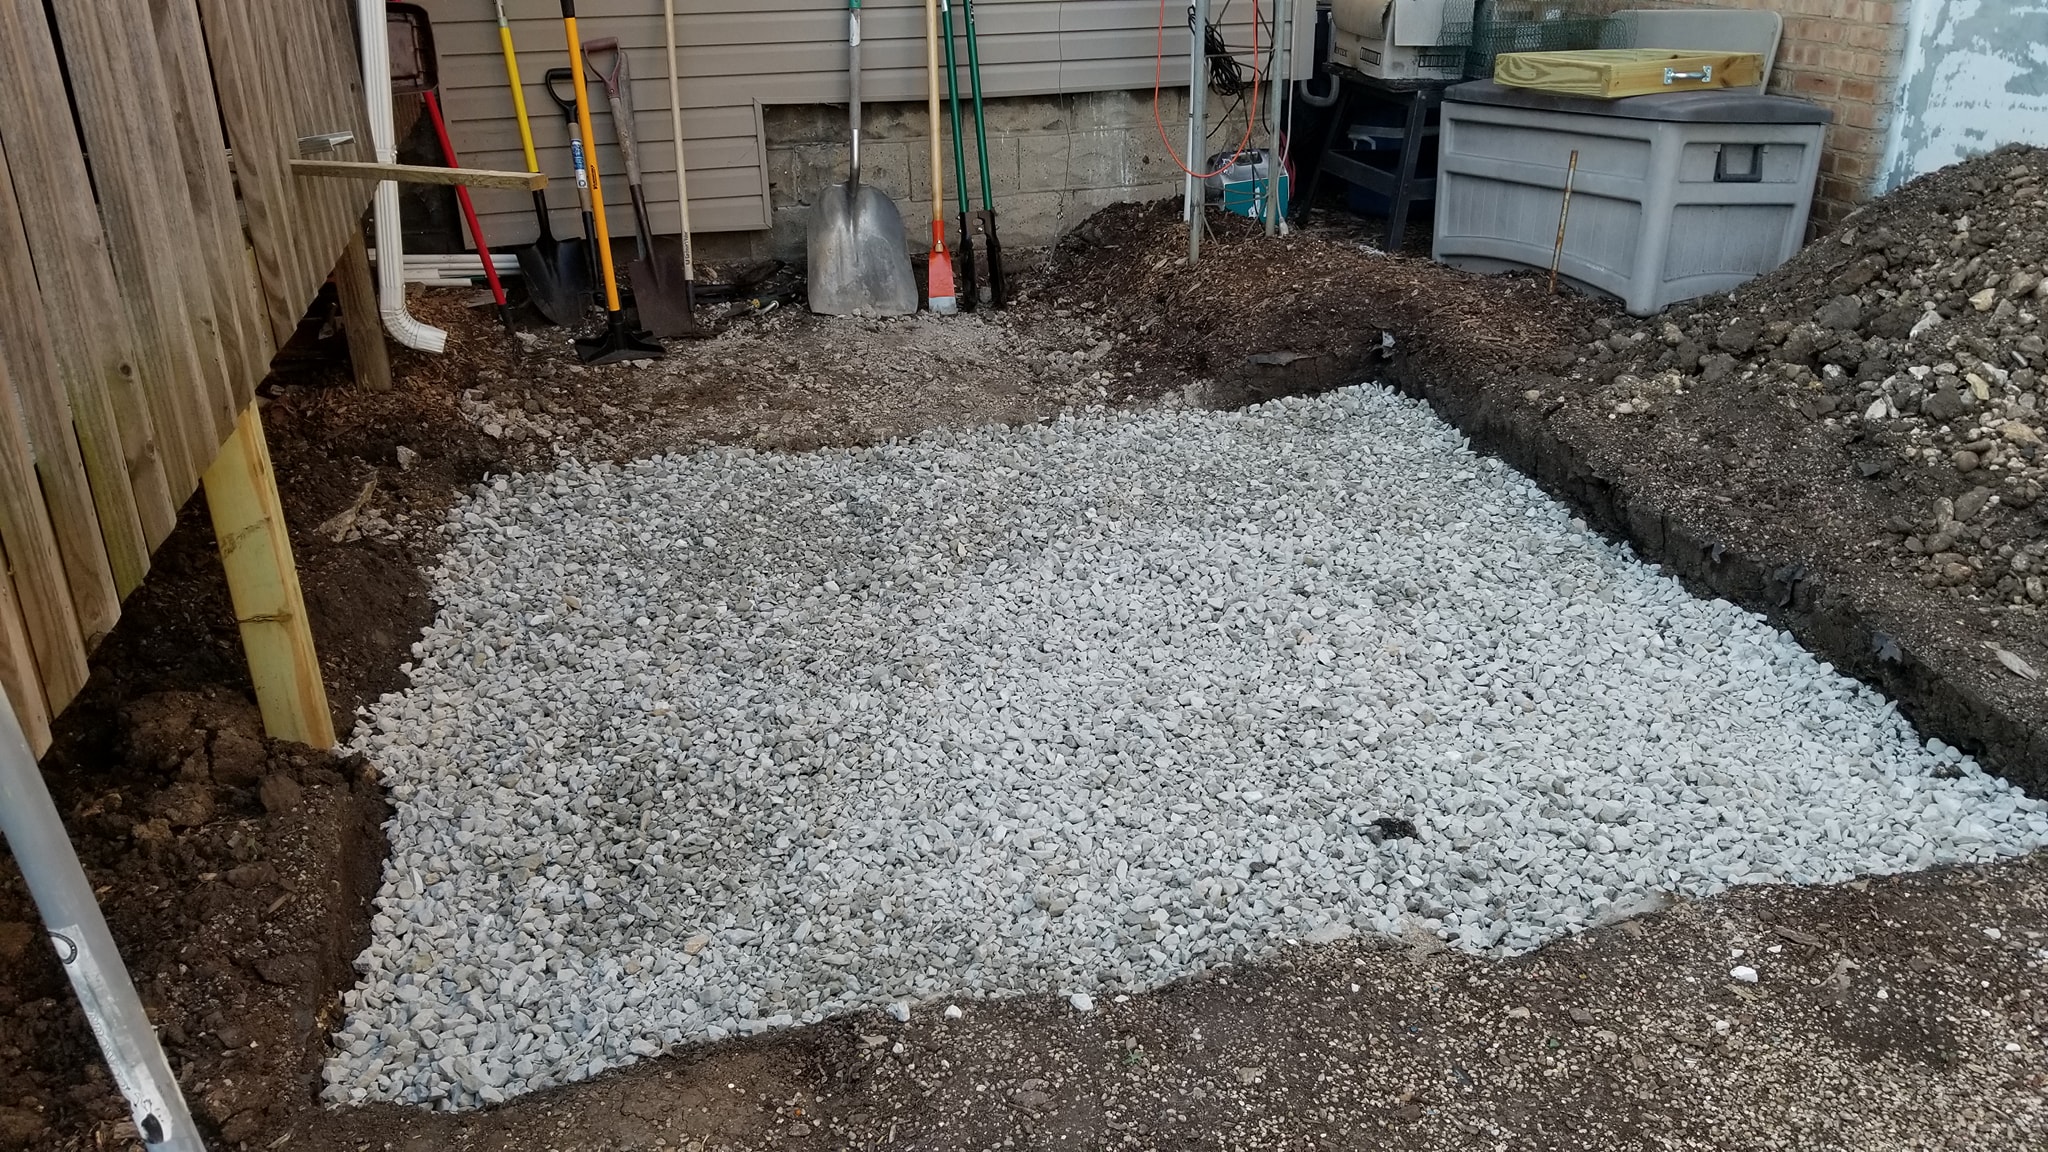
After excavation, leveling and compacting, the site was filled with gravel to create a solid foundation for the Easy Pad.
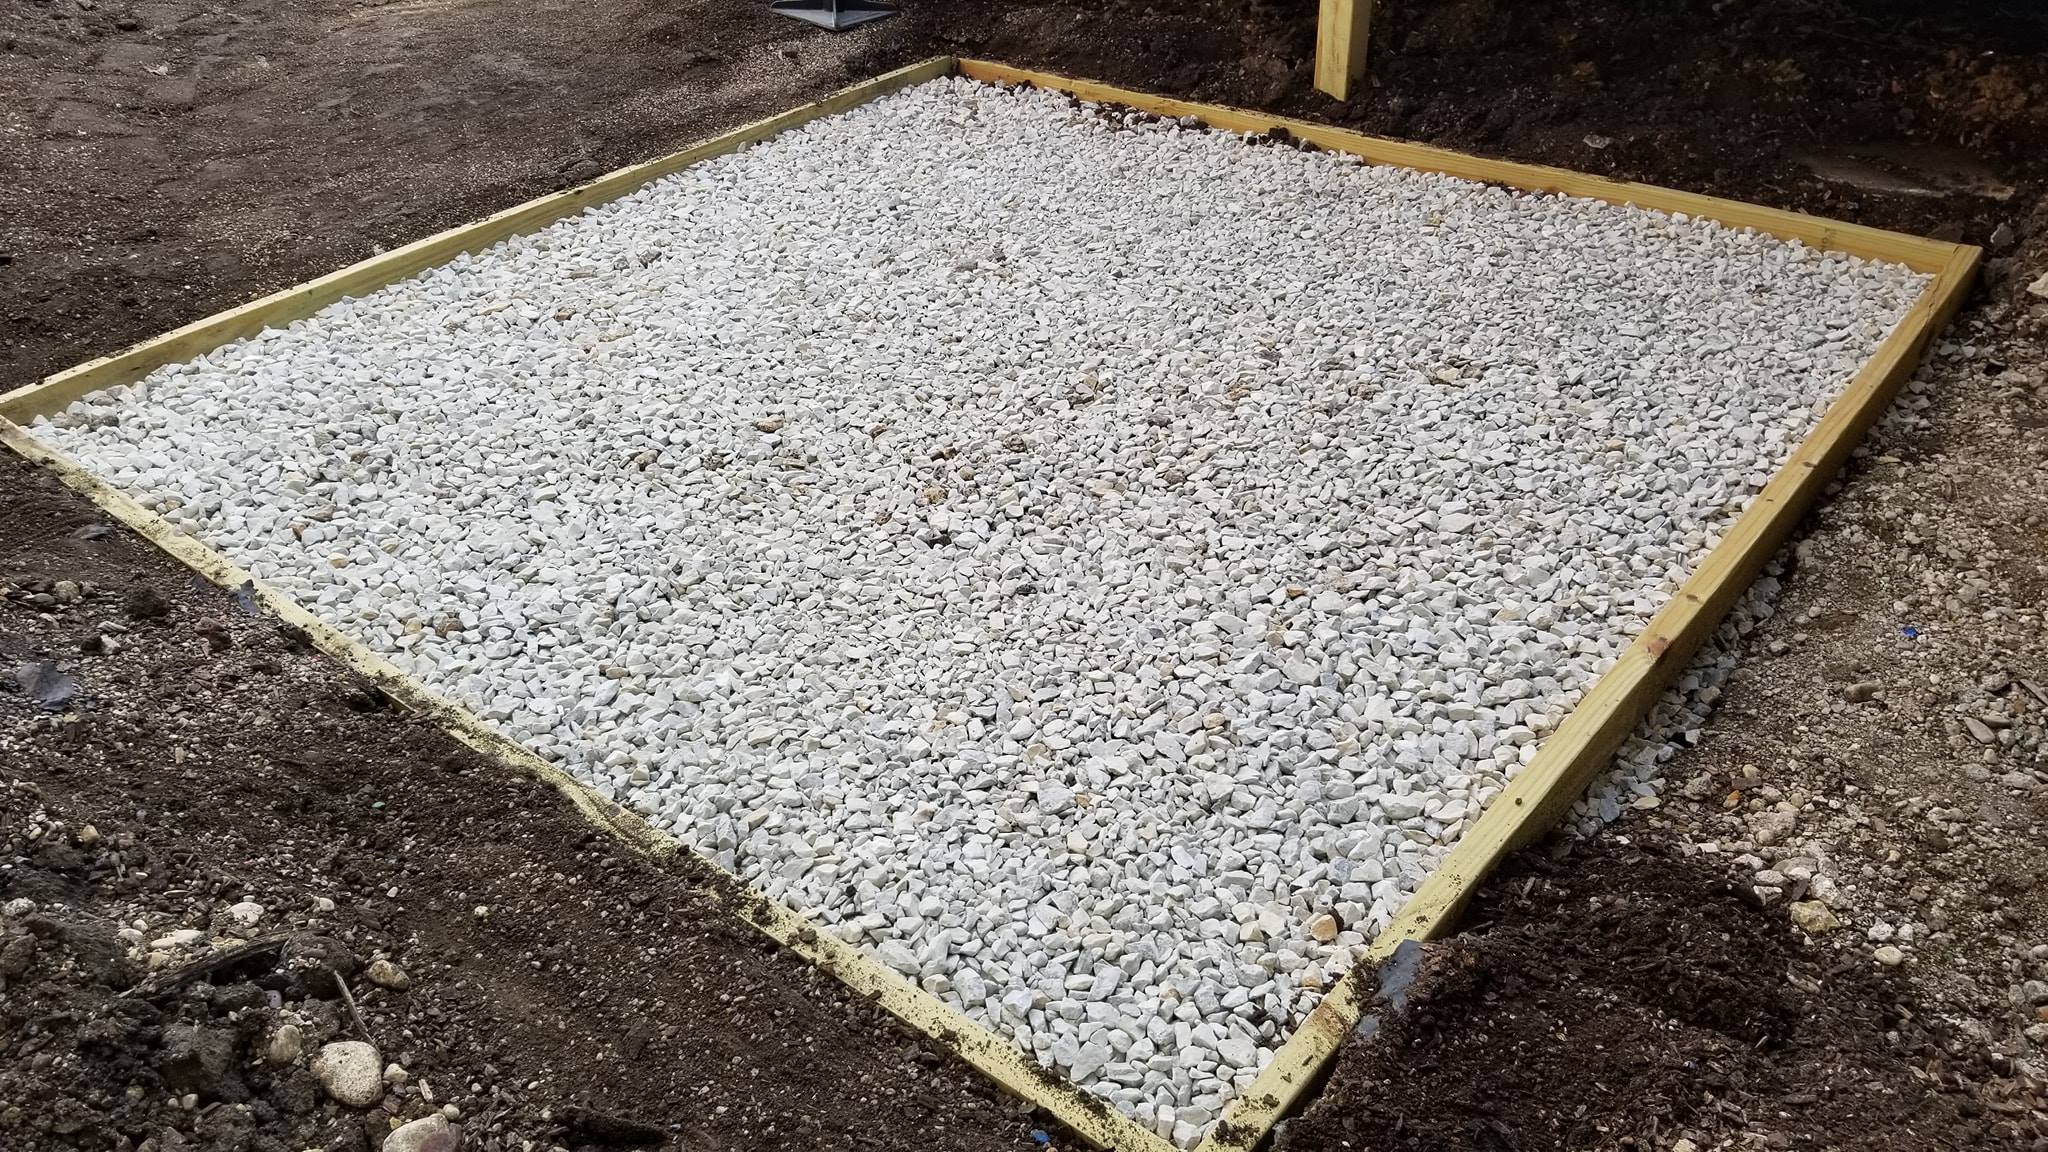
The gravel base was finally filled, leveled and ready for the Easy Pad and the hot tub itself.
Moving gravel into the new hot tub base with the WORX AeroCart.
The repairs were getting close enough that it was time to move the tub from the driveway to its permanent location. The problem was that I was doing this part by myself.
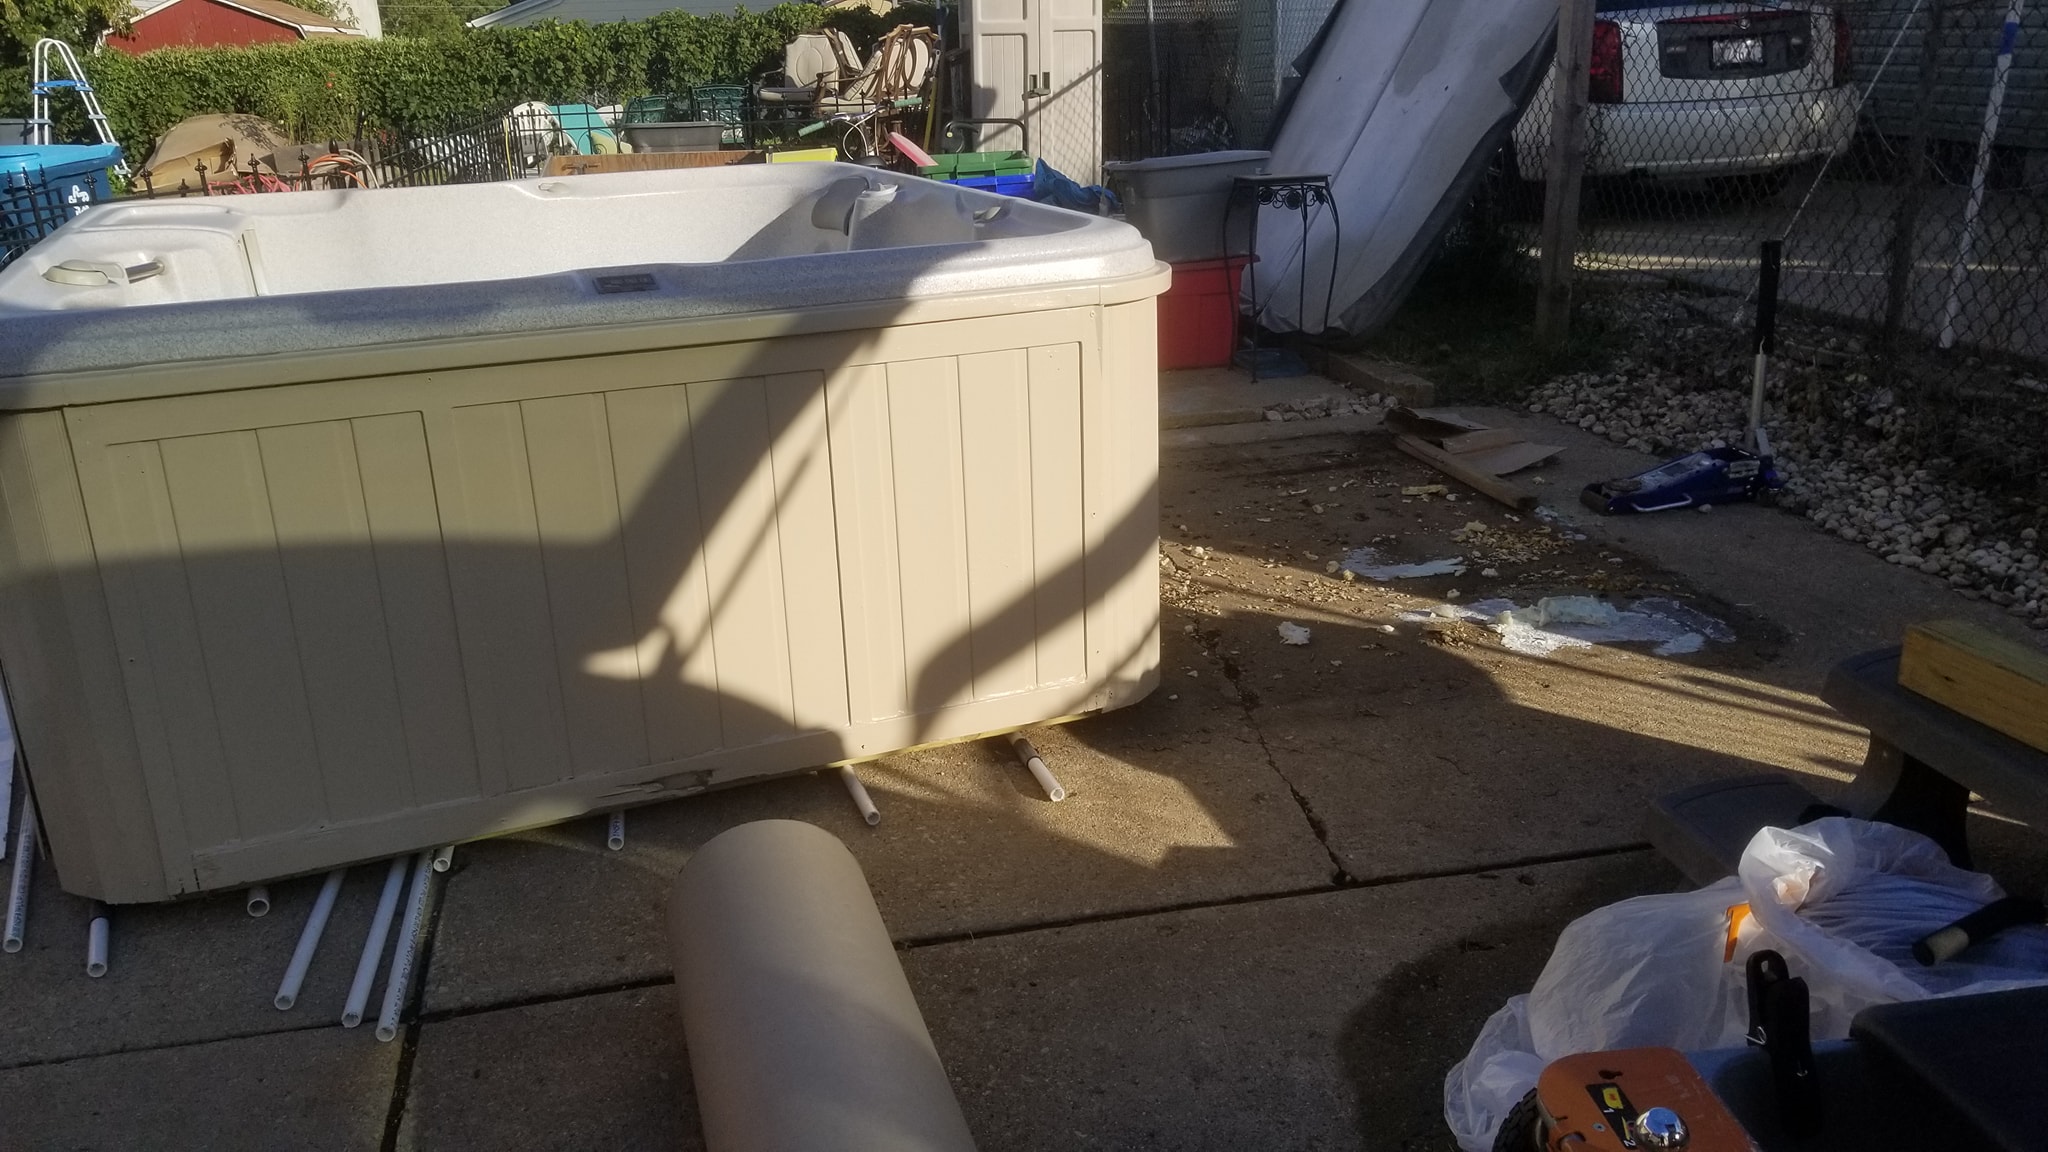
I used sections of PVC pipe as rollers, along with cardboard and protective material to create a path across the yard.

Three hours of moving, repositioning rollers and sweating in the summer heat. Nobody ever said the free hot tub was going to move itself.
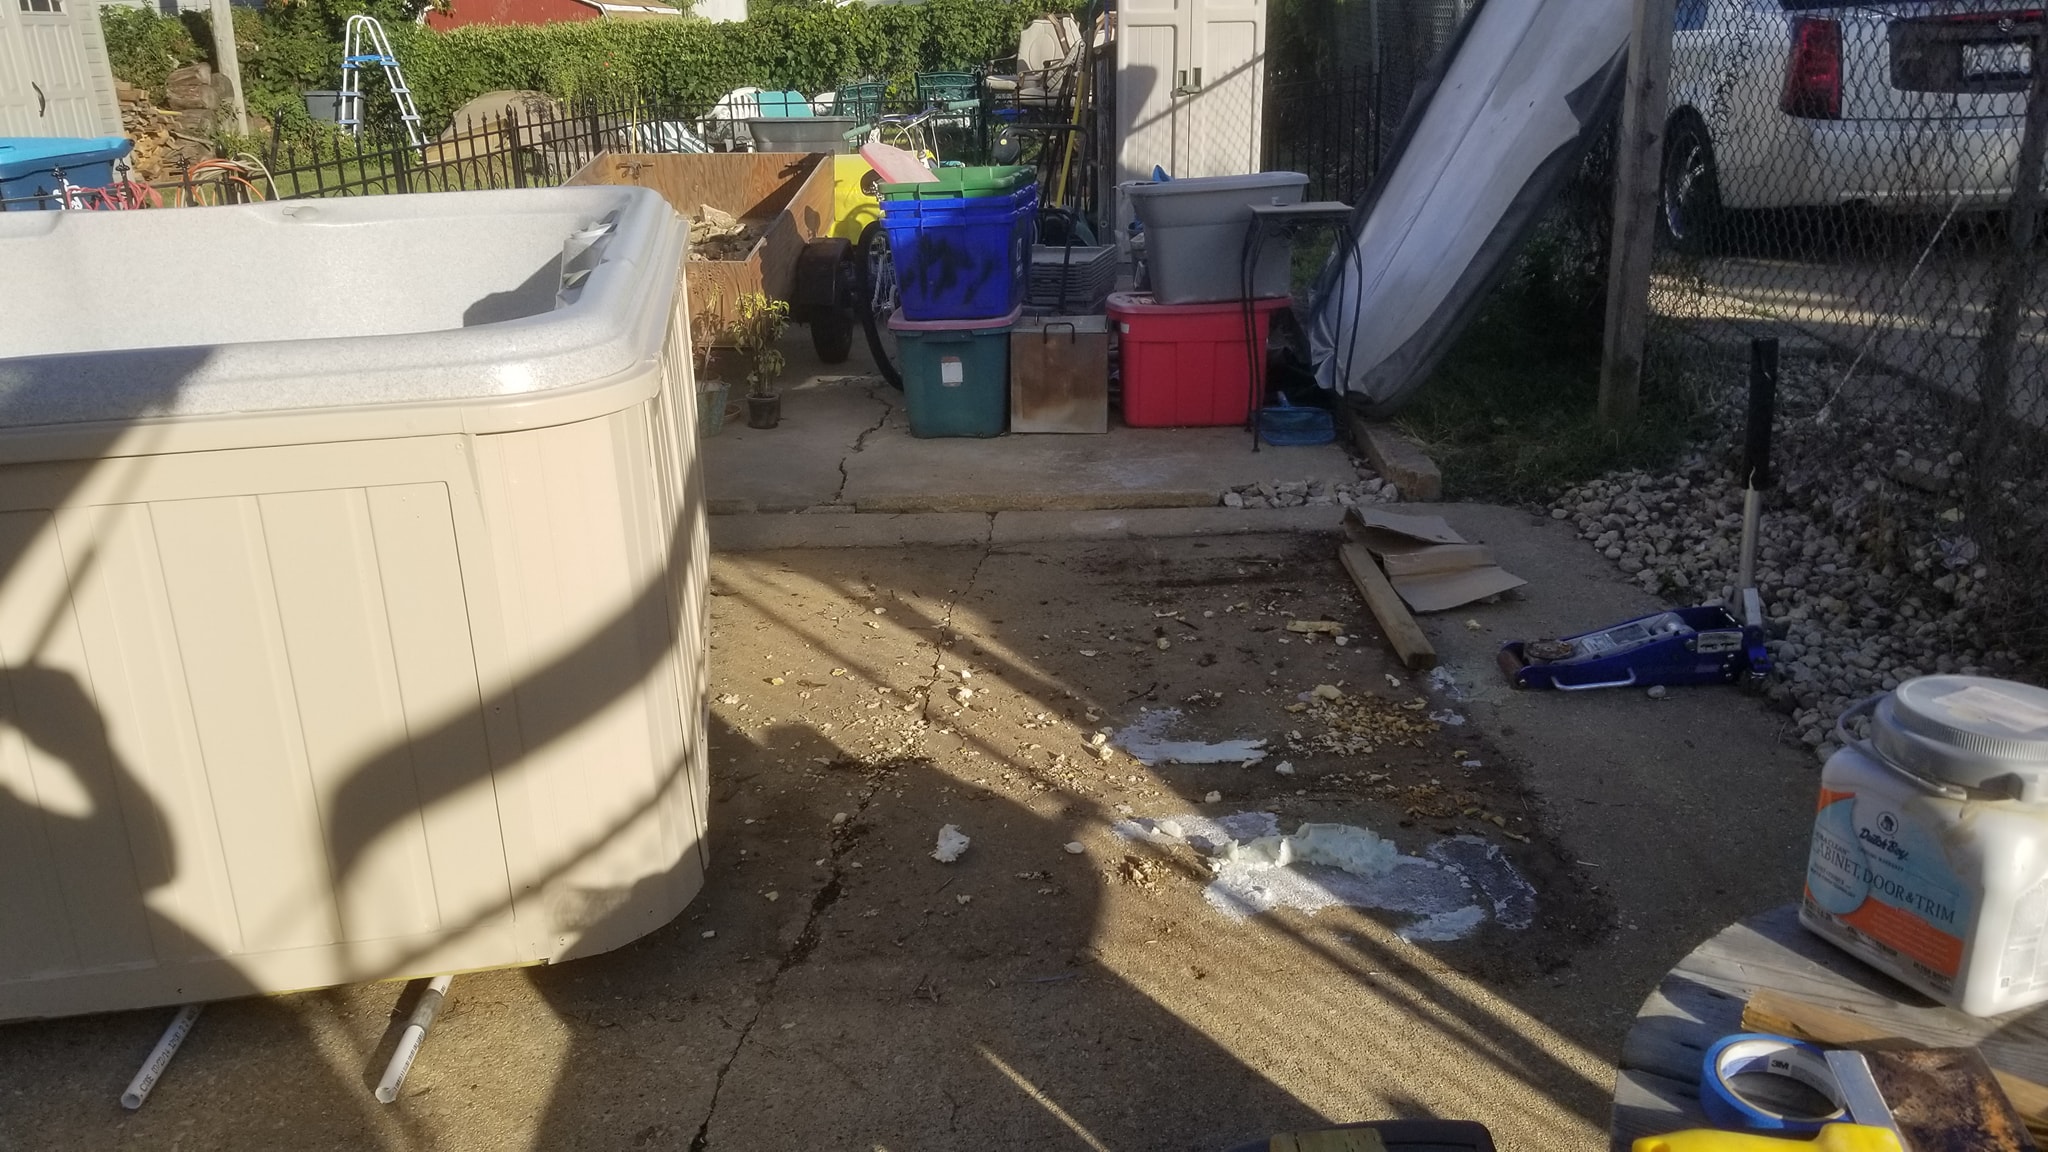
Little by little, I rolled the tub roughly 50 feet from the repair area toward its permanent home beside the deck.
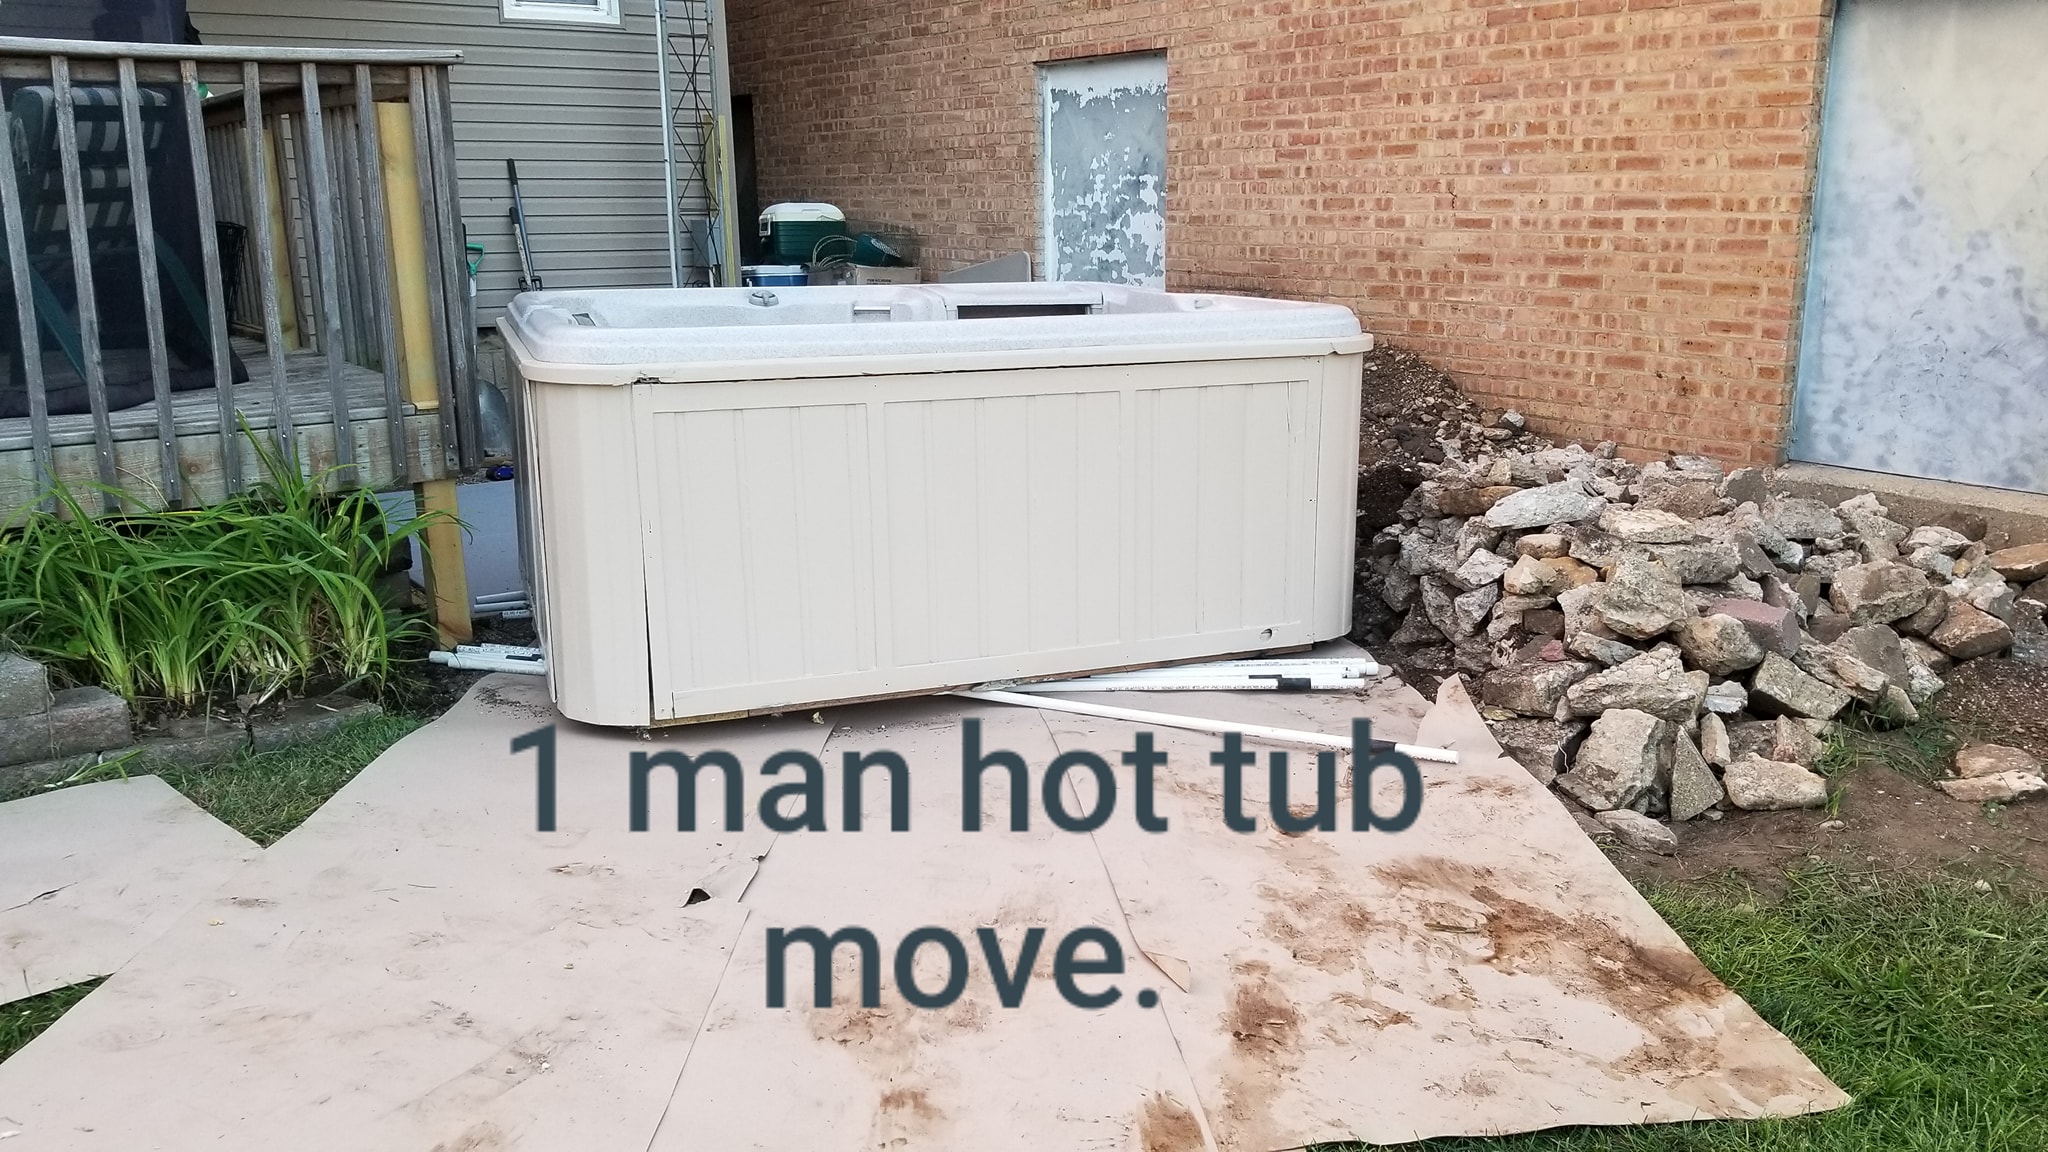
The tightest part of the trip was squeezing the tub between the deck and the rock pile on the way to the new pad.
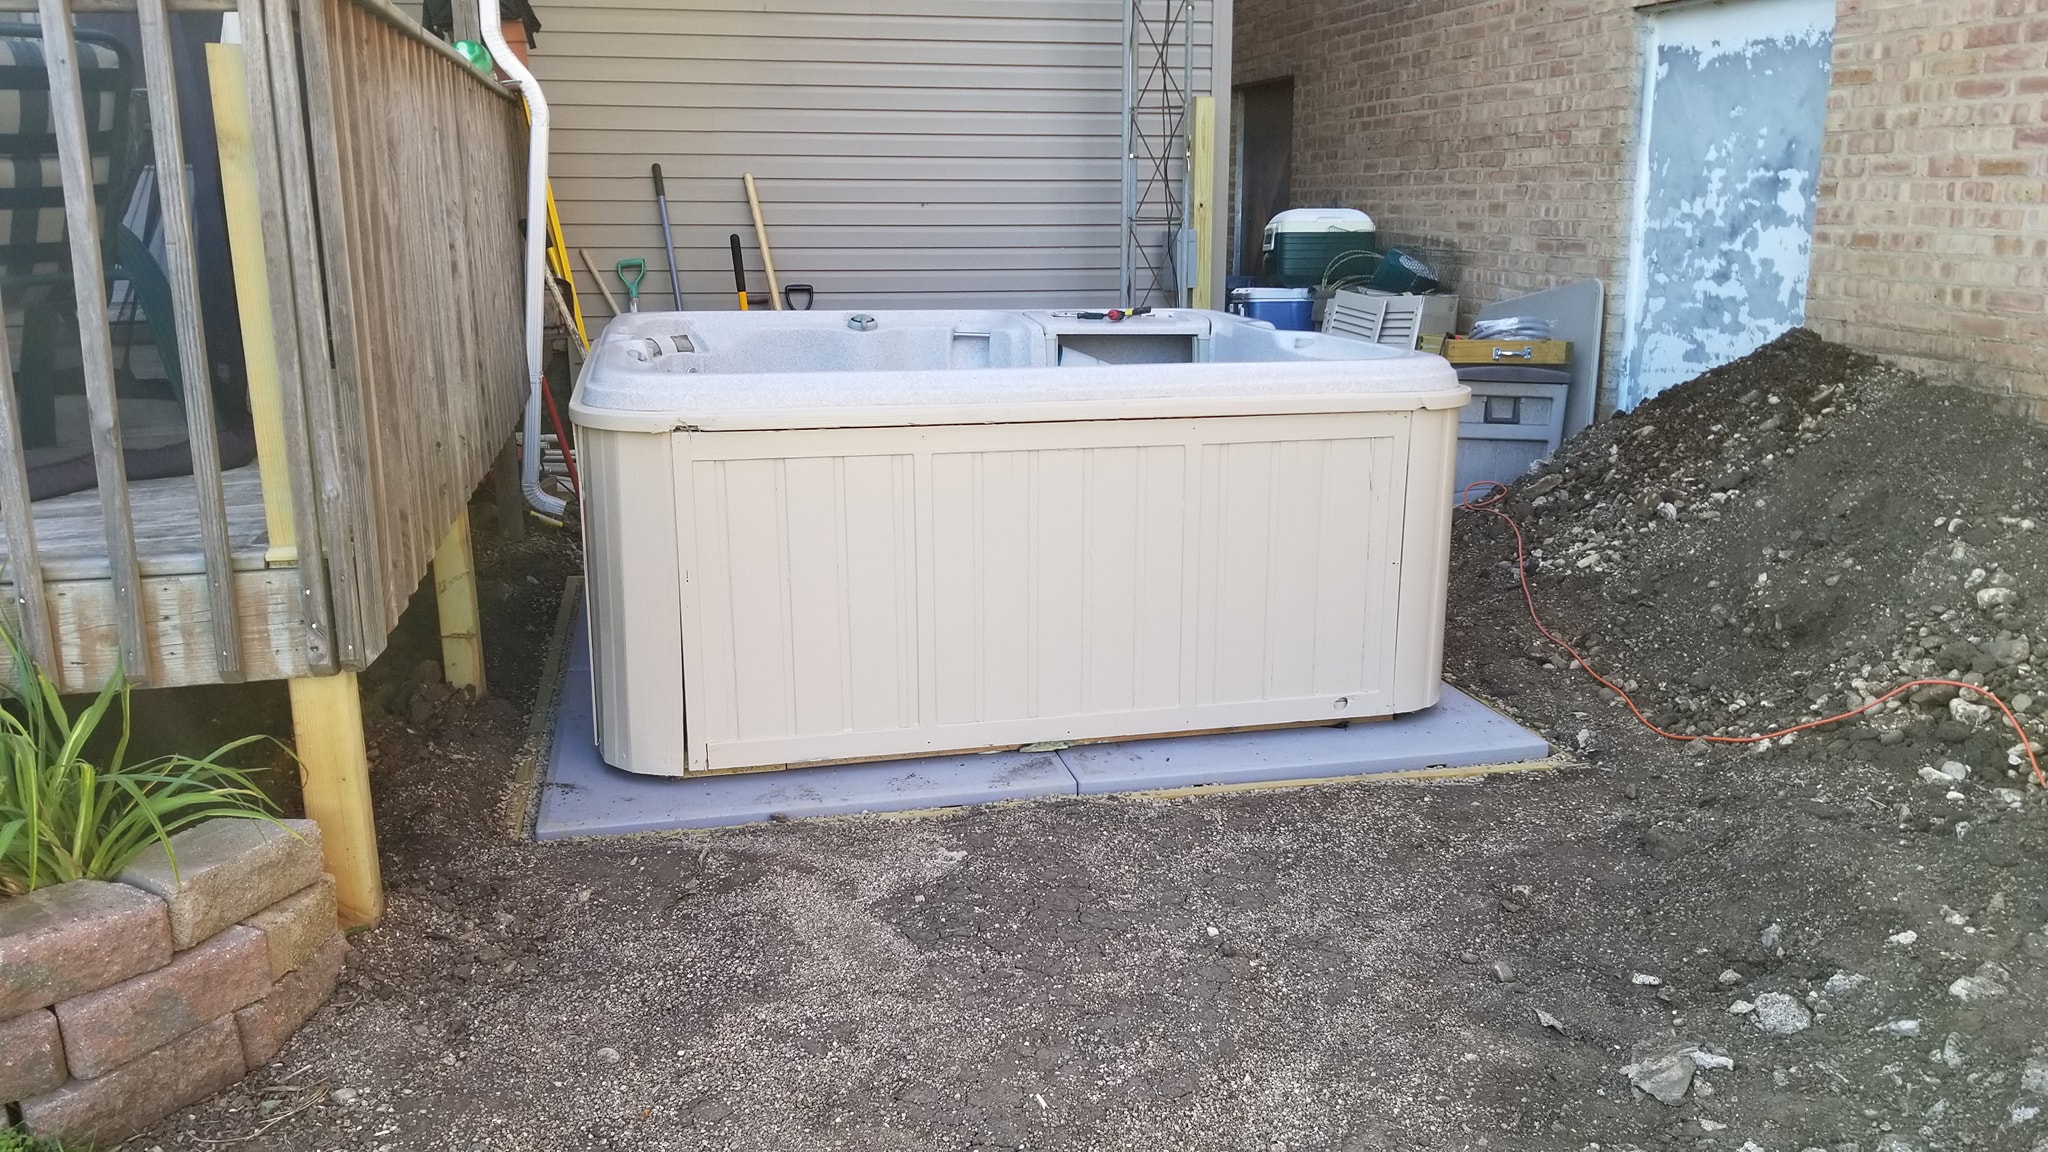
The PVC rollers came out and the hot tub was finally sitting on the Easy Pad in its permanent location.
With the tub finally in place, the permanent electrical installation could be completed. The project included the outdoor spa disconnect, conduit between the house and tub, grounding, and the dedicated circuit needed for the spa.
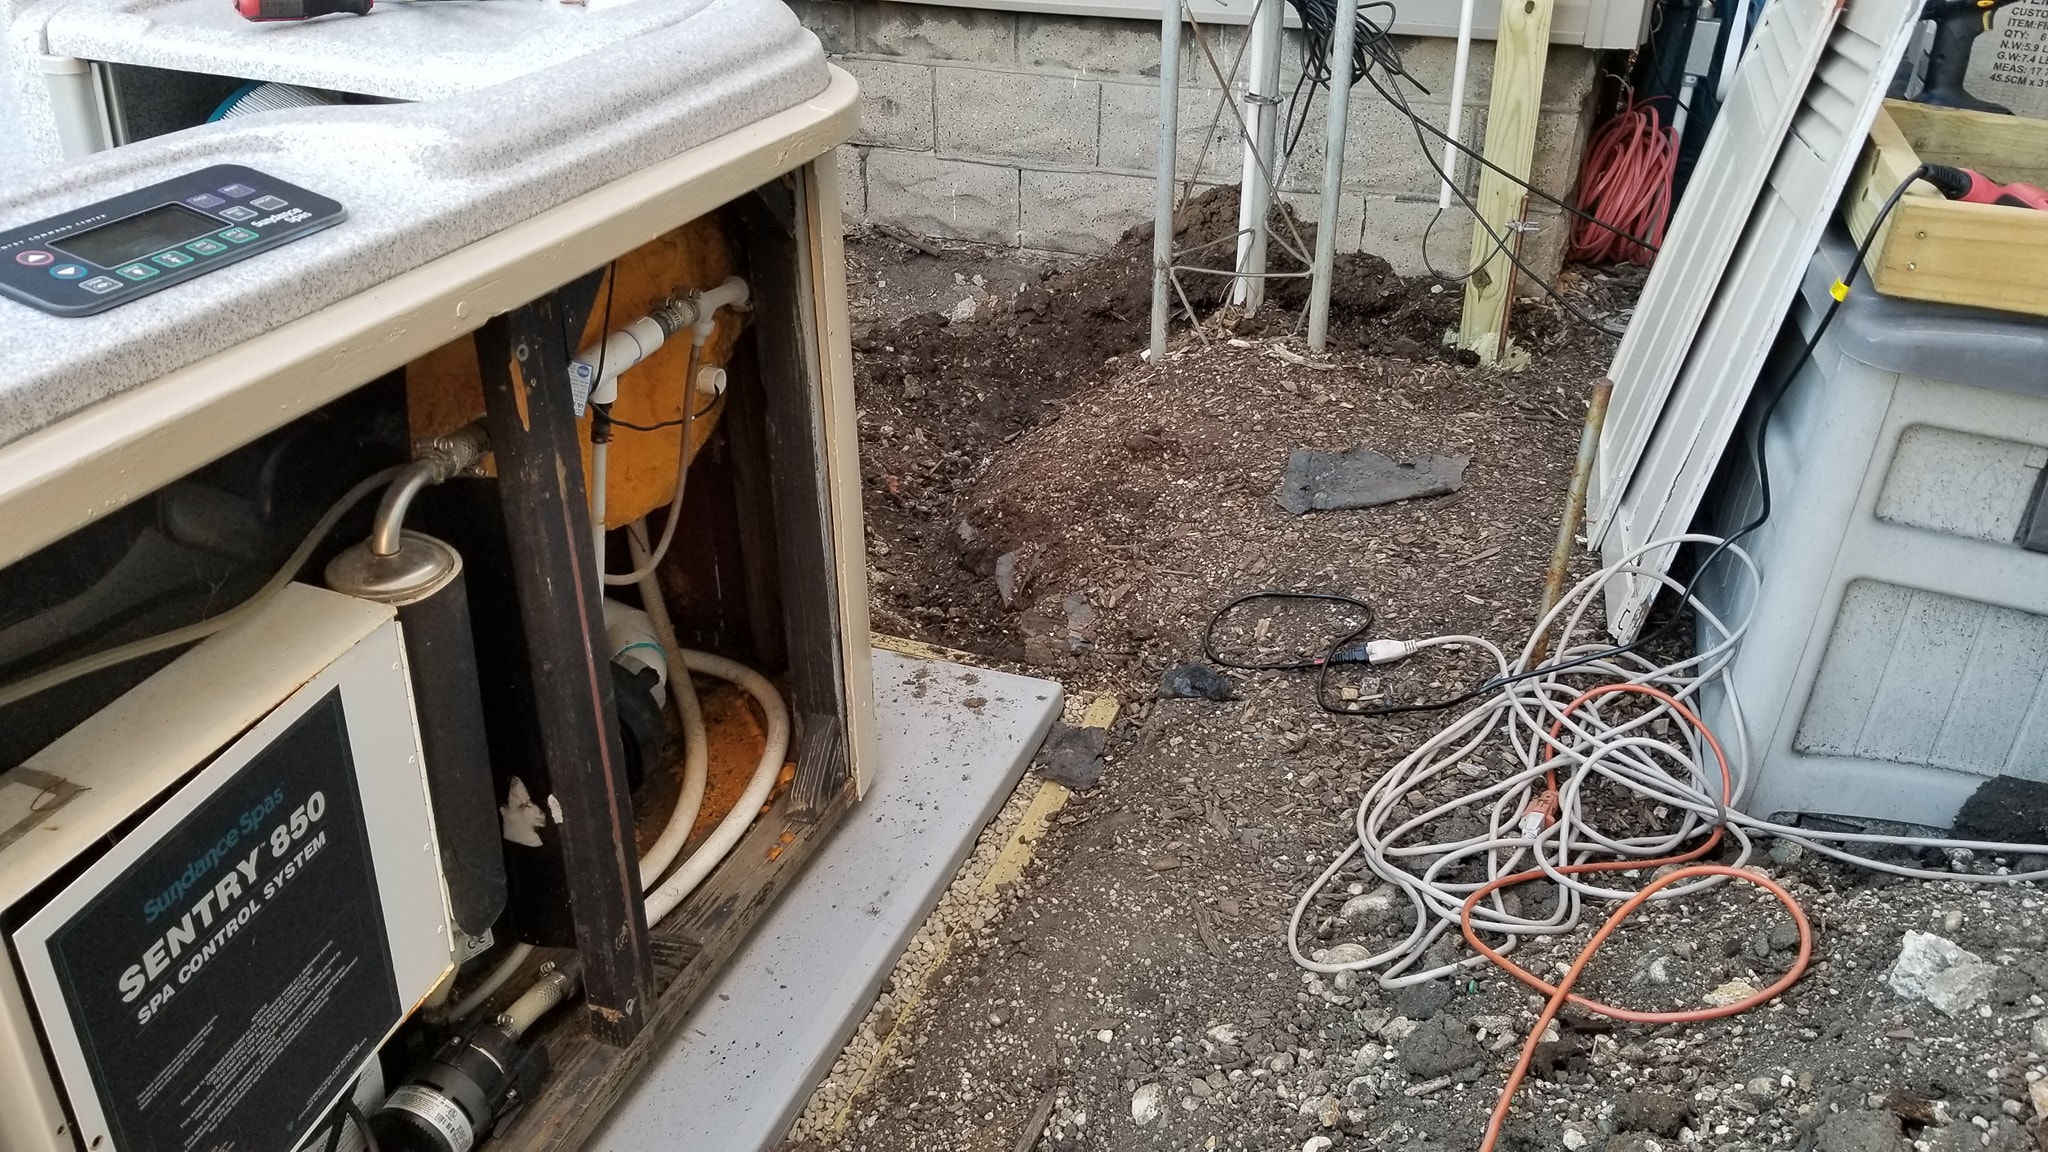
A trench was dug between the outdoor electrical box and the hot tub for the final conduit run.
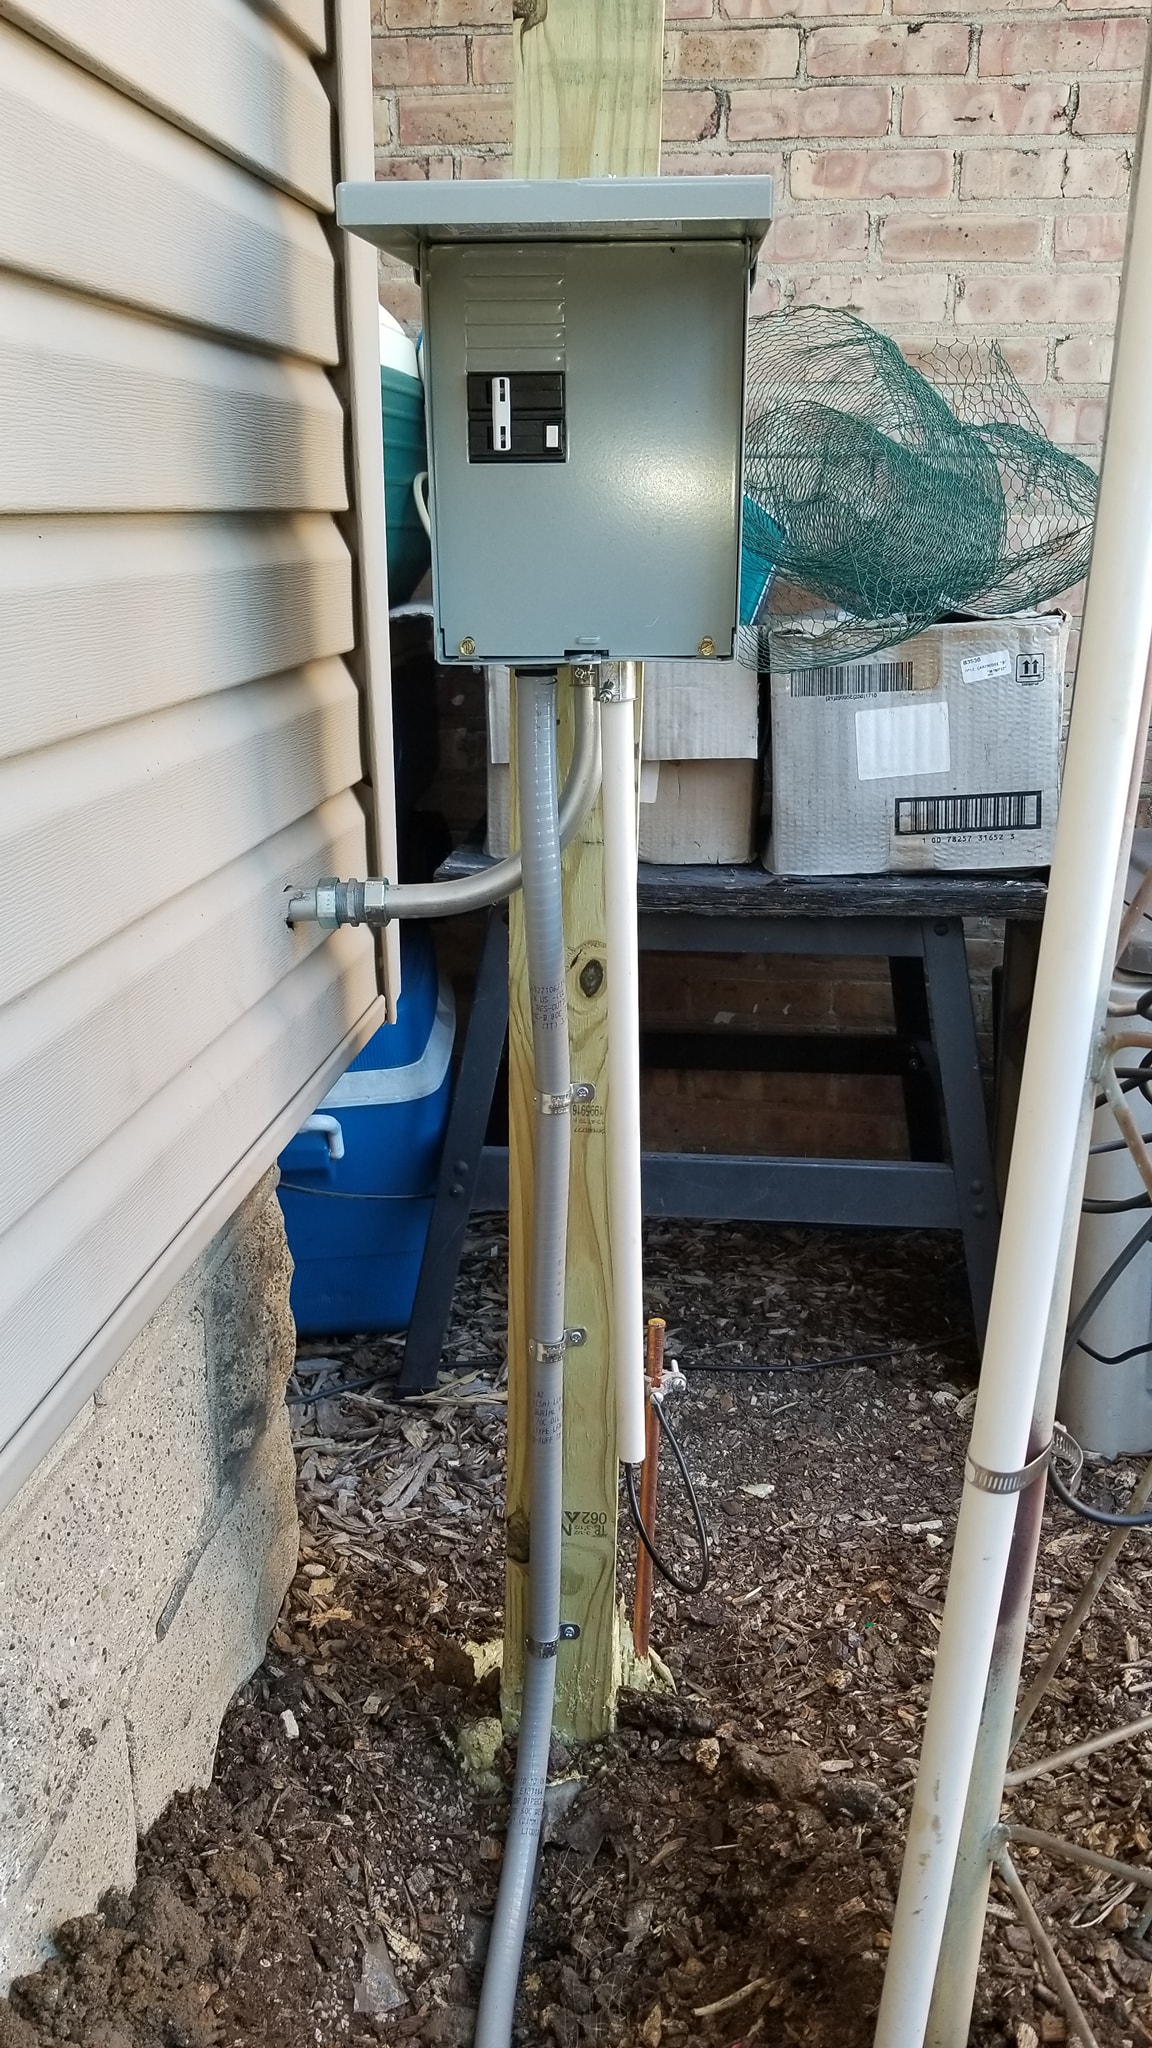
Once the connections were completed, the outdoor box could finally be closed up.
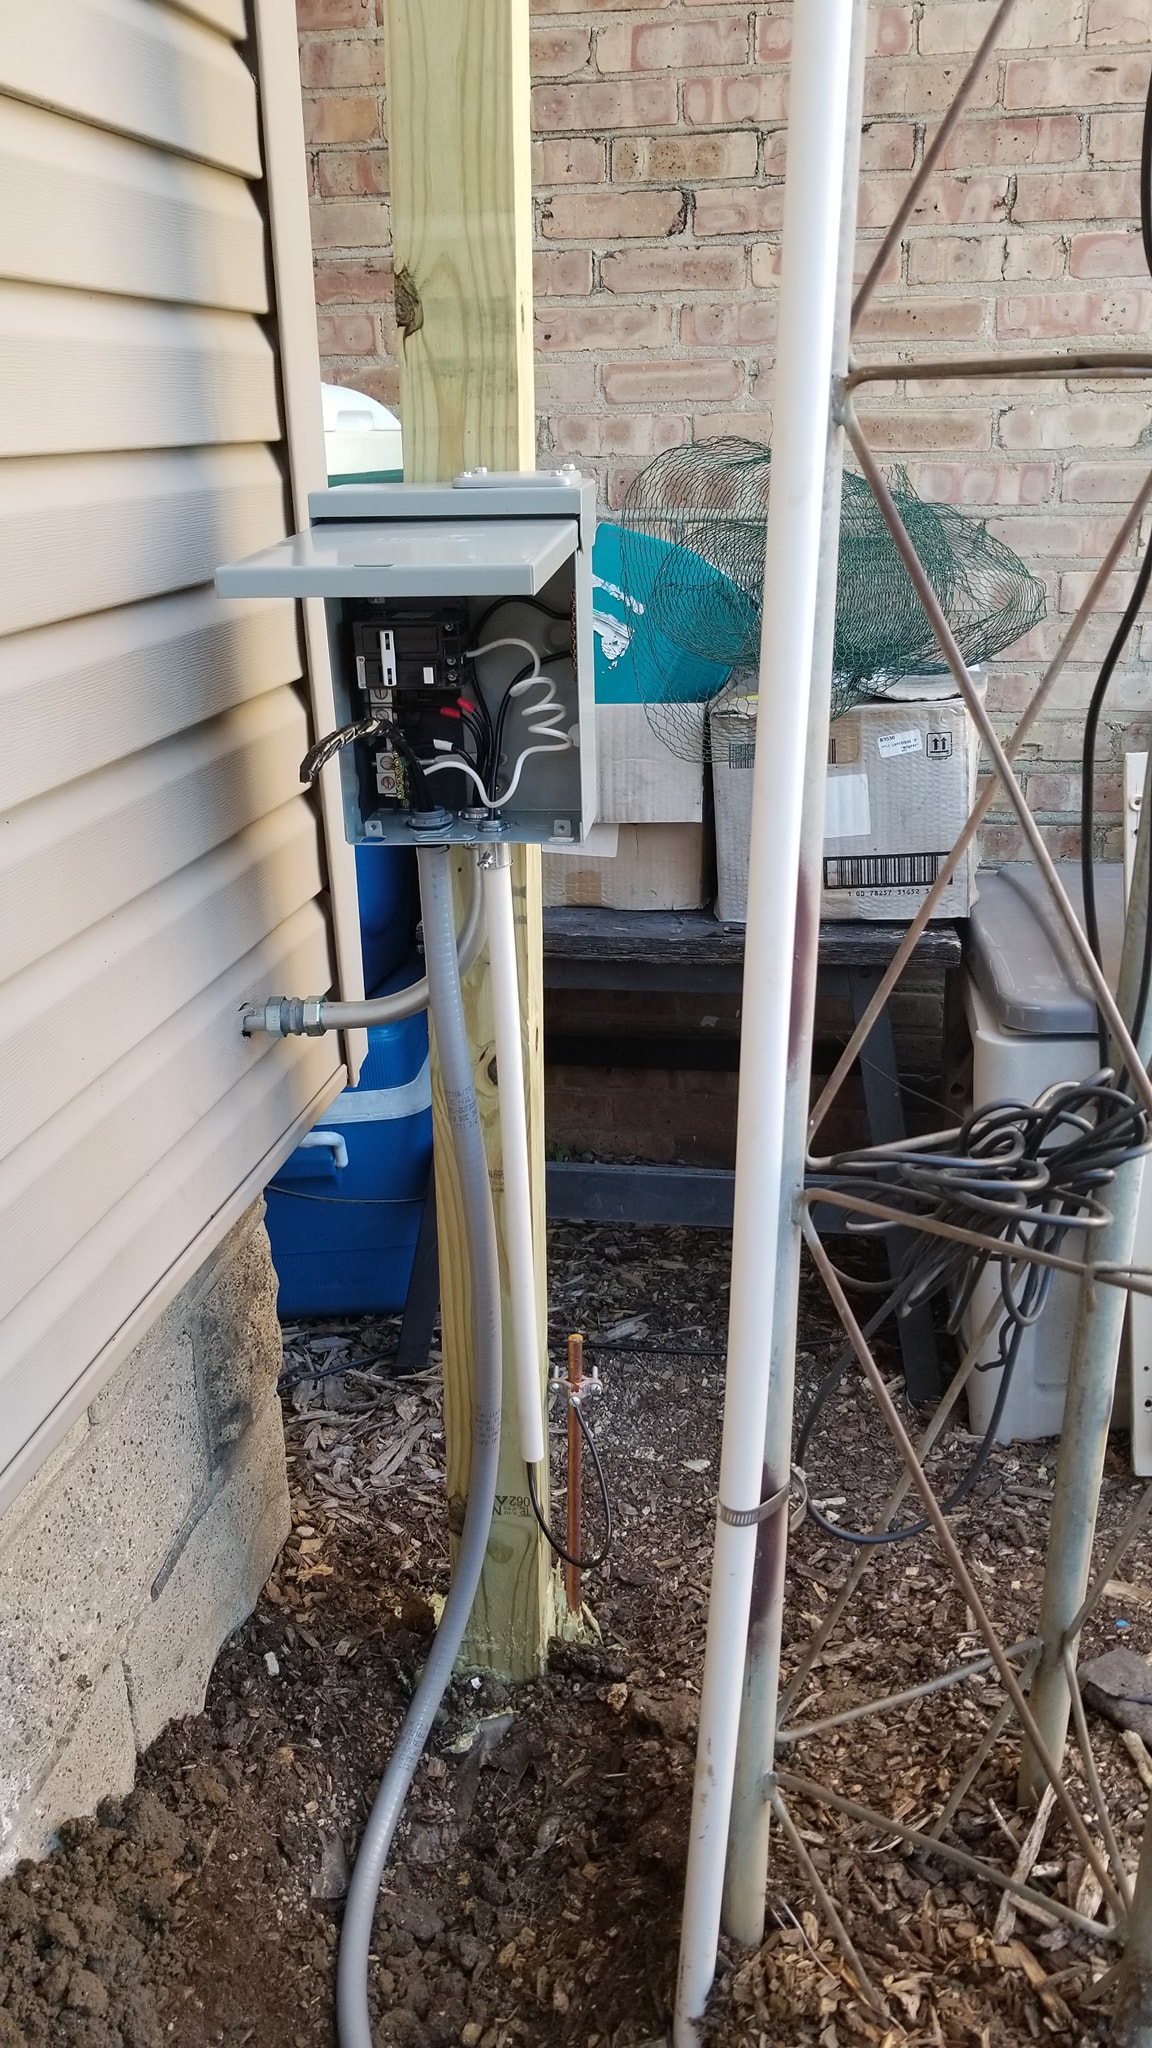
The flexible conduit connected the permanent spa location back to the outdoor electrical equipment.
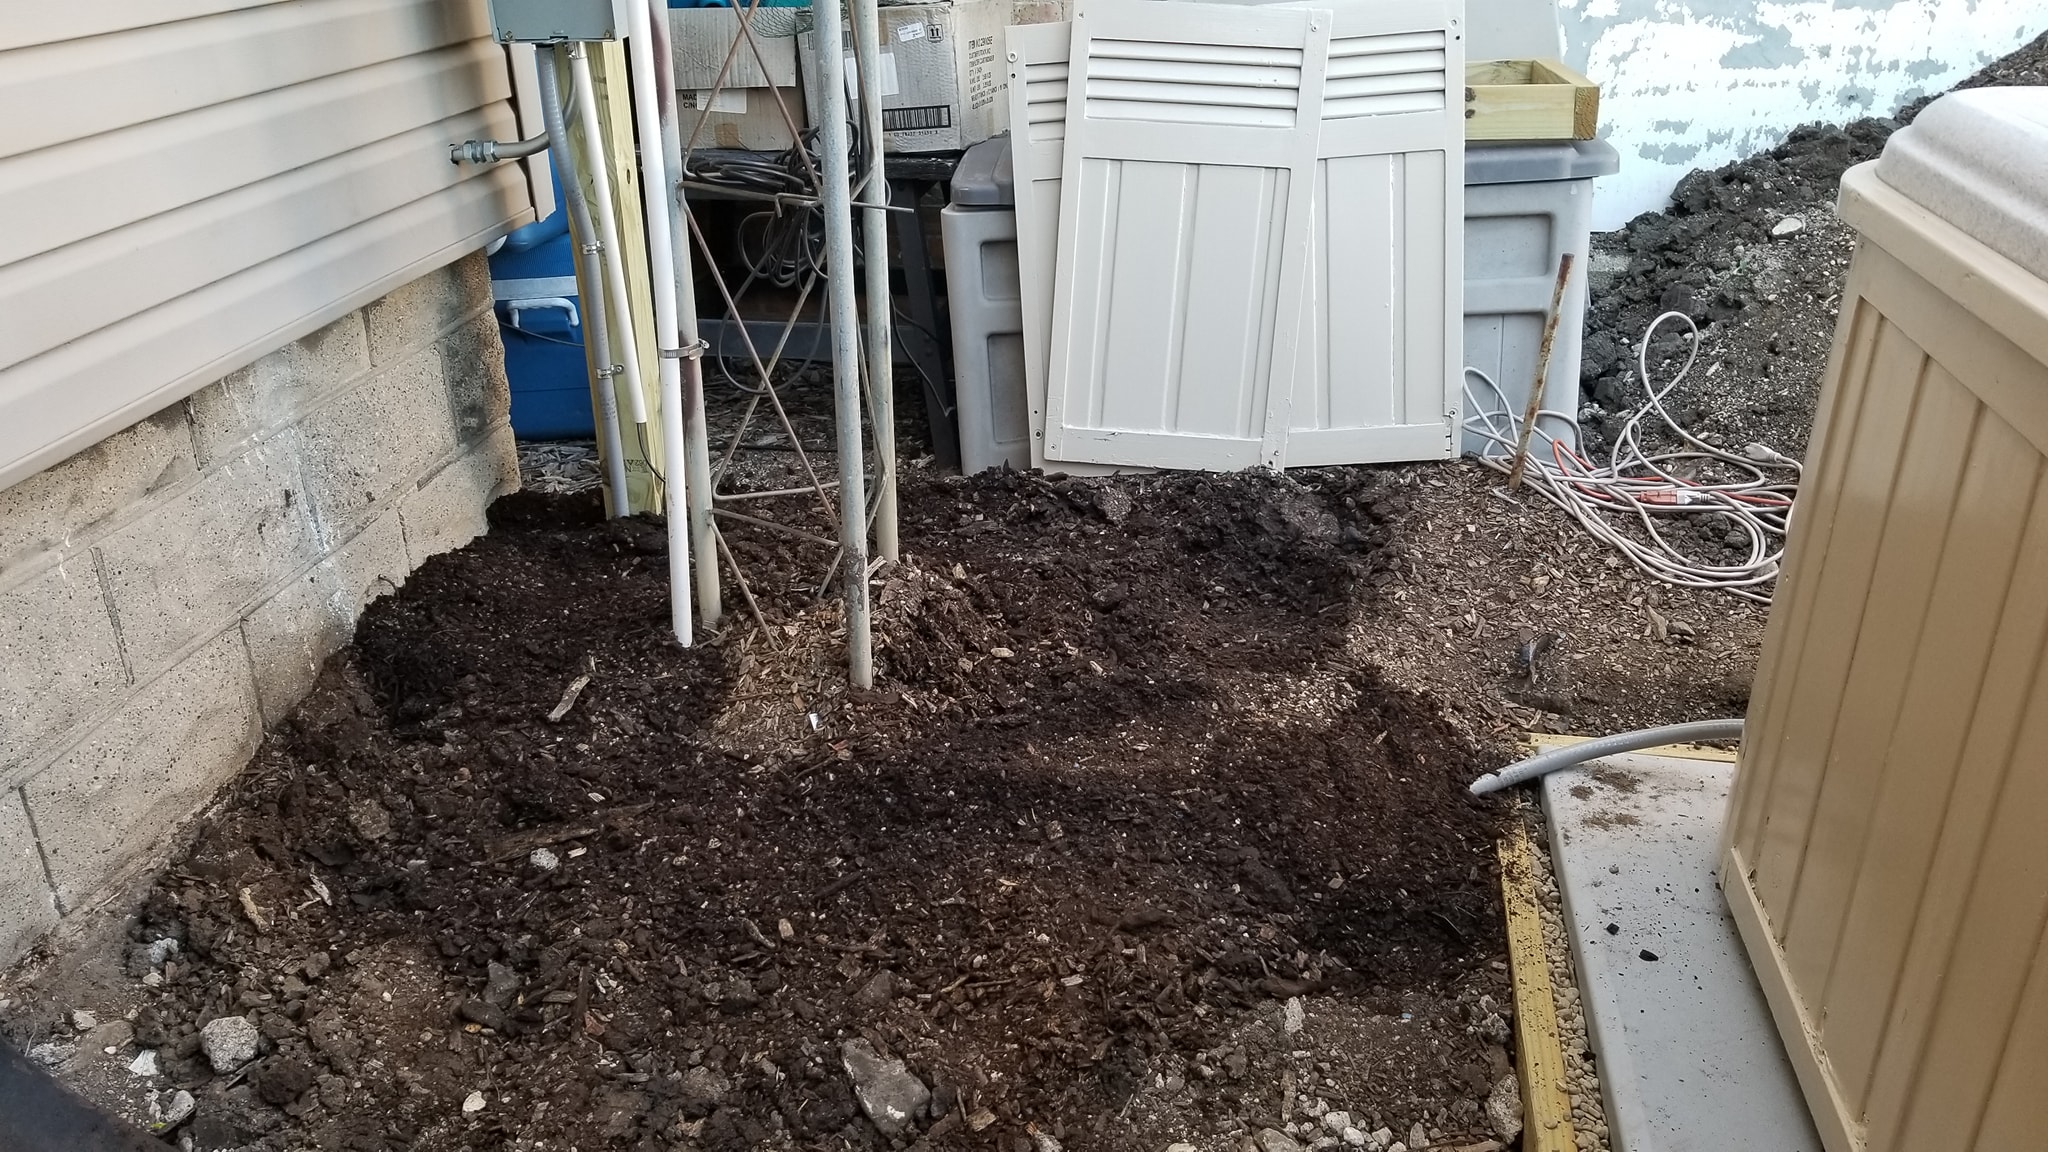
The final underground run was covered and the yard could start looking normal again.
The tub was filled, the cabinet panels went back on and everything was ready for the big moment. I went to turn it on for the first time in its permanent location... and the breaker immediately tripped.
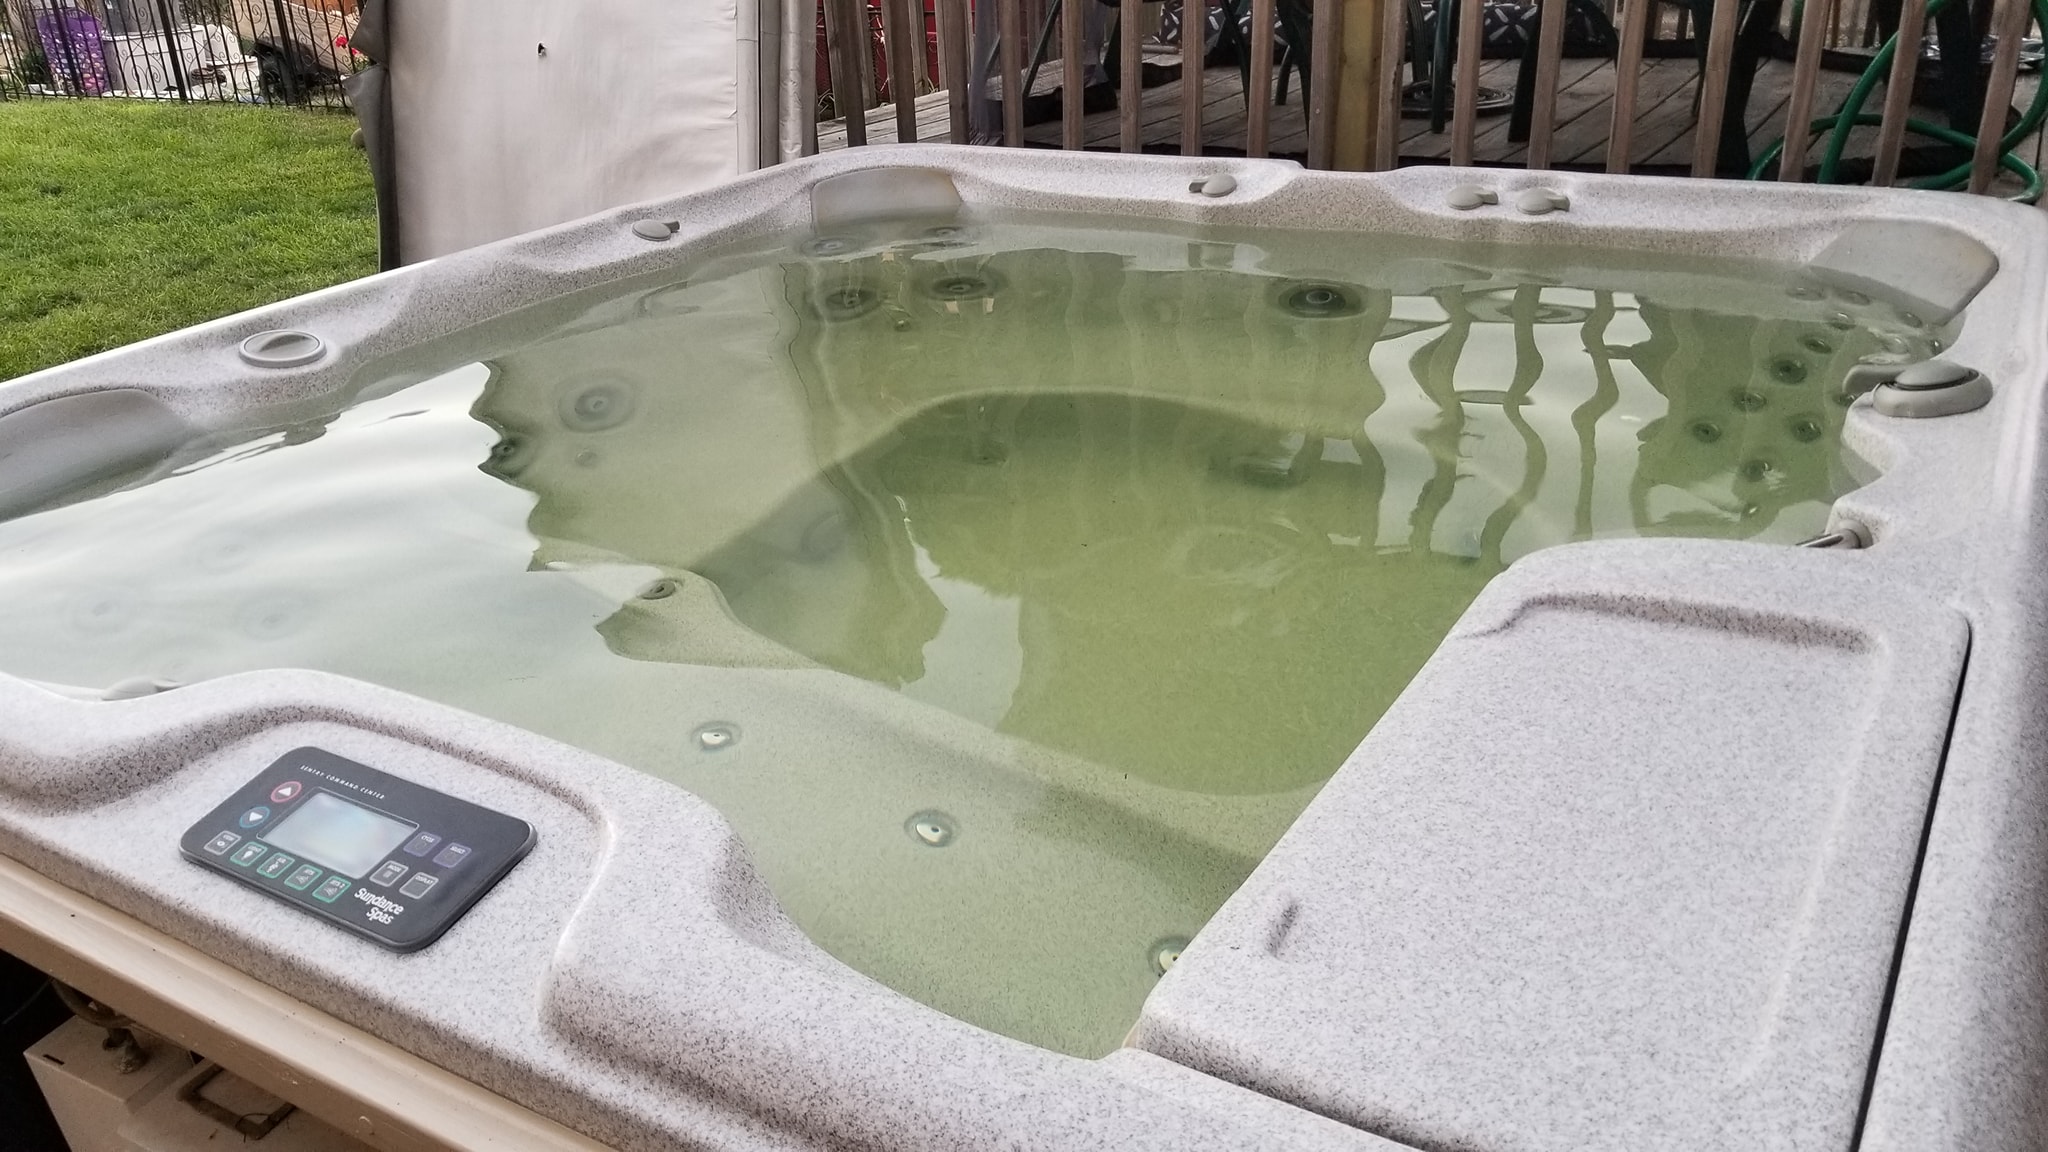
After all that work, the tub was full and ready for what should have been its first real startup.
The breaker trip meant there was still troubleshooting left to do. The project was apparently not finished with me yet.
The moment I tried the first startup and the breaker immediately tripped.
After troubleshooting the problem, the hot tub was finally running and I could walk through how everything was working.
Getting the tub running did not mean the repairs were over. The circulation pump was bad, the air blower had serious corrosion, and parts of the insulation I had dug out during the manifold repair still had to be replaced.
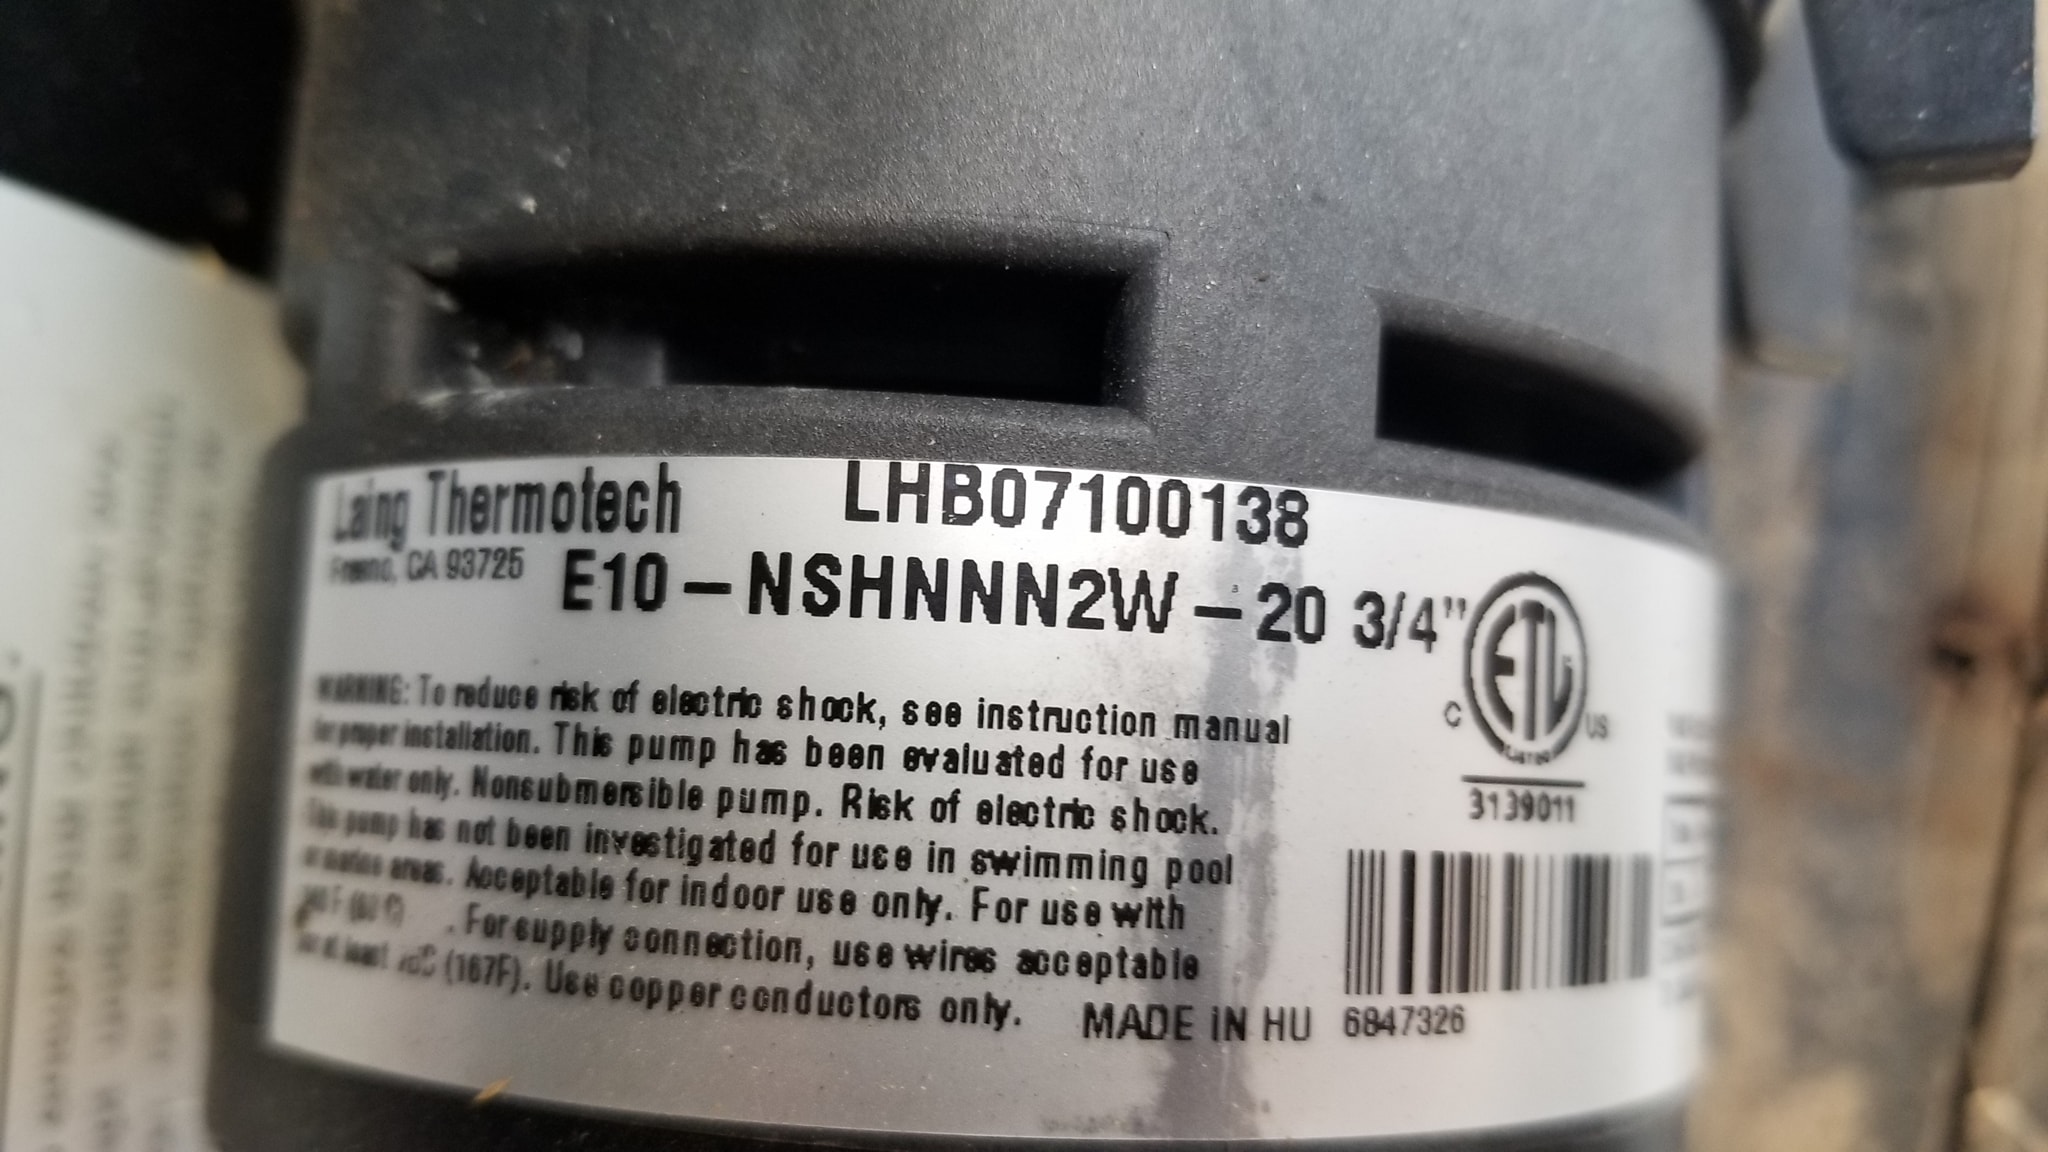
The circulation pump was not working properly, so I photographed the original unit to make sure I ordered the correct replacement.
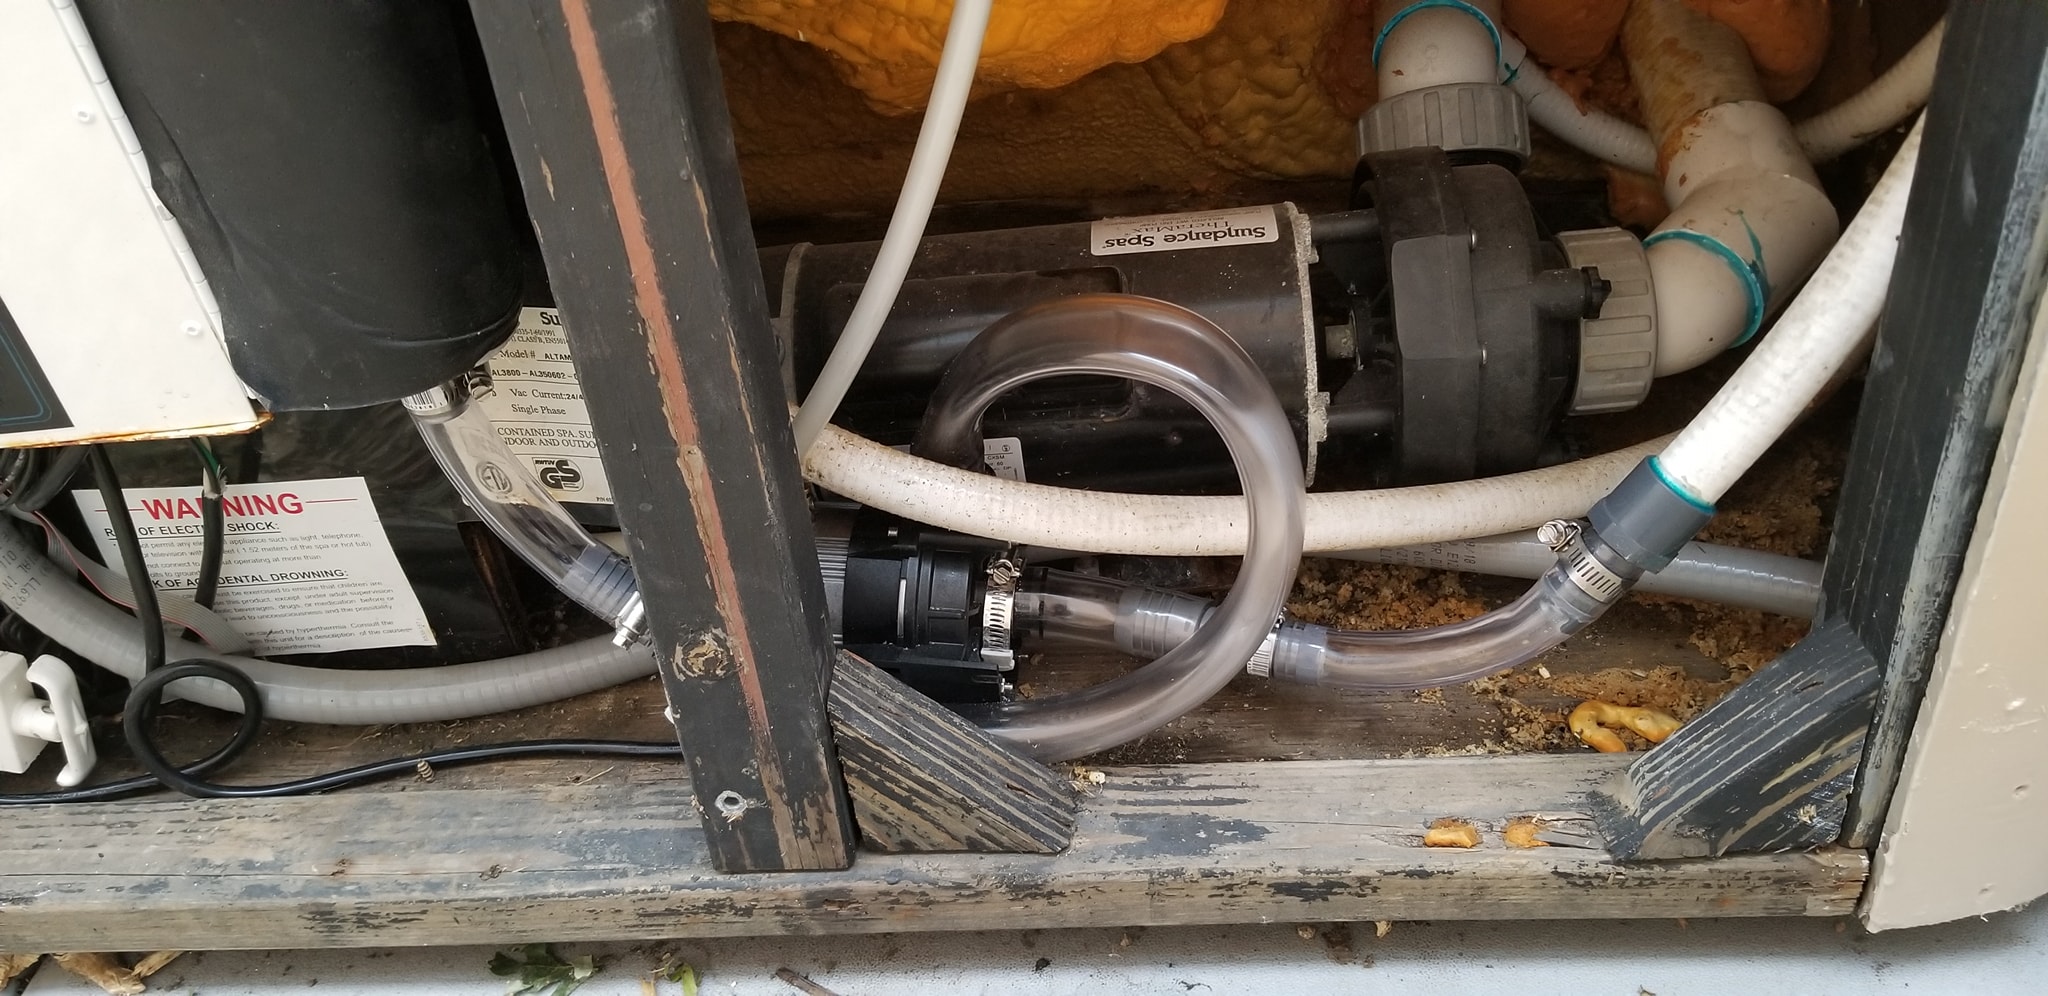
The new pump was installed with new hoses and the circulation system was back in service.
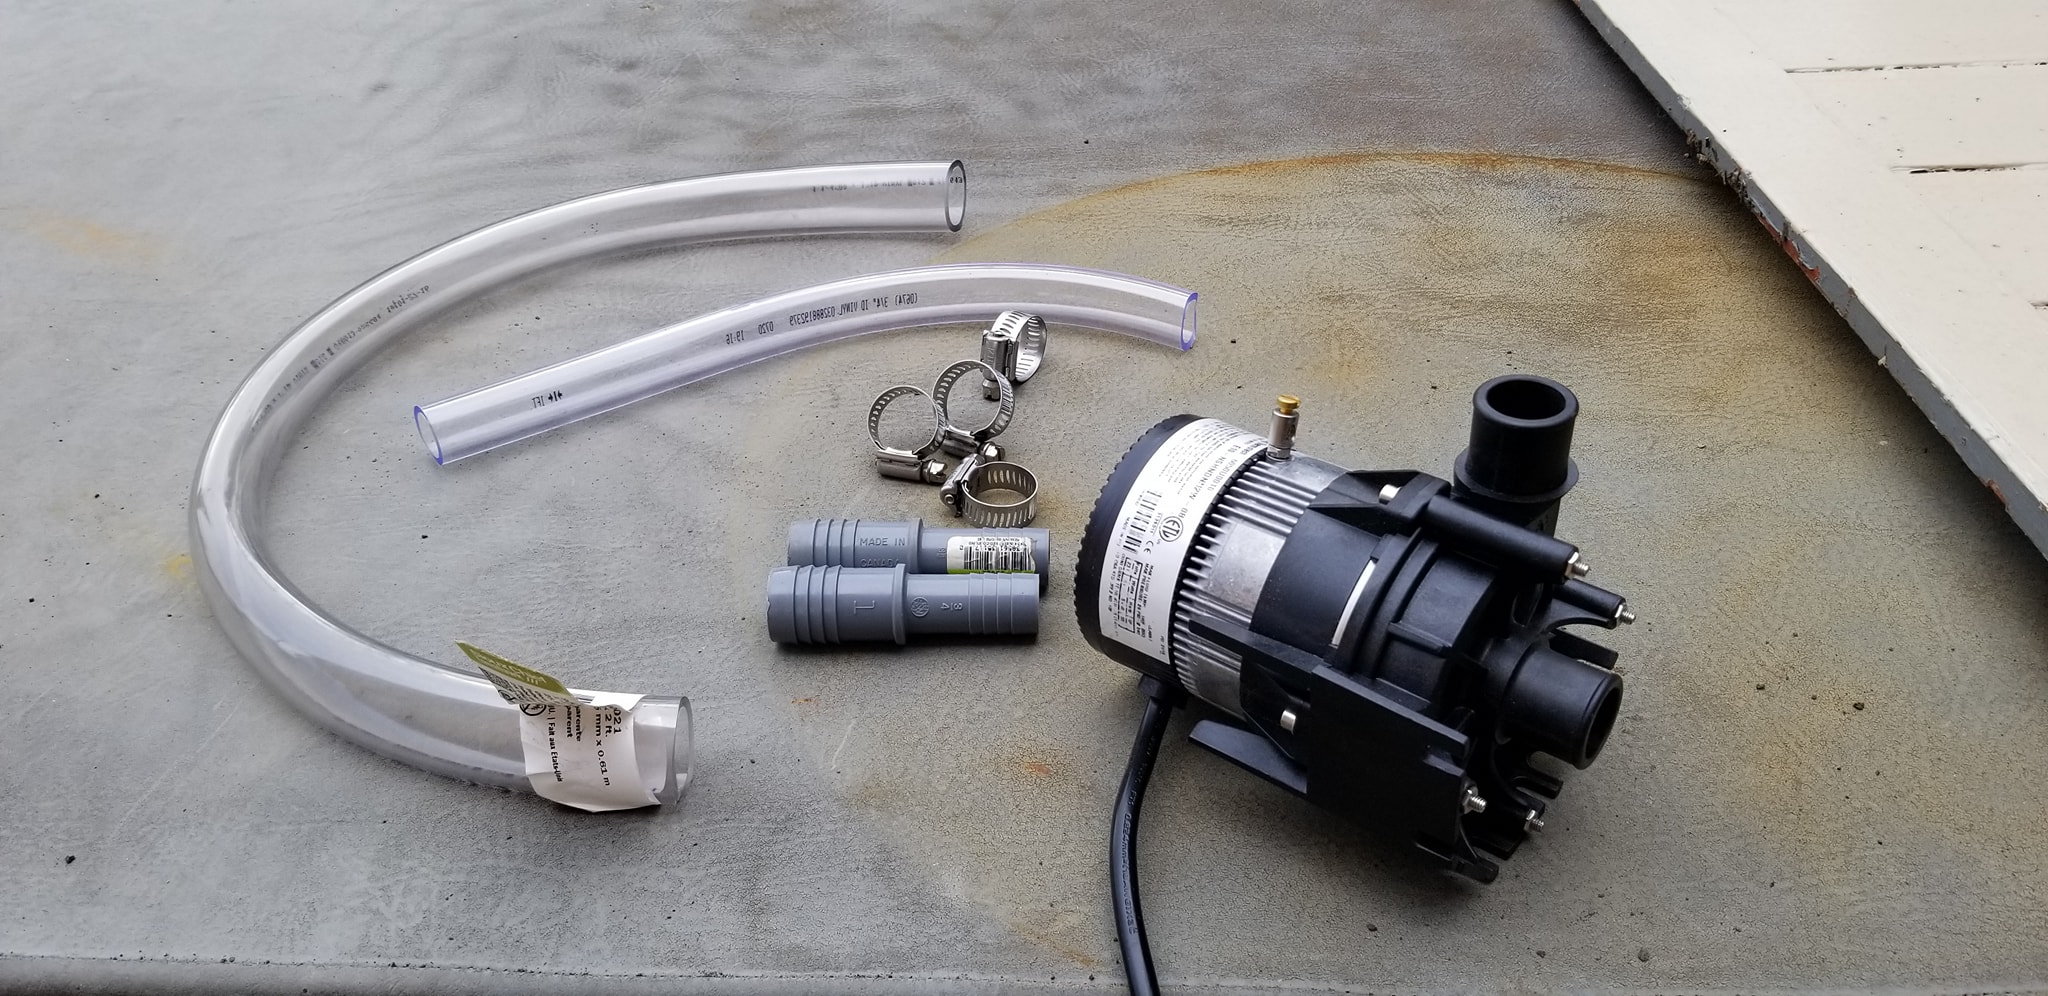
The new circulation pump arrived and was ready to go in.

When I opened the old air blower, the inside was full of rust and corrosion from water getting where it never should have been.
The new circulation pump running after installation.
I did not want the replacement blower ending up like the old one, so I added a one-way check valve to the air plumbing before installing the new blower.
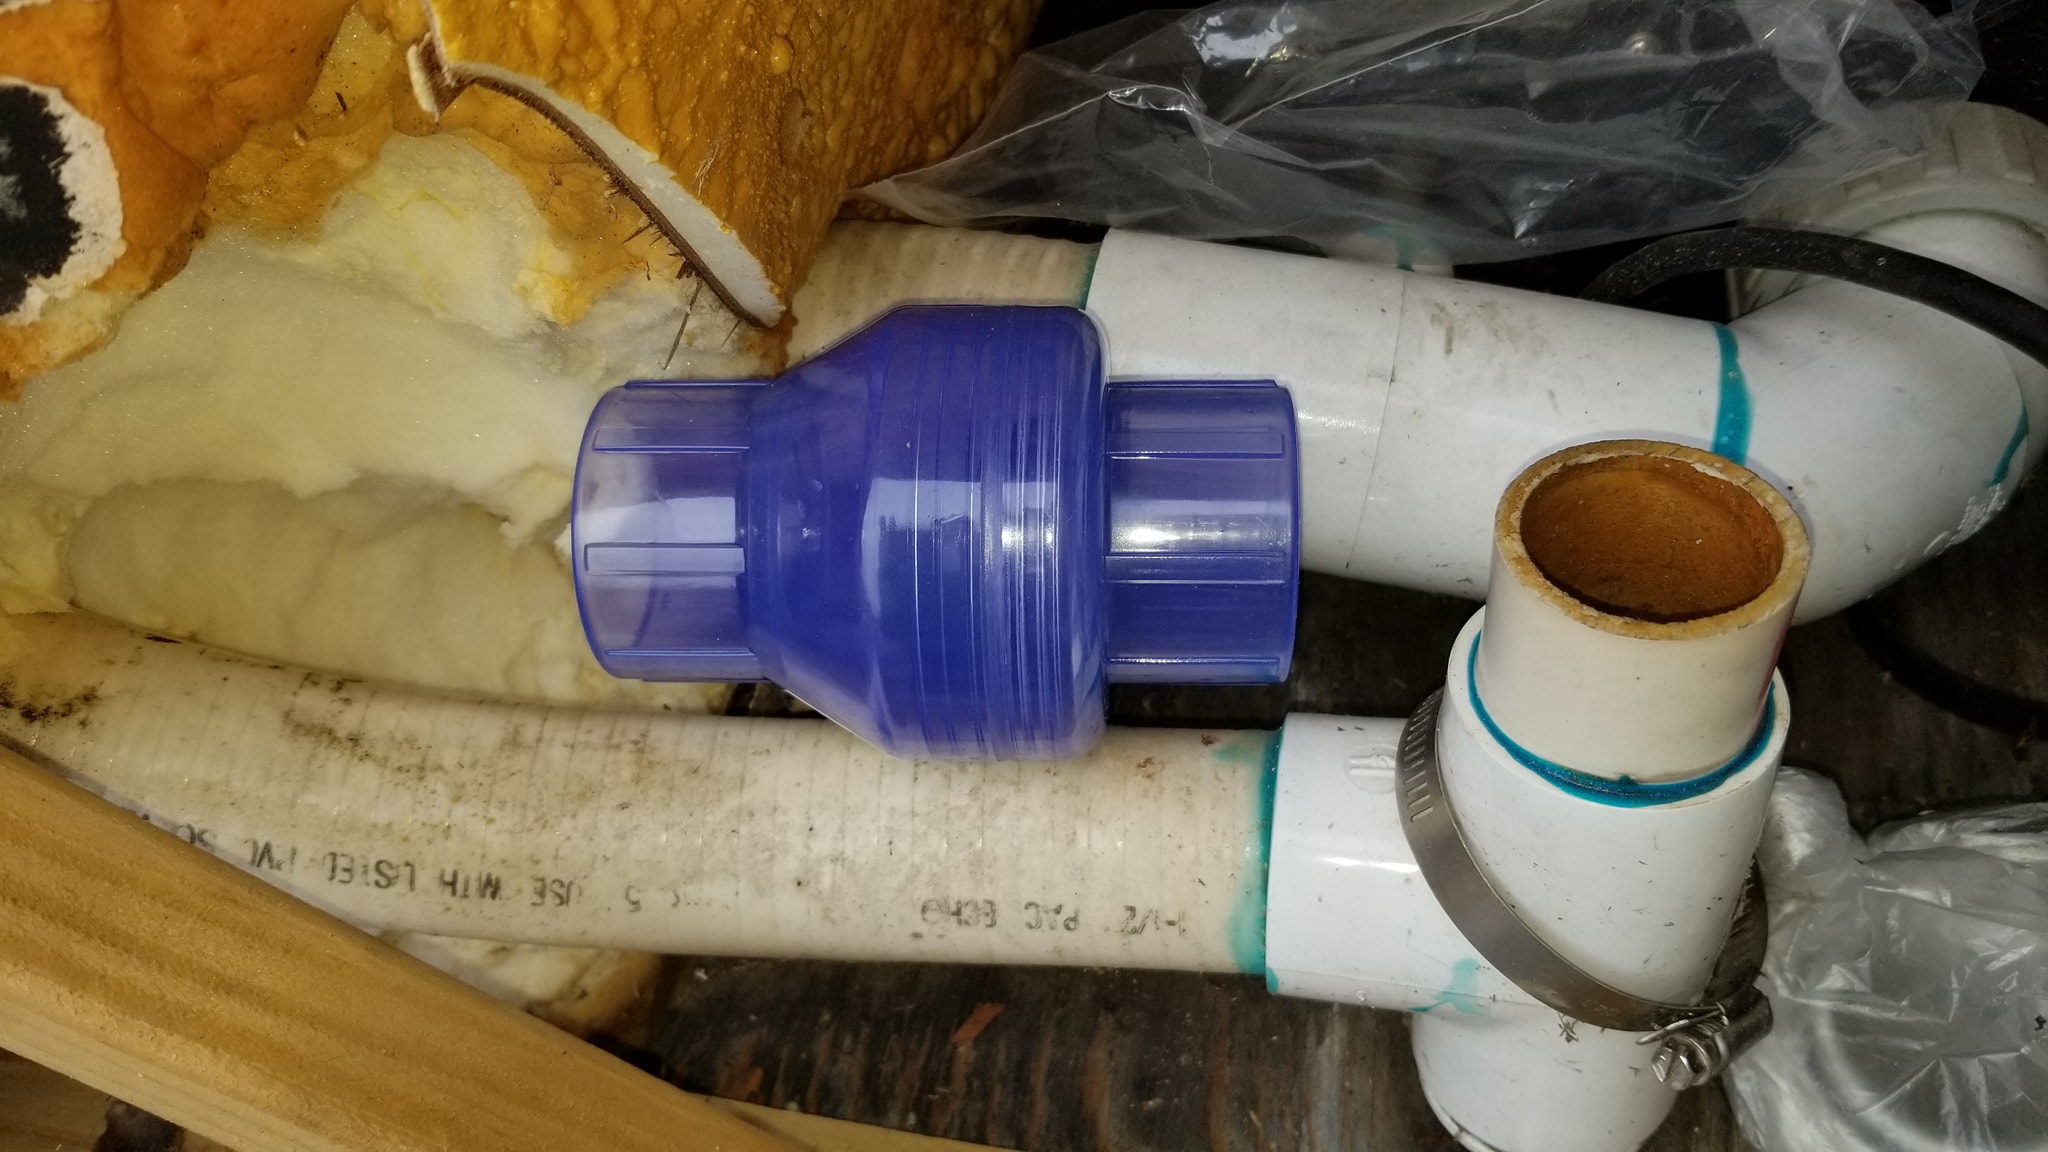
A one-way valve was added so air could move toward the tub without allowing water to work its way back toward the blower.
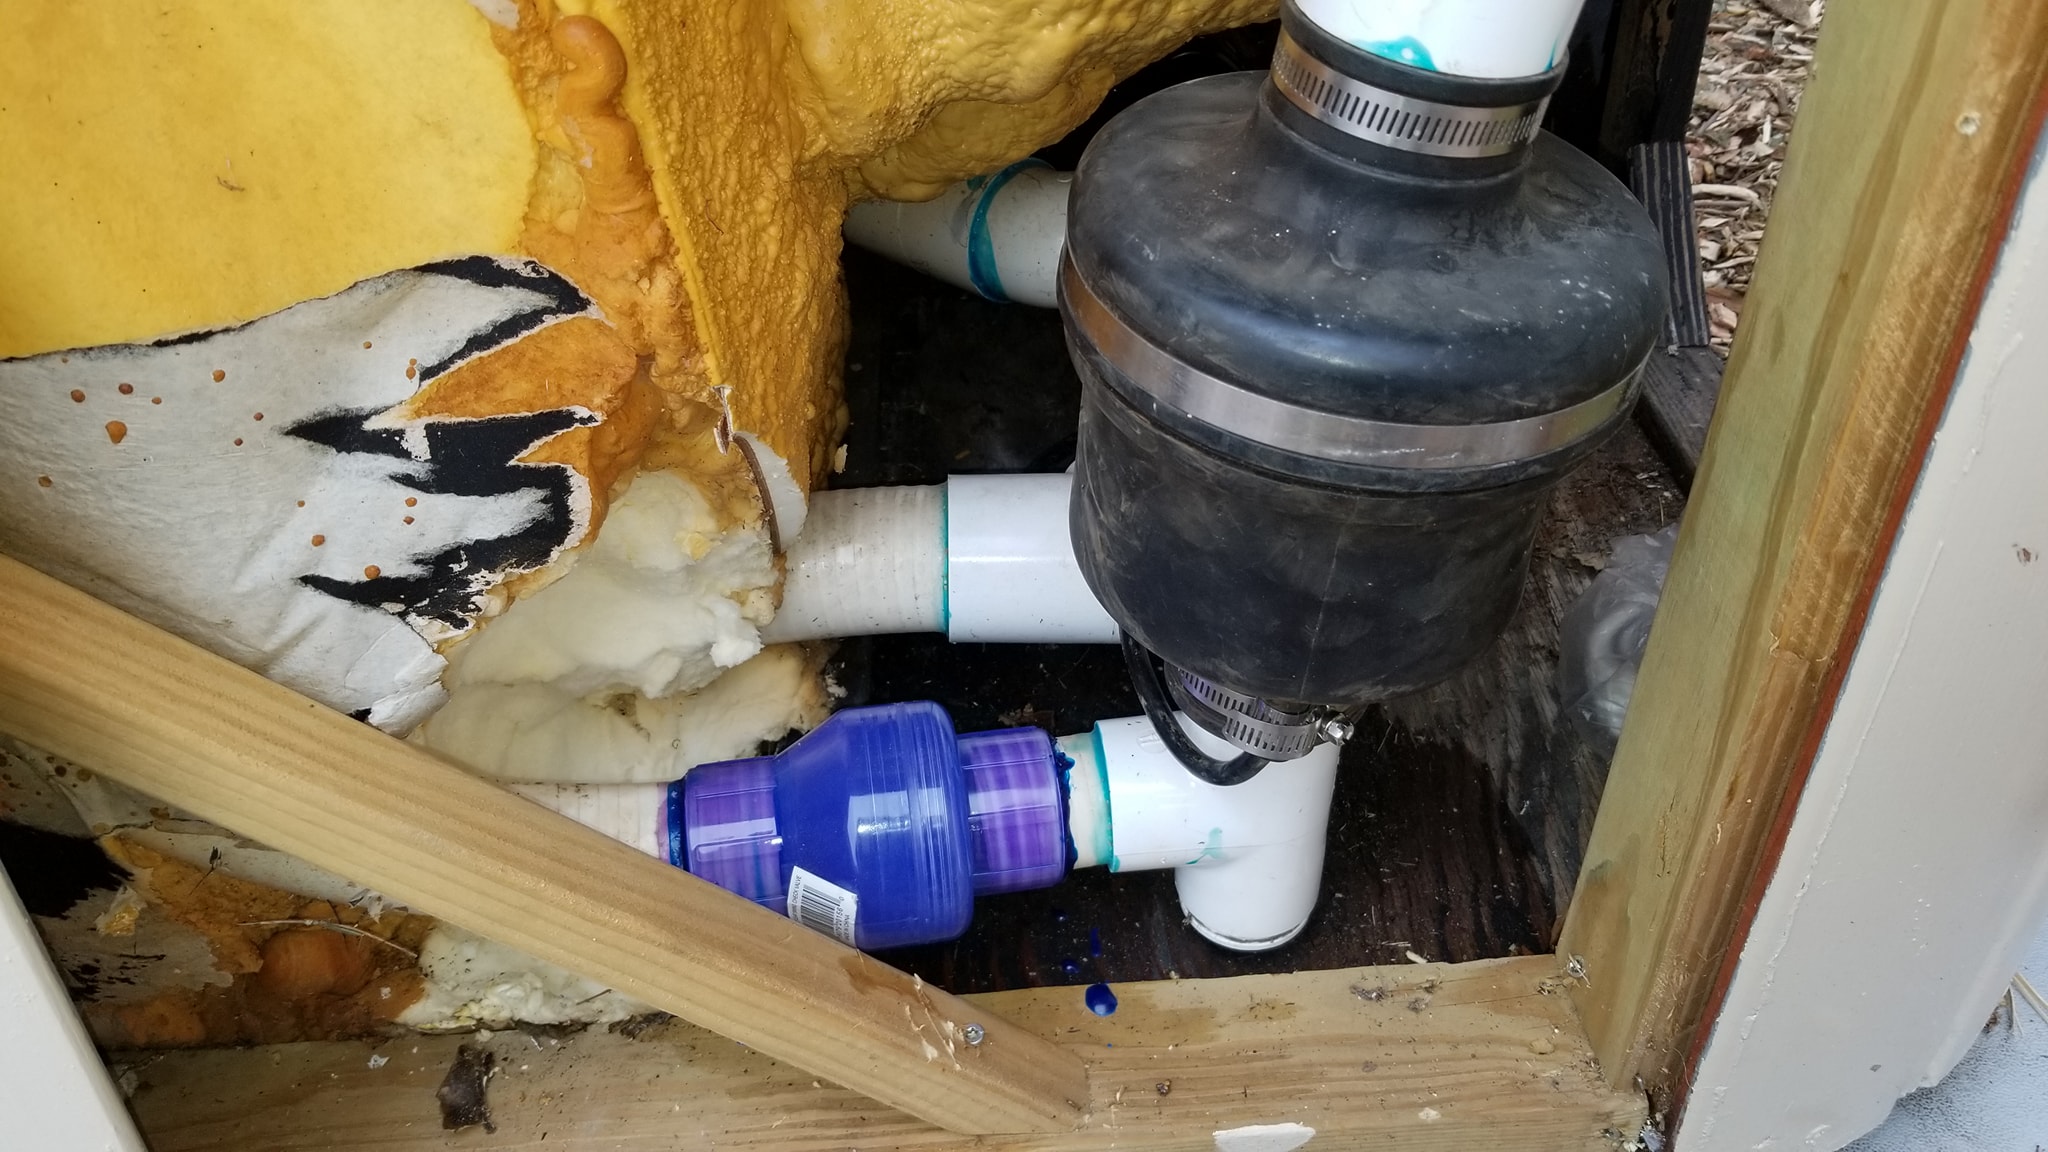
The replacement bubbler blower was installed with the check valve added to the system.
Repairing the manifold required digging out a large amount of the original foam insulation. Once the plumbing repairs were finished, that empty space needed to be insulated again.
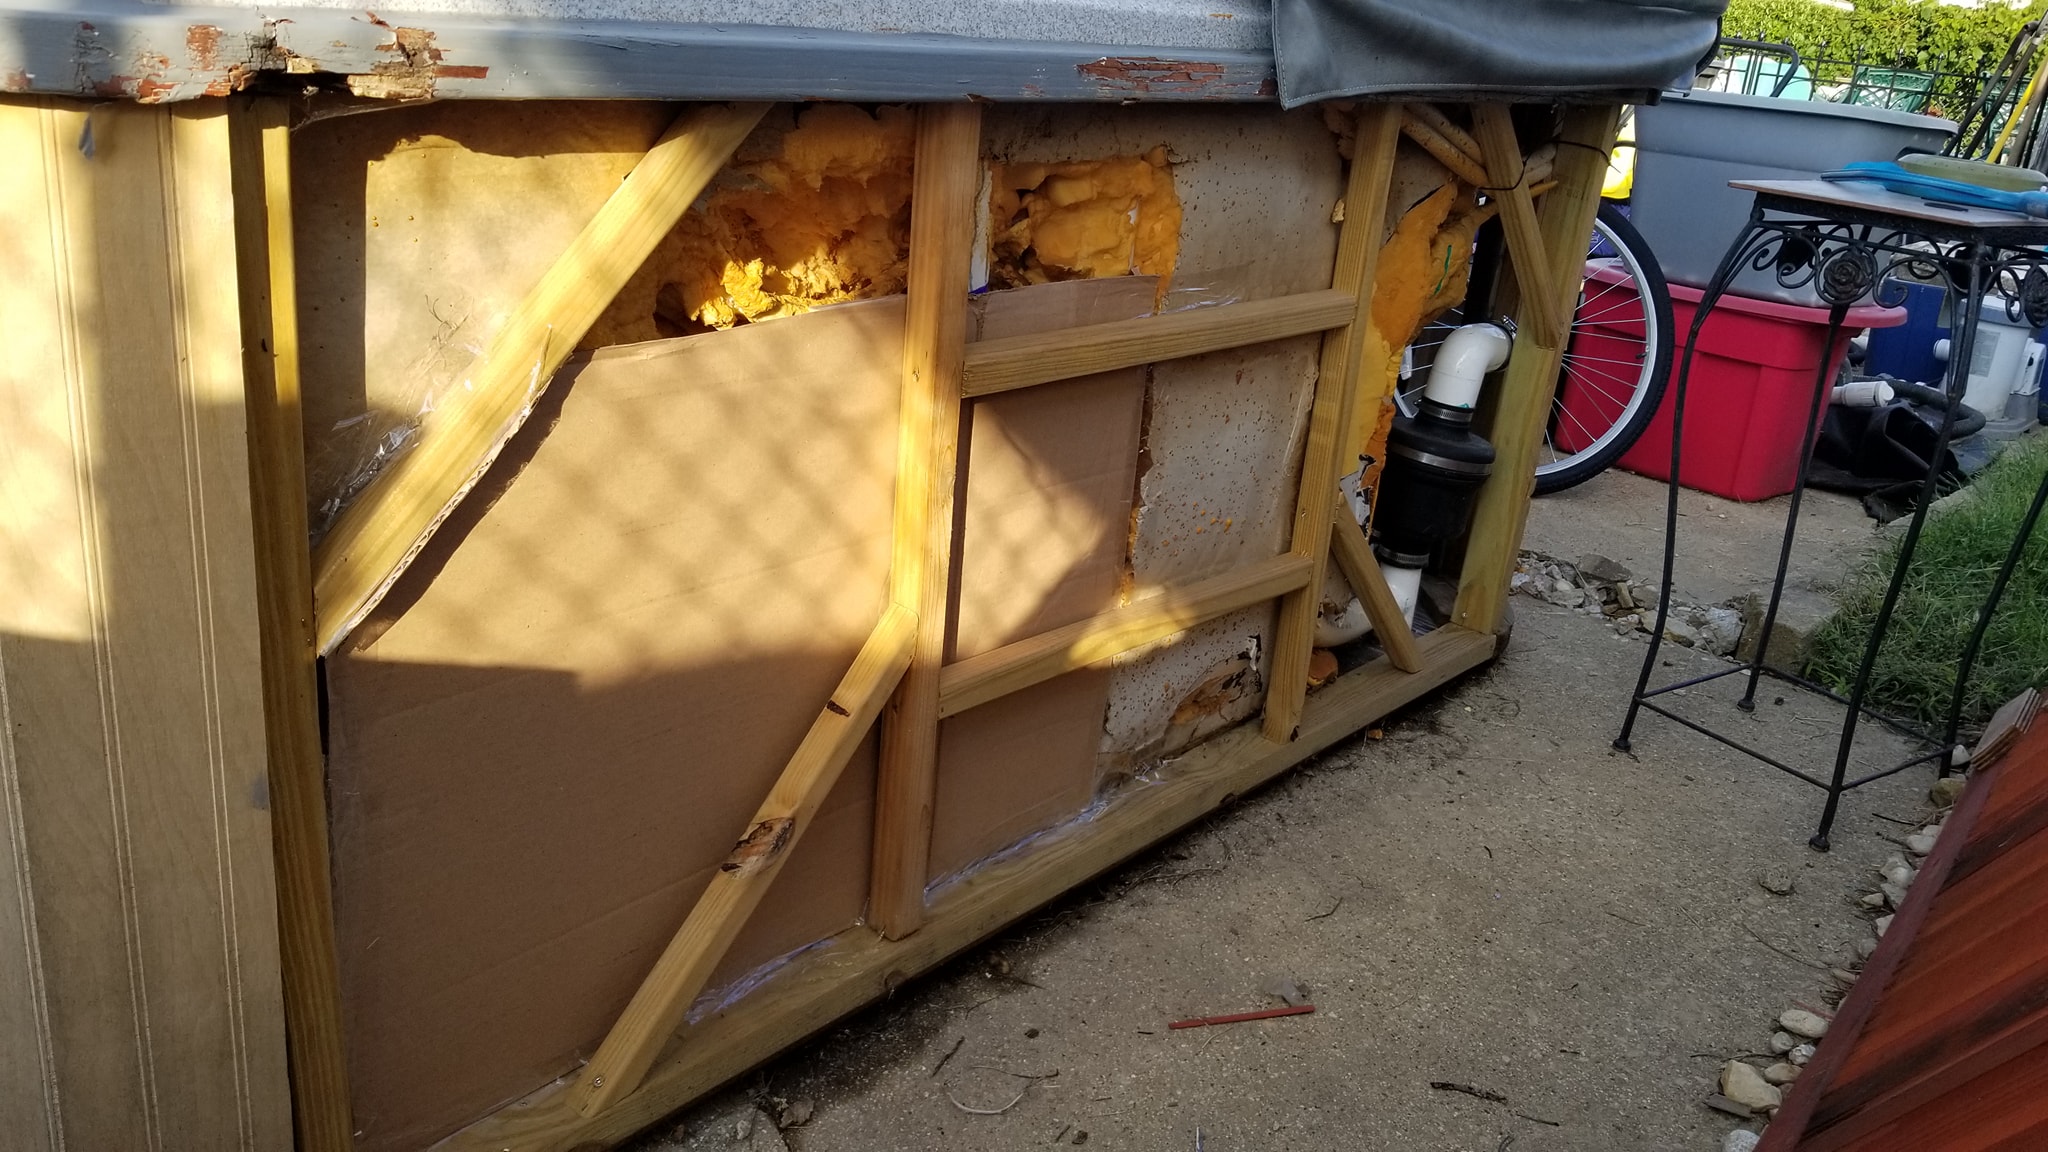
I built a temporary cardboard form, protected with plastic, to contain the expanding foam while it grew and hardened around the repaired plumbing.
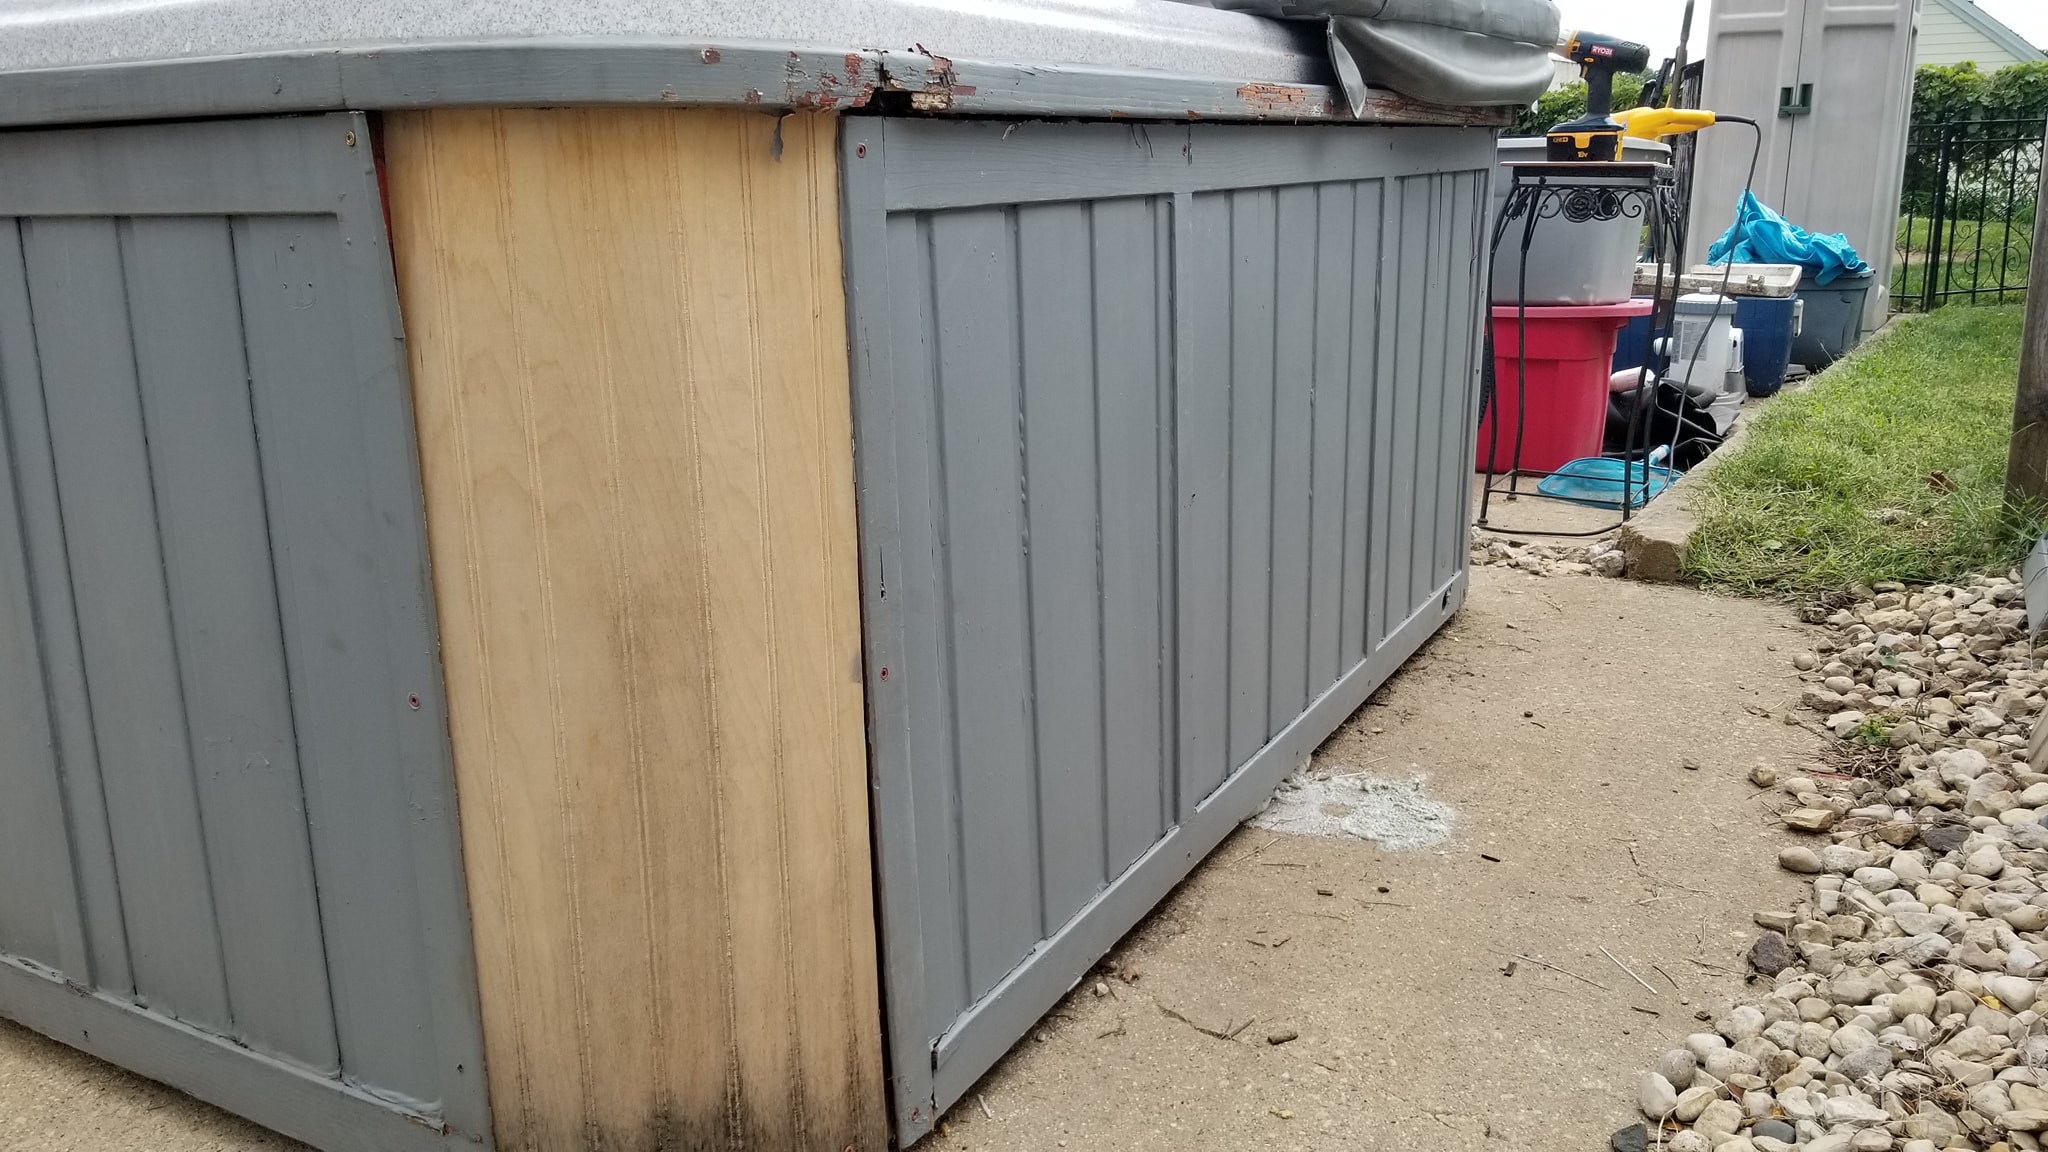
The replacement insulation hardened, the excess was trimmed away, and the cabinet sides could finally go back on.
After replacing rotten framing and cabinet pieces, the repaired sections did not match the rest of the tub. So the cabinet was taped off and repainted gray to bring everything back together visually.
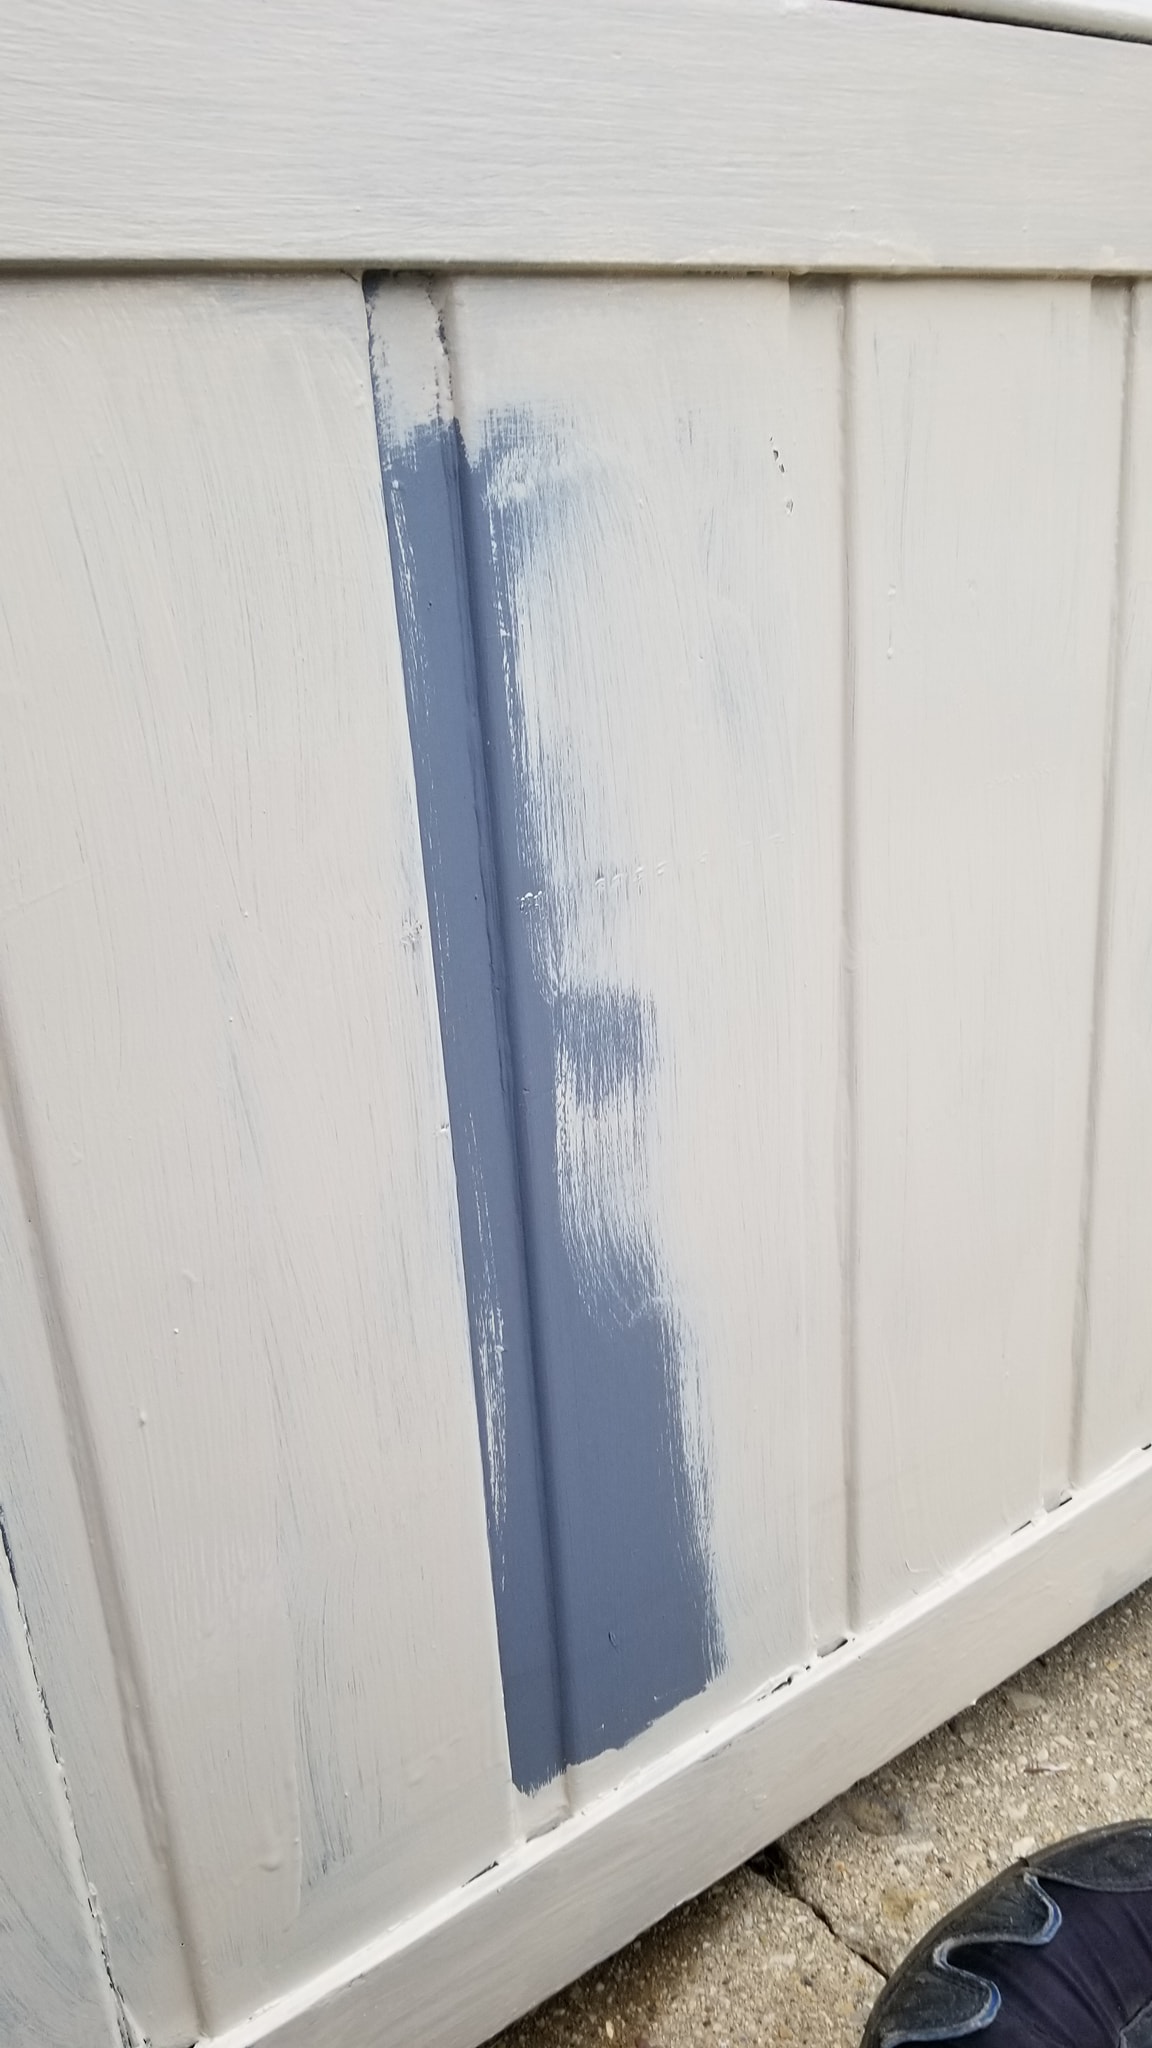
The first coat started covering the mix of original and replacement cabinet material.
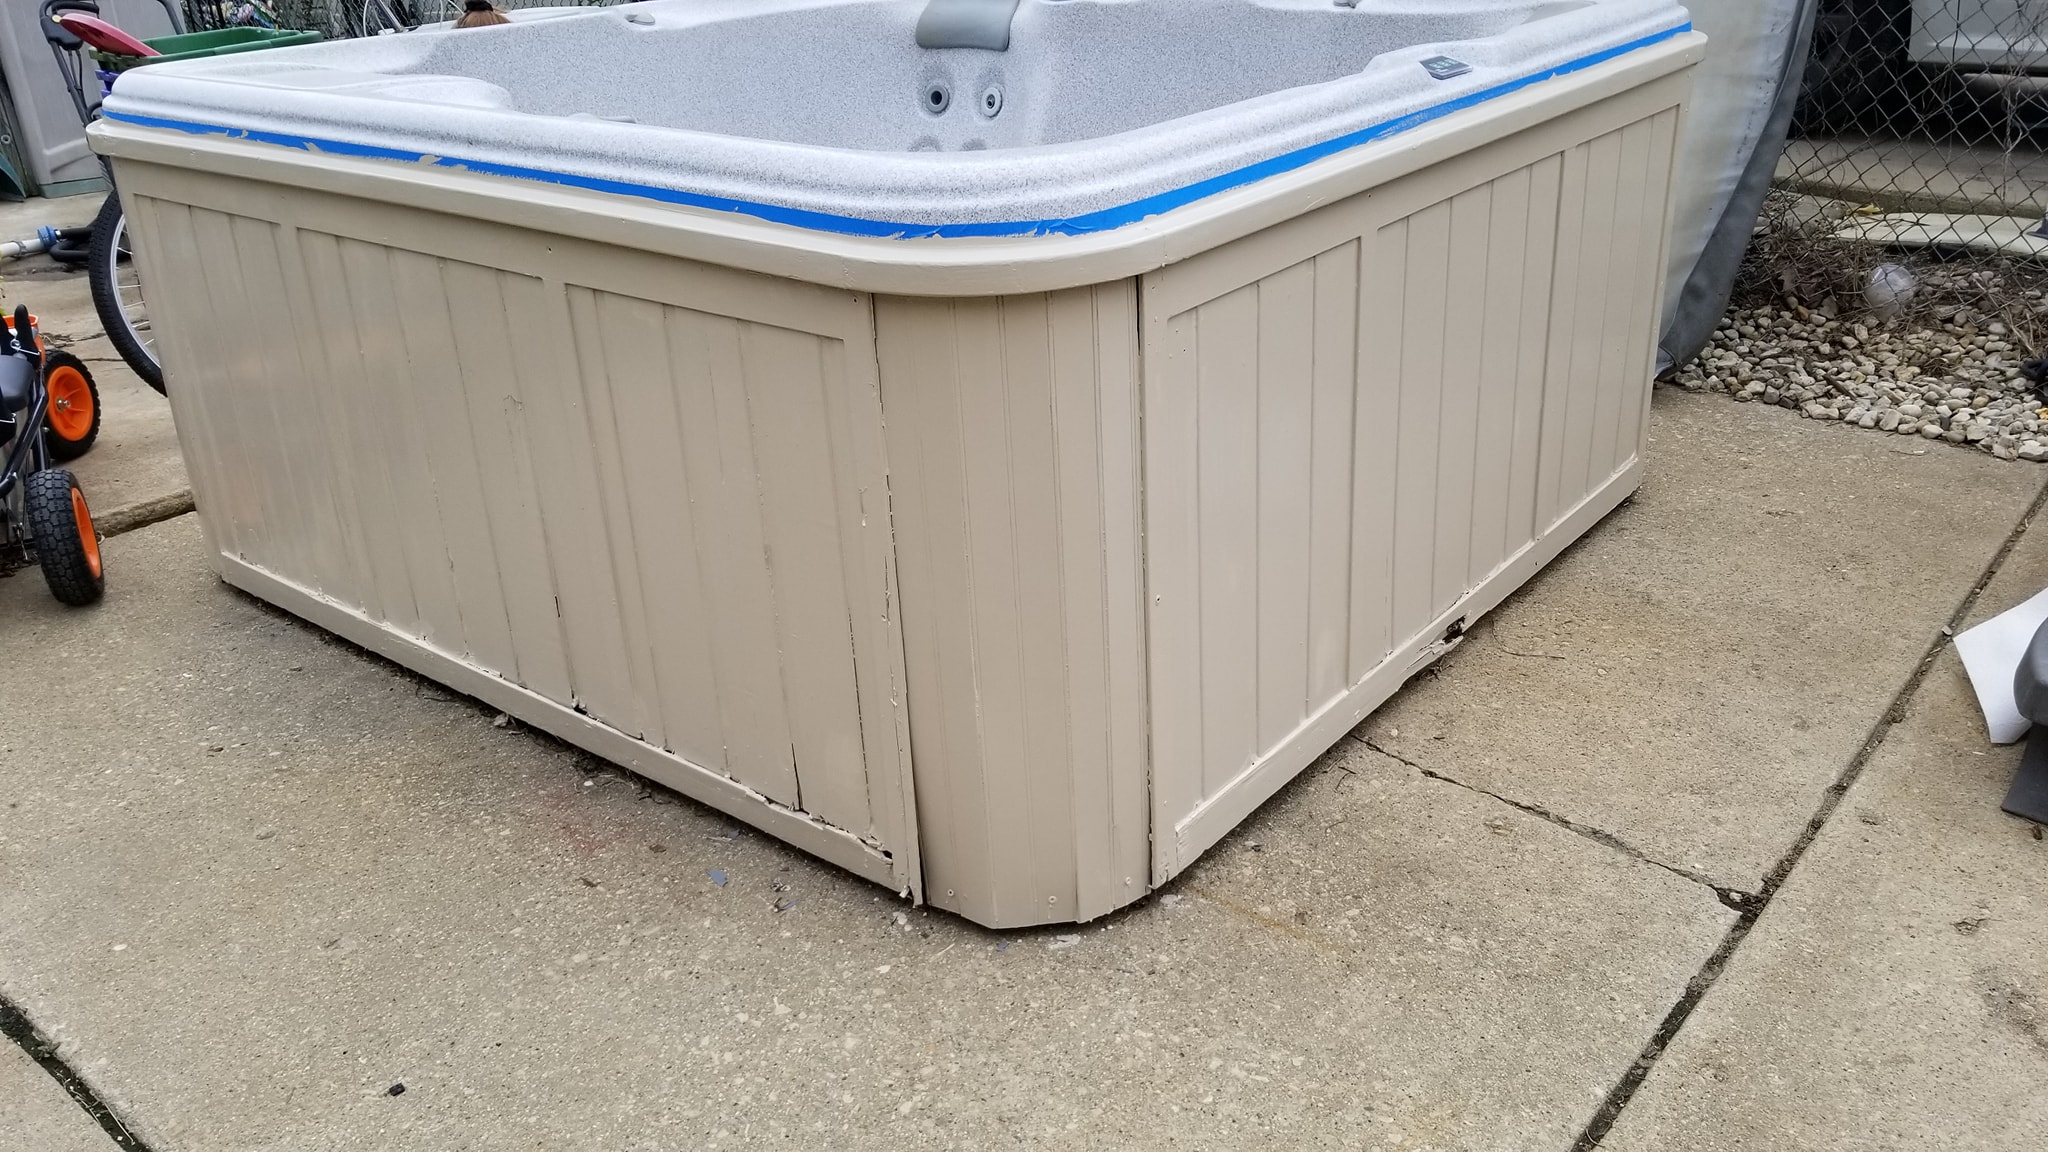
Once the cabinet was painted, the rebuilt sides finally looked like they belonged to the same hot tub again.
At first, access was from the ground using temporary steps. That worked, but I wanted a cleaner way to get directly from the deck into the hot tub.
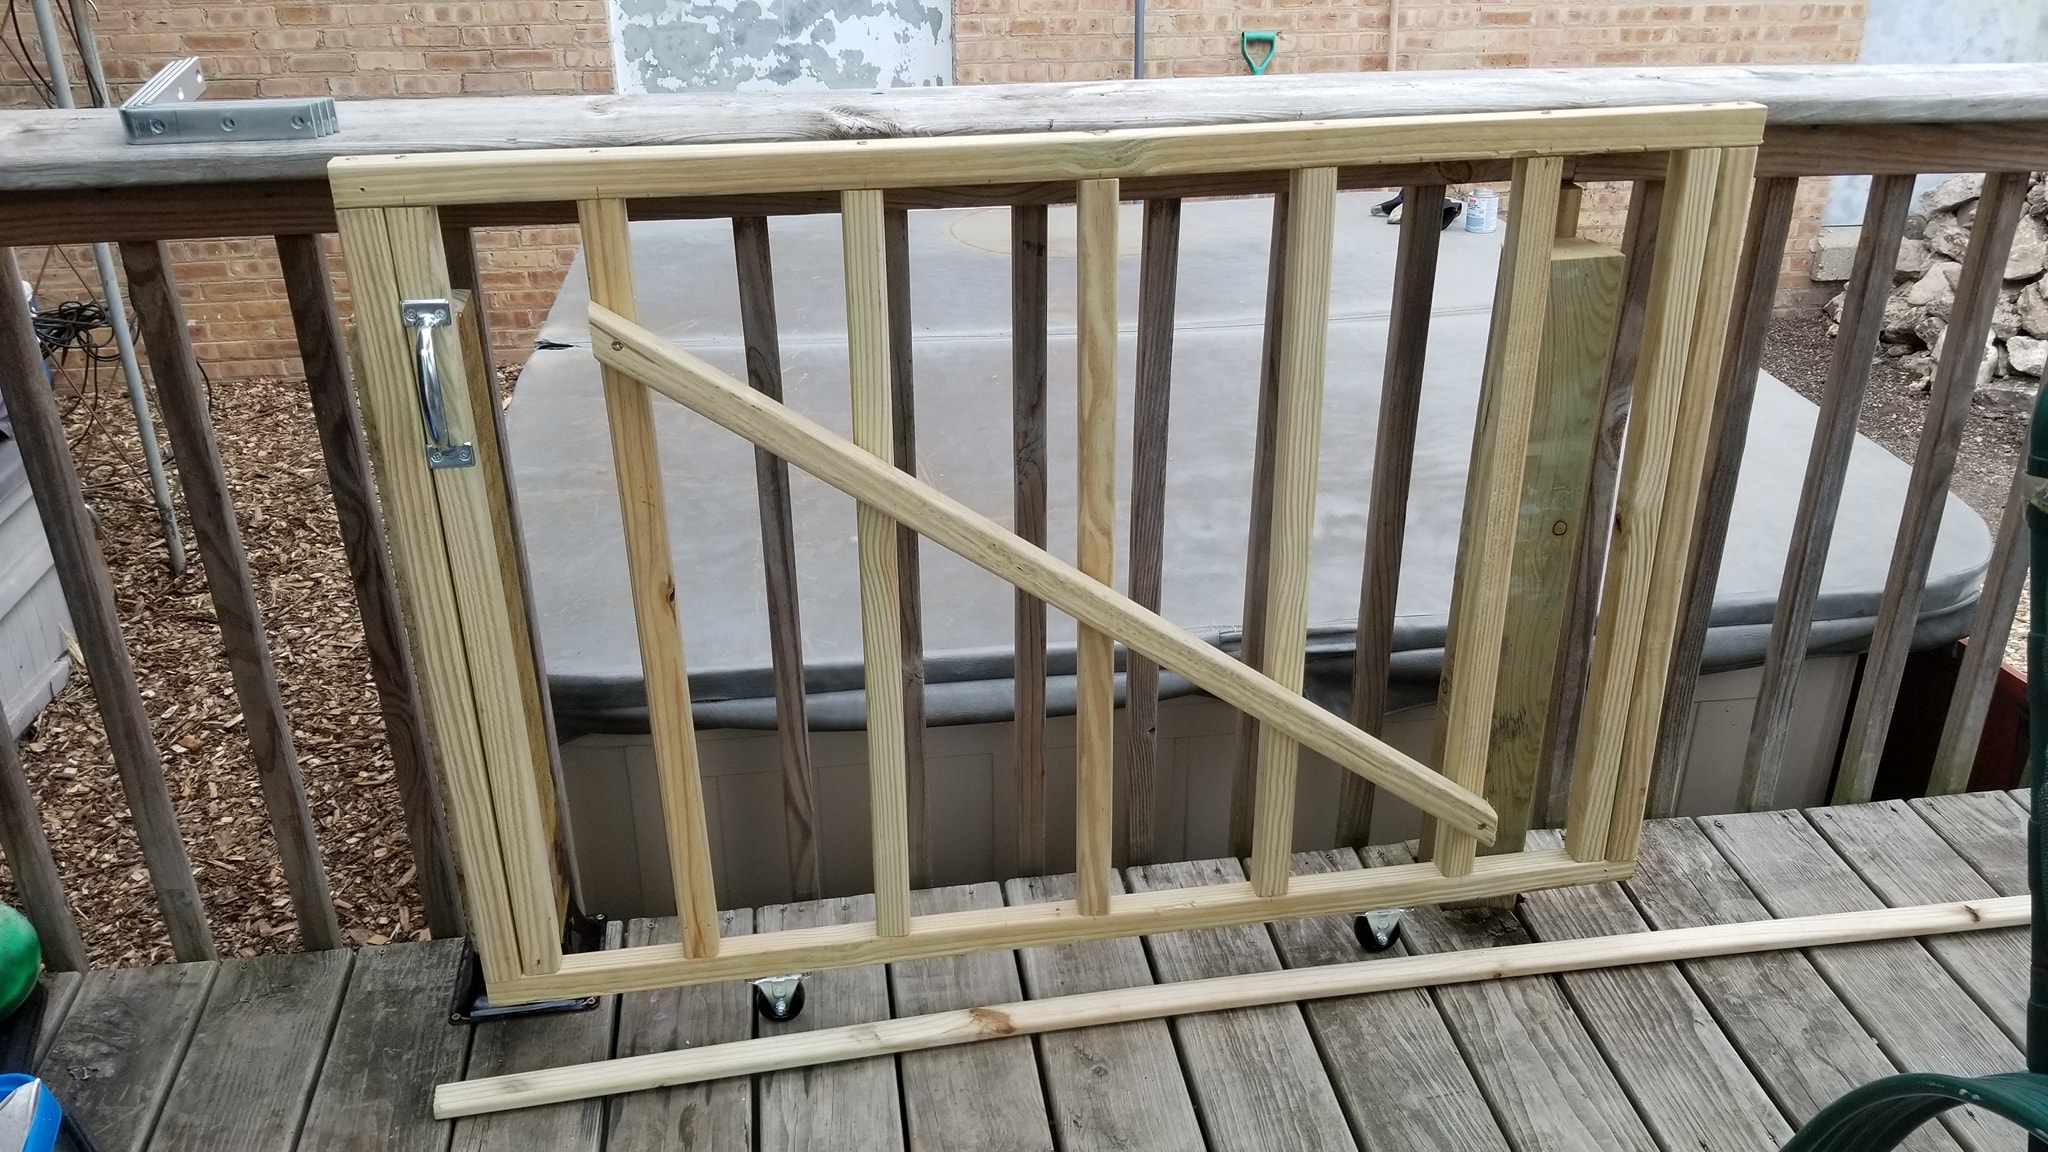
I built a sliding gate into the deck railing so the hot tub could be accessed directly from the deck.
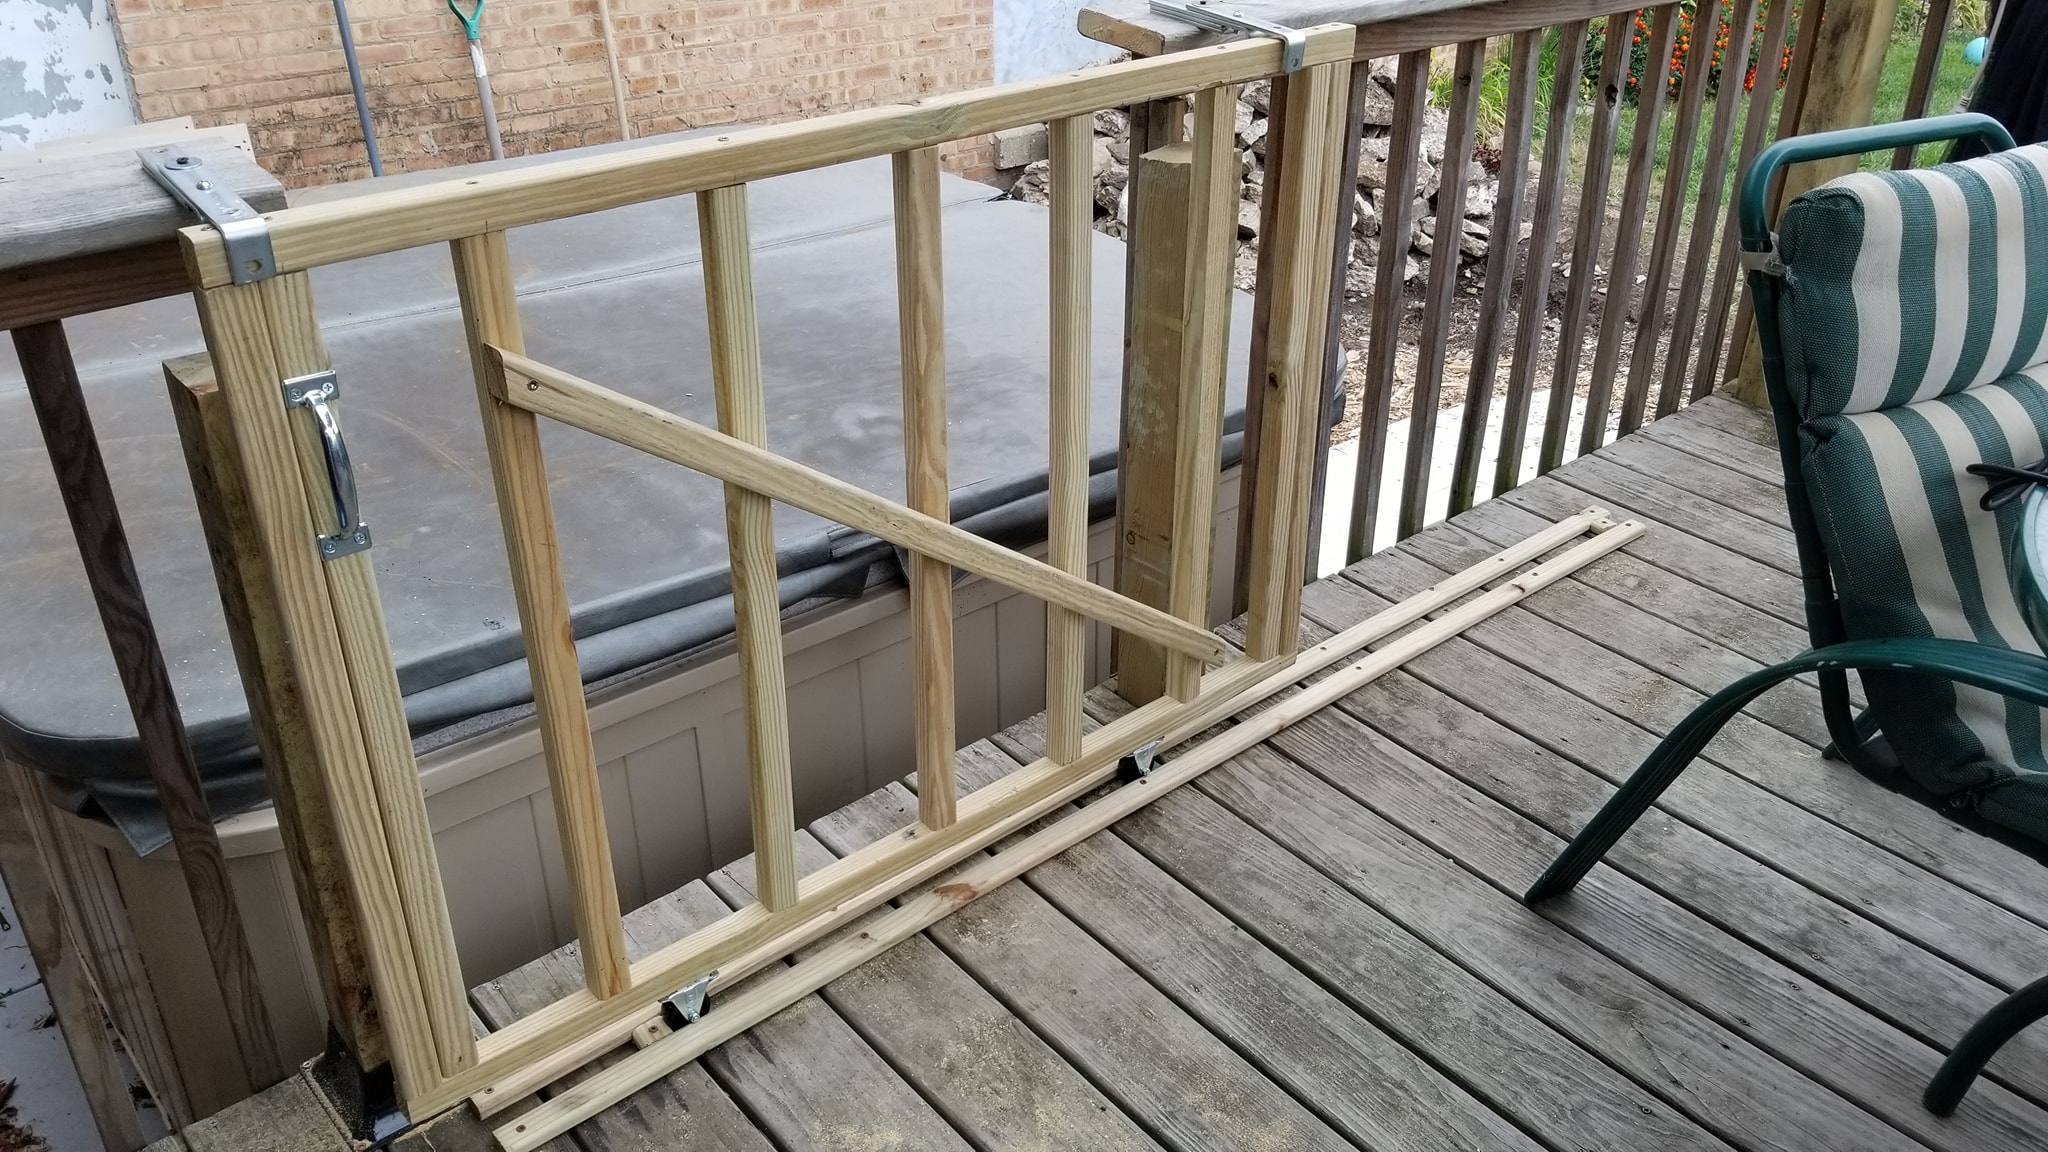
Once the railing section was removed, the deck finally had a direct path into the hot tub.
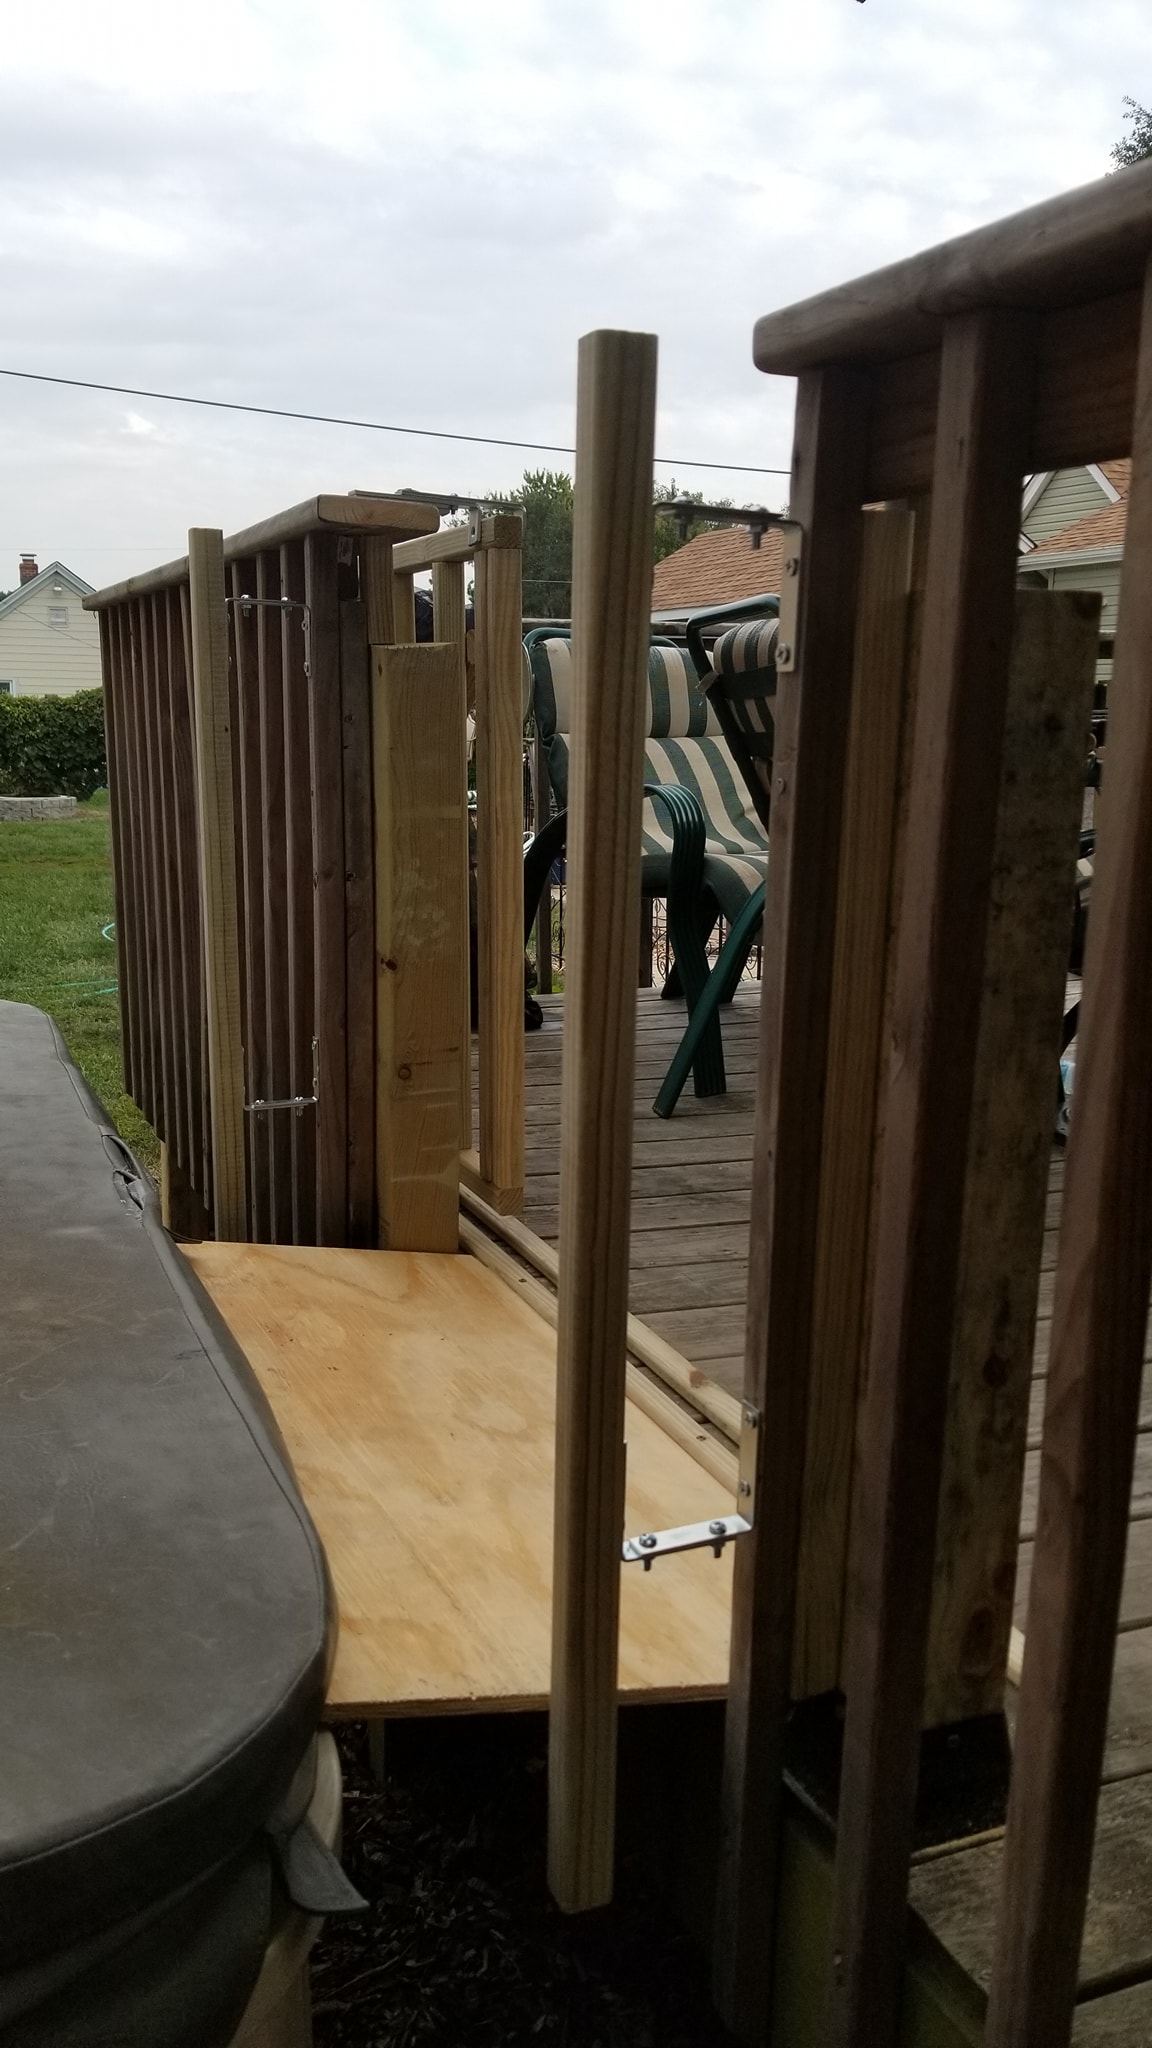
Large handles were installed to make it easier to pull yourself out of the tub and step safely onto the deck.
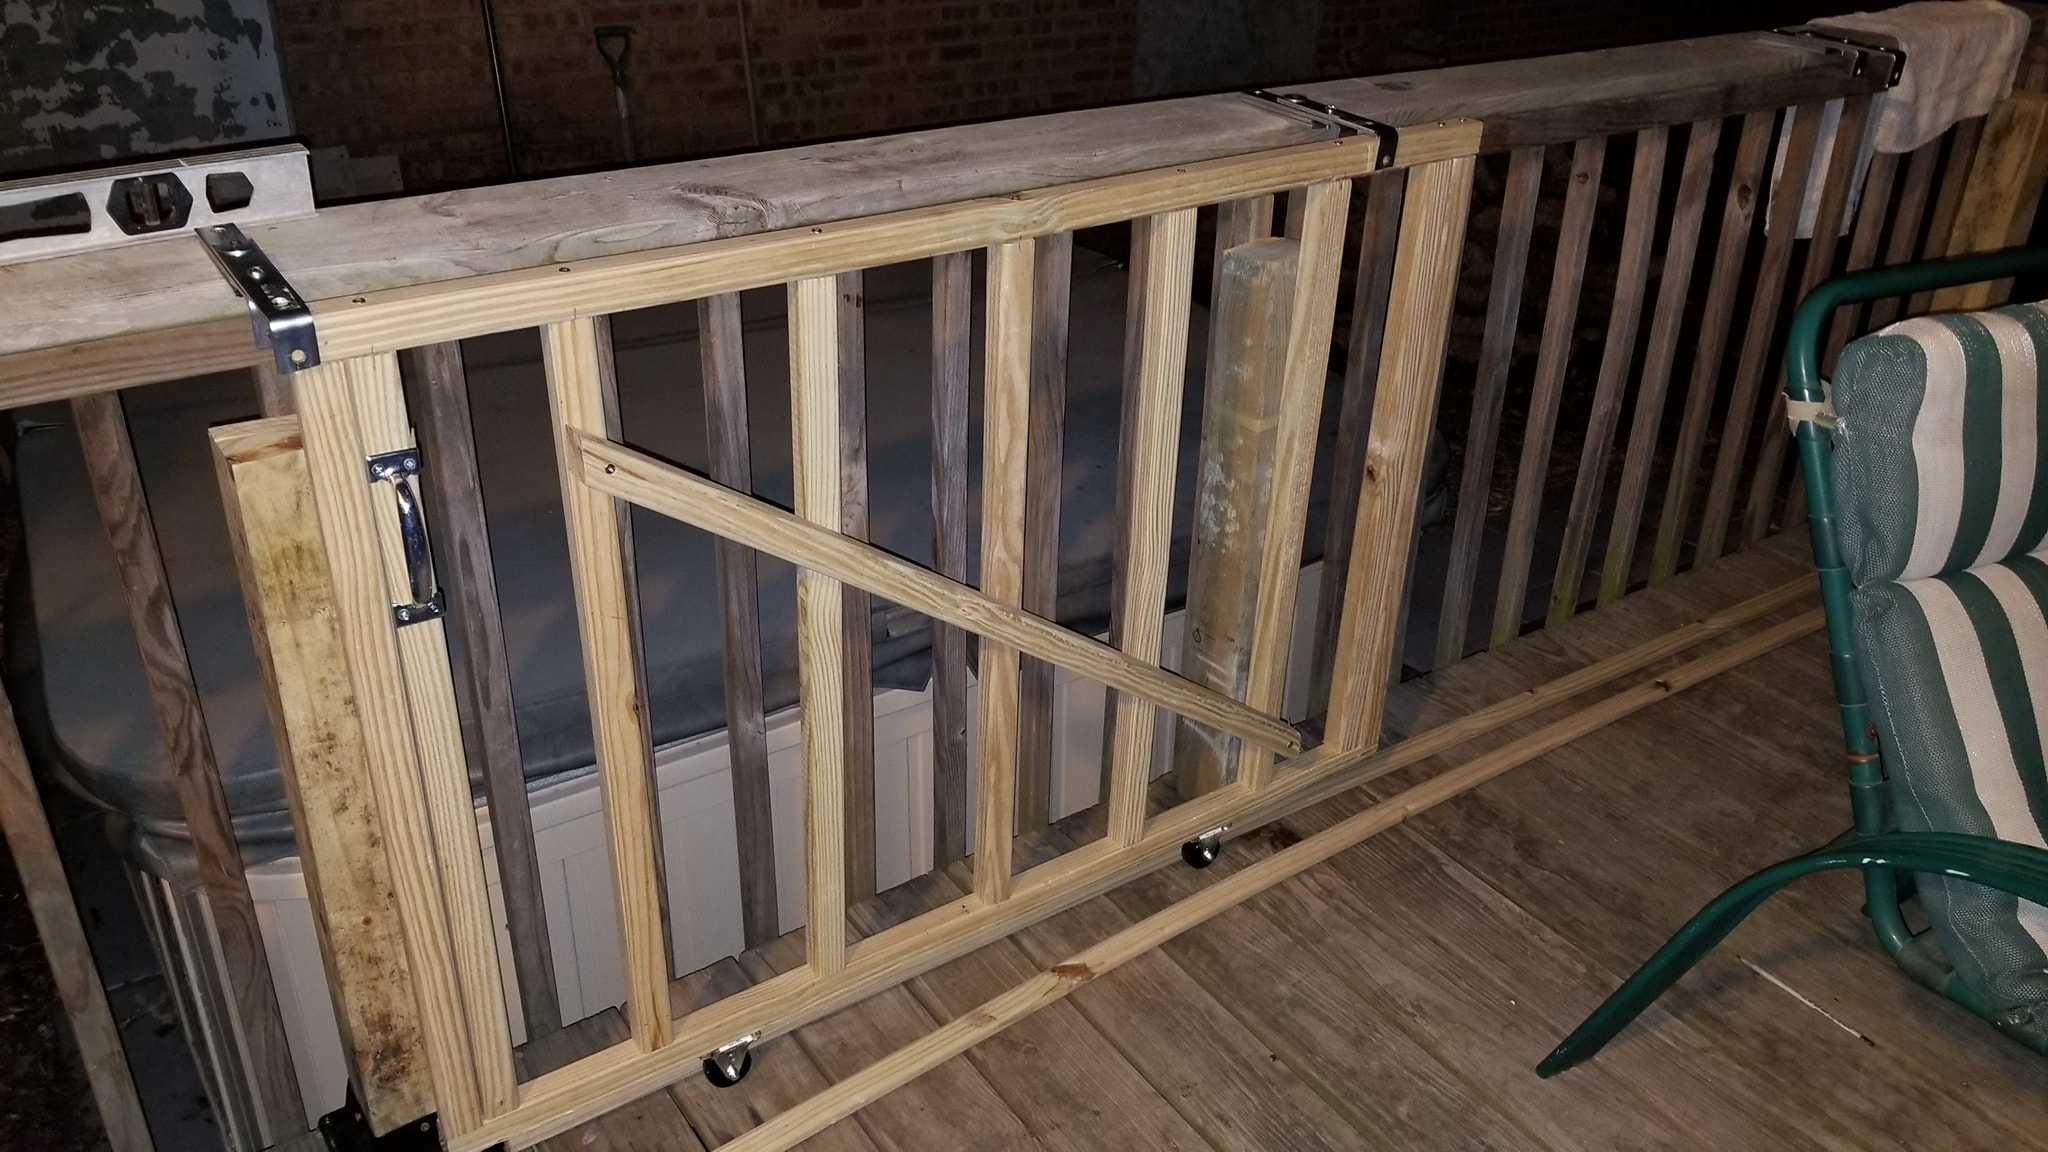
The upper brackets, wheels and track were installed so the gate could slide open instead of swinging into the deck area.
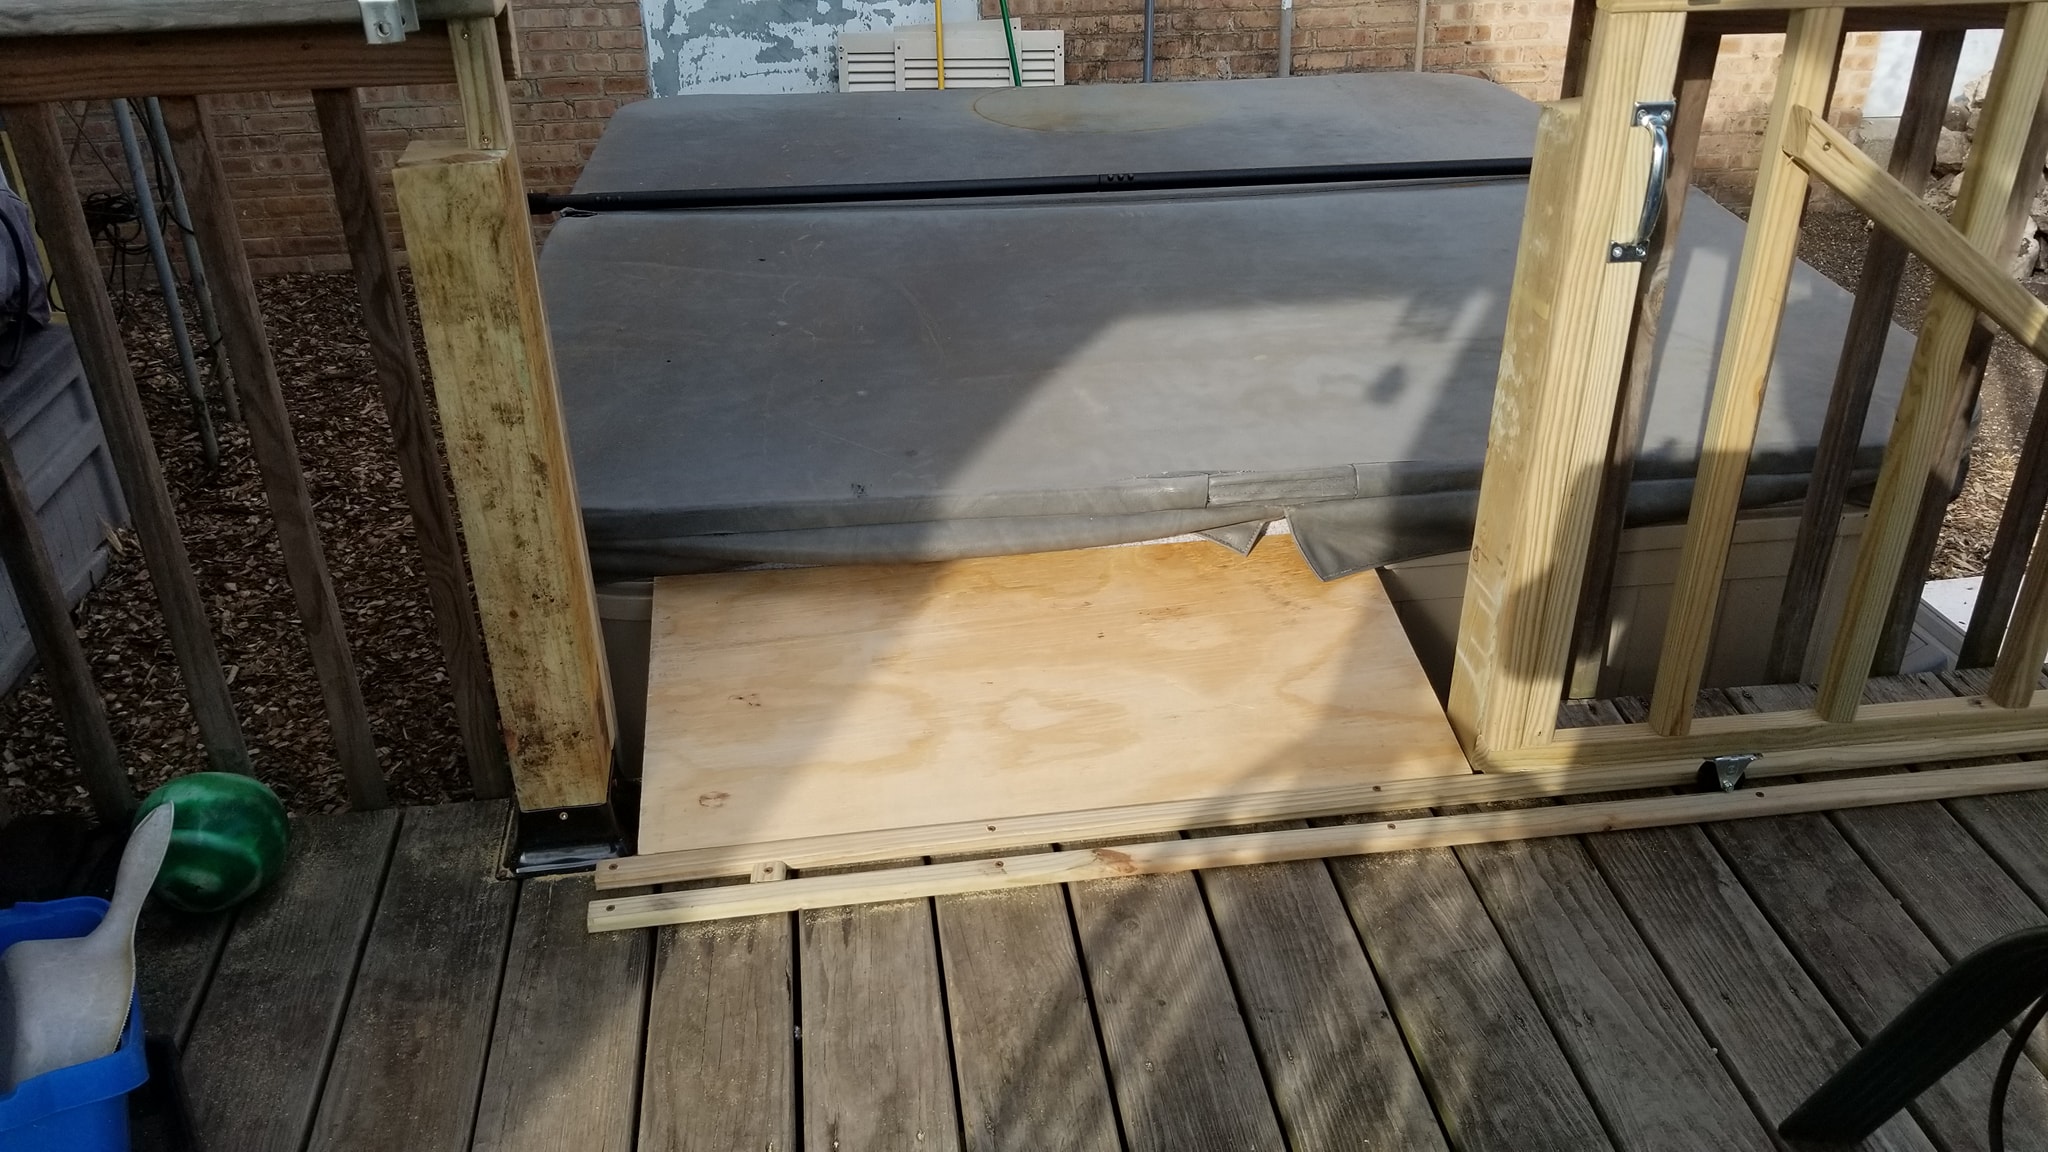
A floor section was added between the deck and the tub to make the new entrance feel like part of the deck instead of an afterthought.
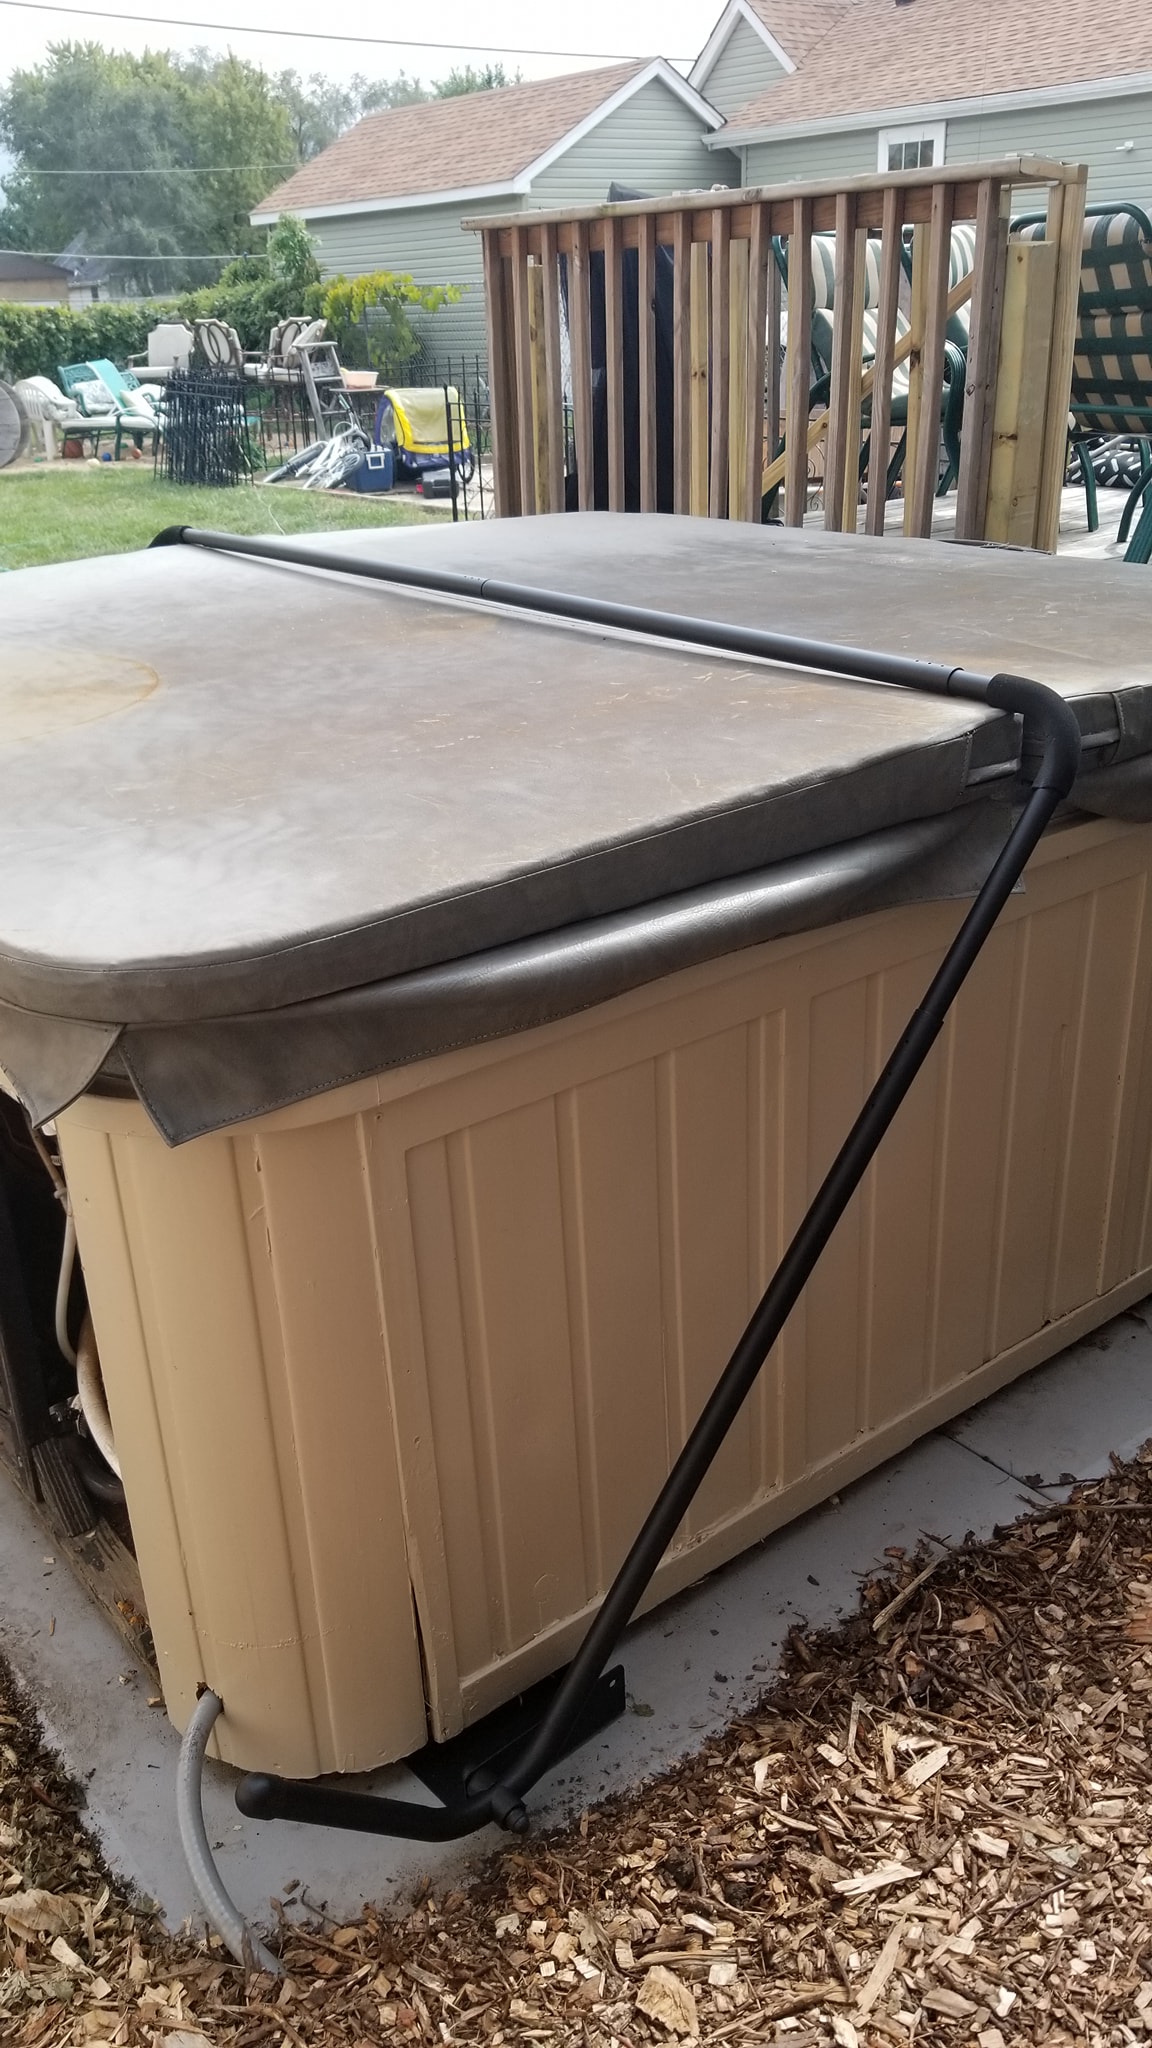
A cover lift made opening and closing the spa cover much easier once the tub was in regular use.
A look at the new sliding deck gate in operation.
Showing the newly installed hot tub cover lift.
Once the hot tub was working, I started wondering whether I could reduce how much electricity the built-in heater used. That led to one of the more experimental parts of the project: building a wood-fired rocket heater to supplement the spa heater.
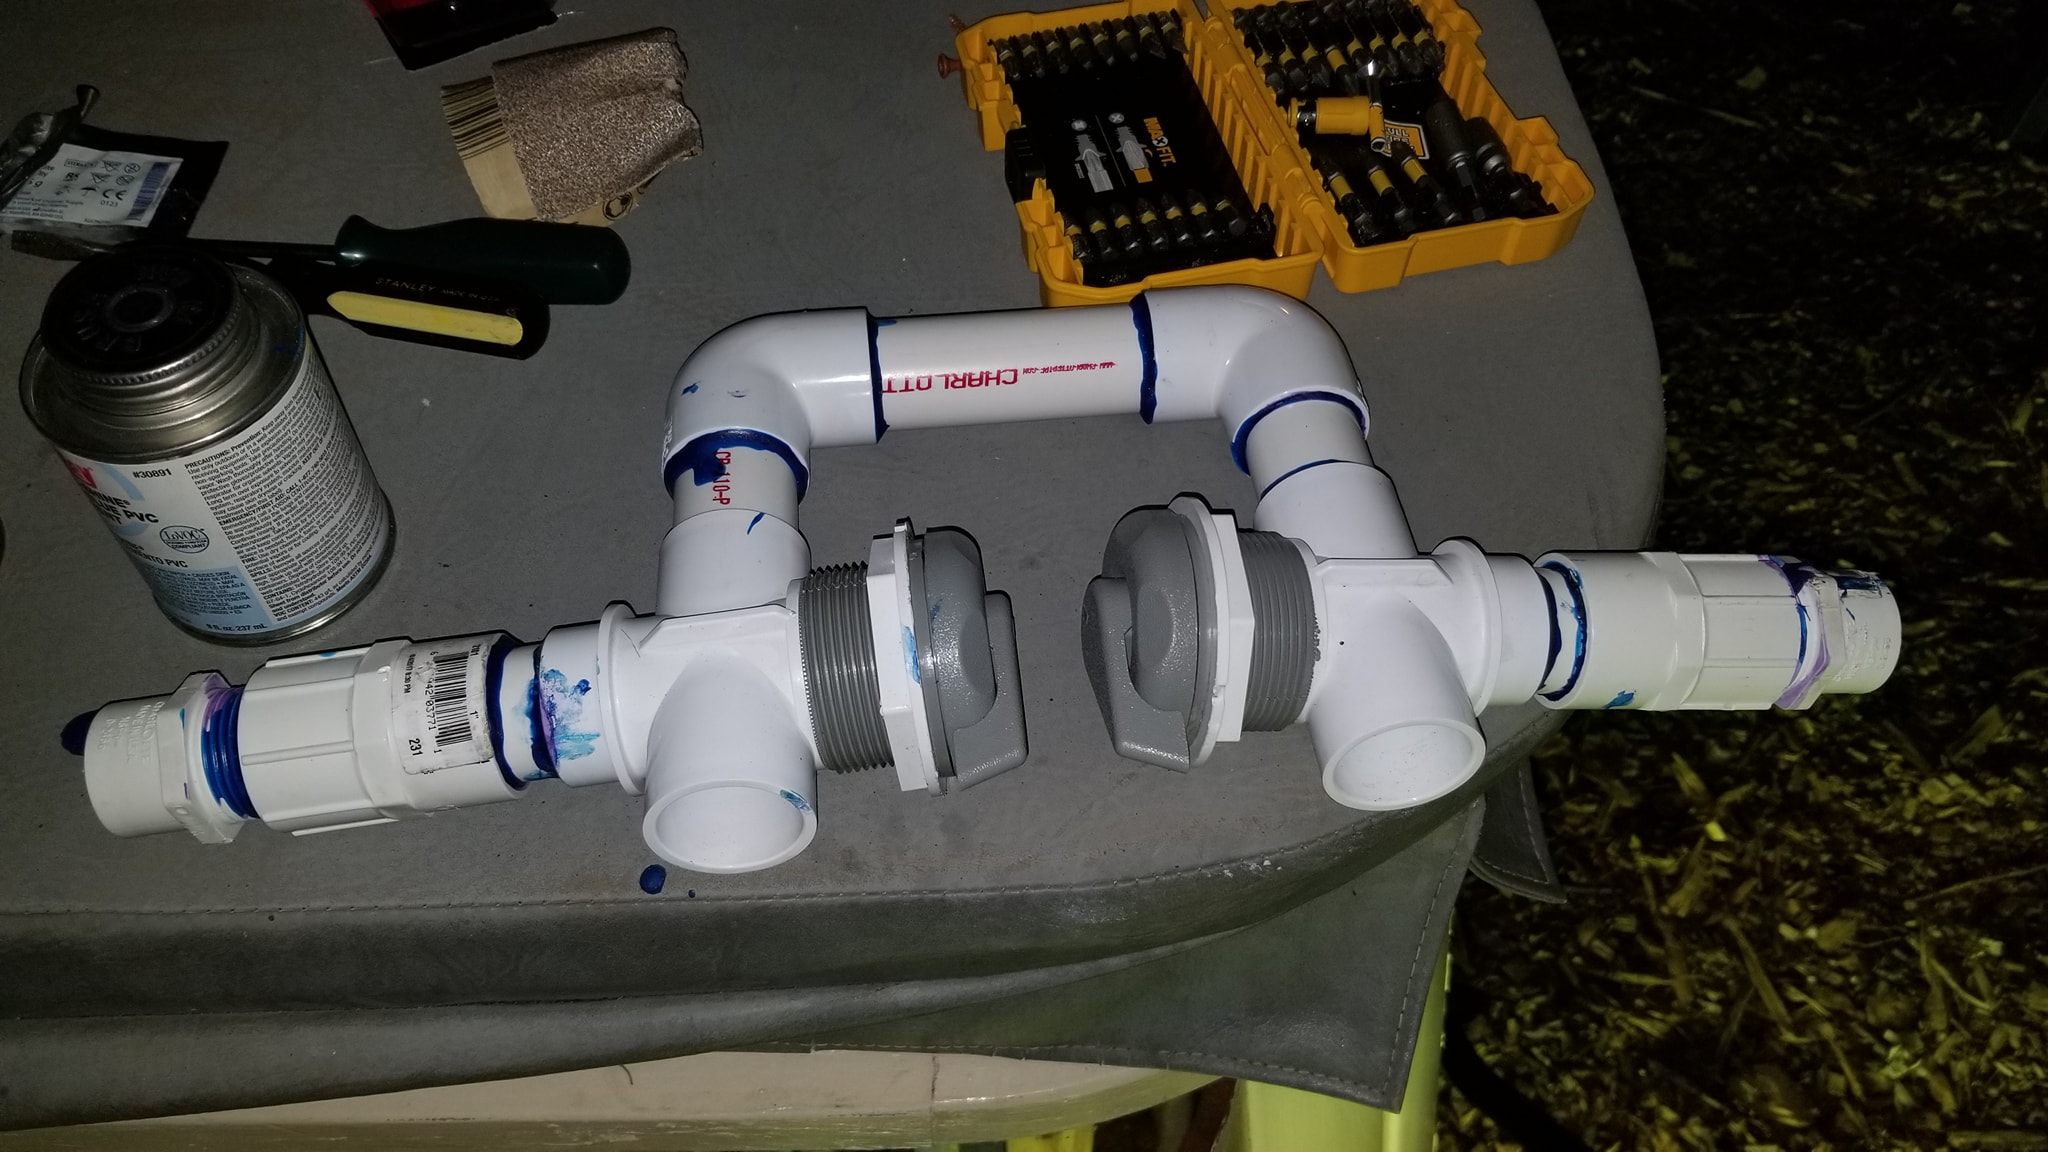
I added a bypass system so water could be directed through the experimental heater when I wanted it, or stay on the normal hot tub plumbing when I did not.
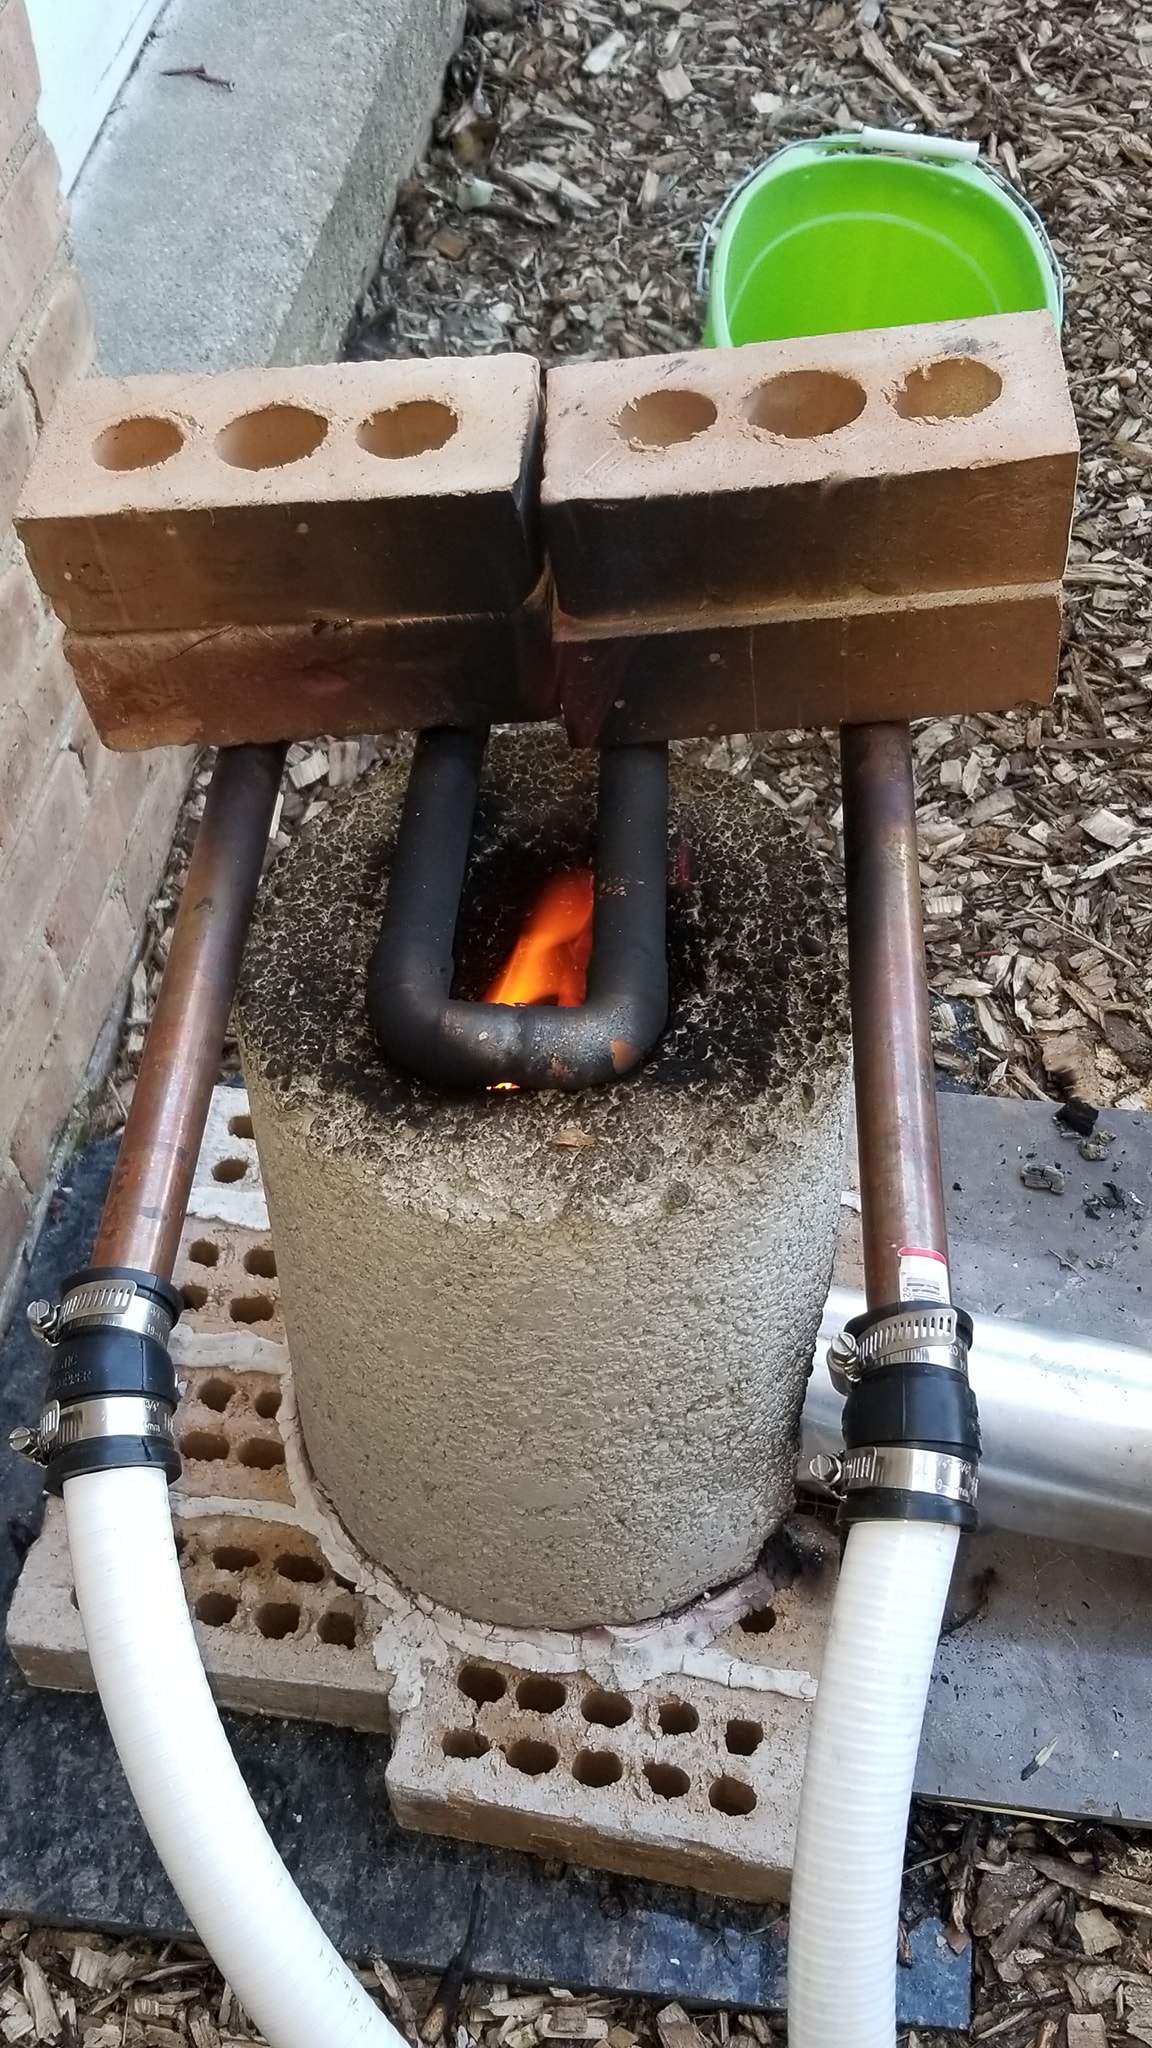
I tried several different ideas for transferring the heat from the fire back into the hot tub water. Some worked better than others. That was the point of experimenting.
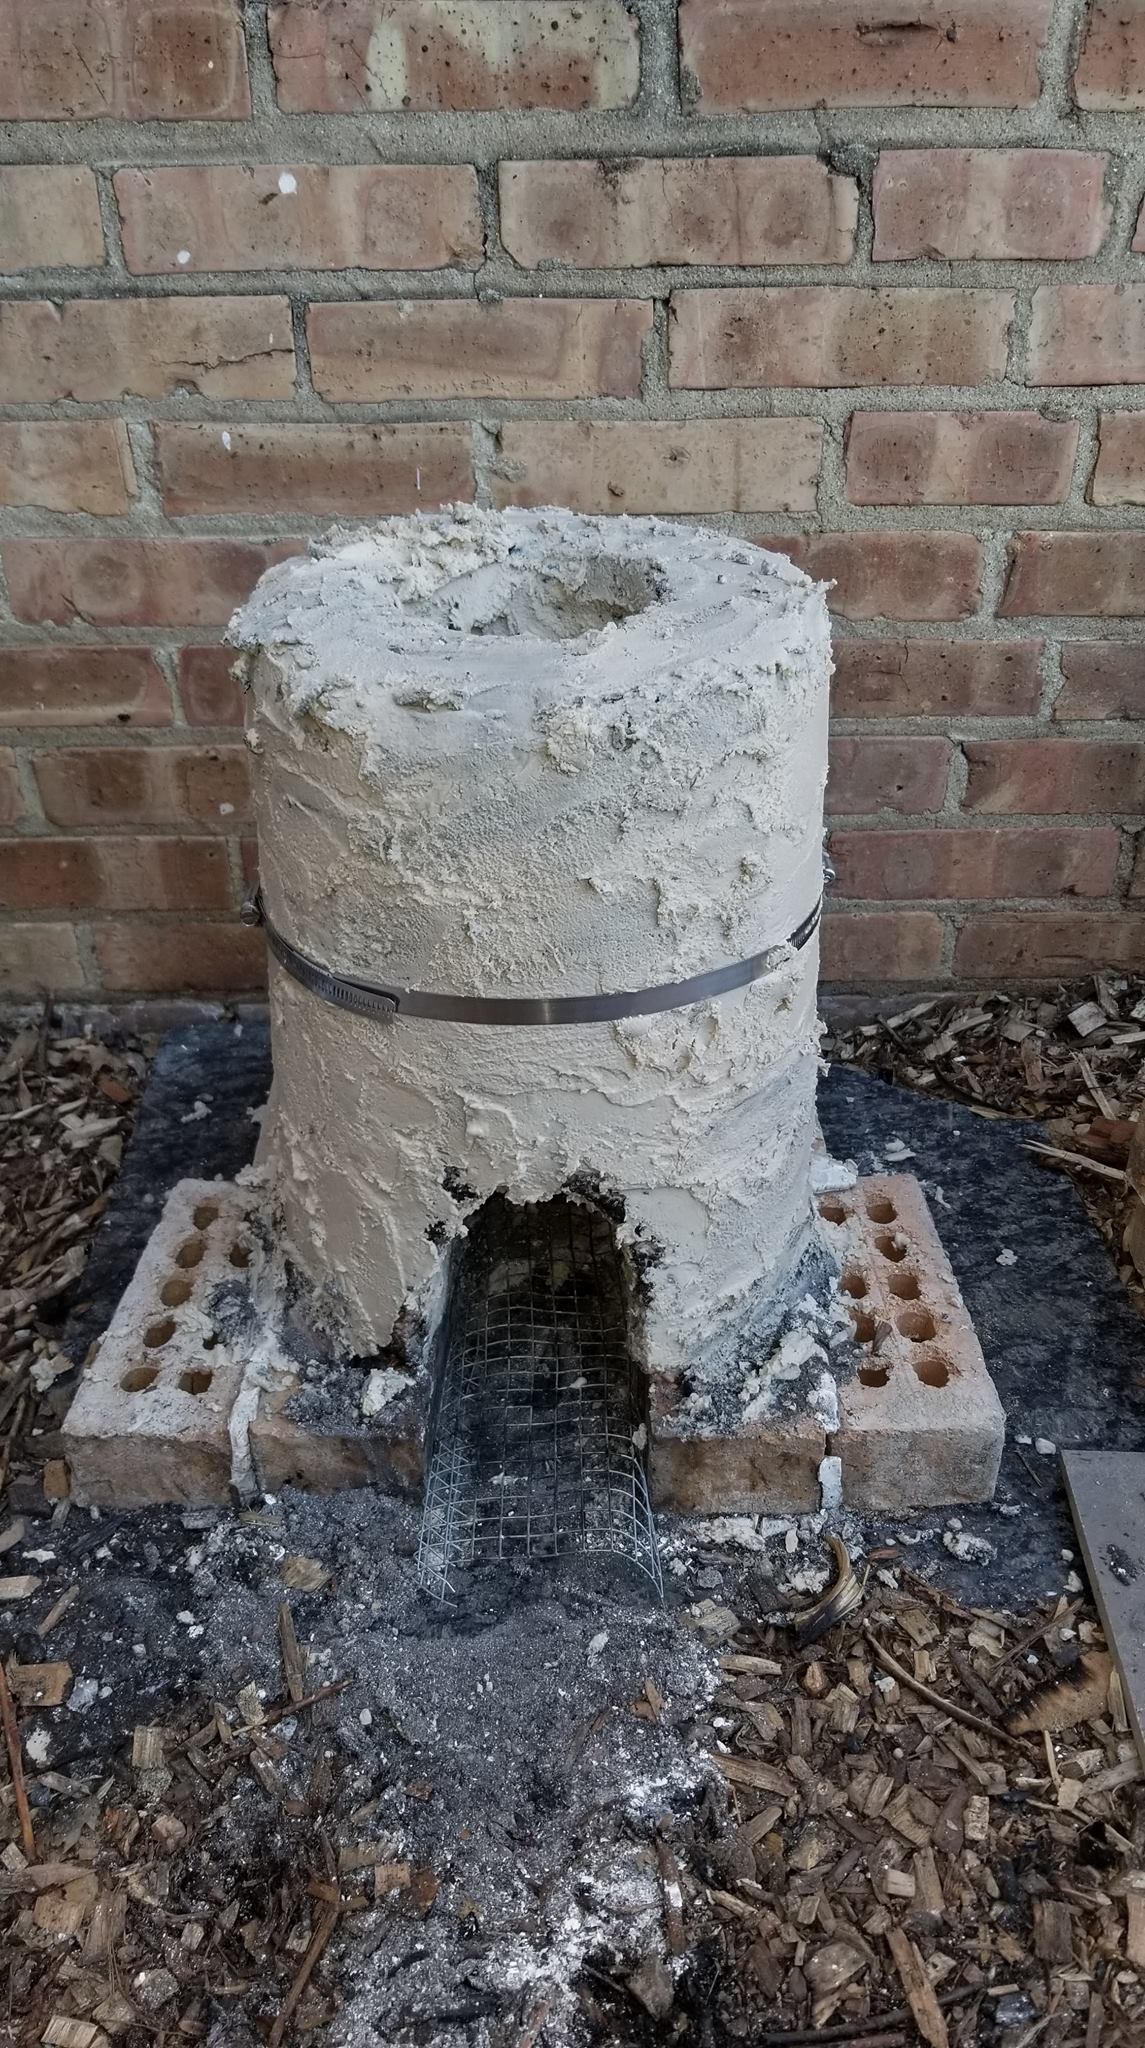
Because apparently this project needed another repair project inside the repair project, the rocket heater developed a crack that also had to be dealt with.
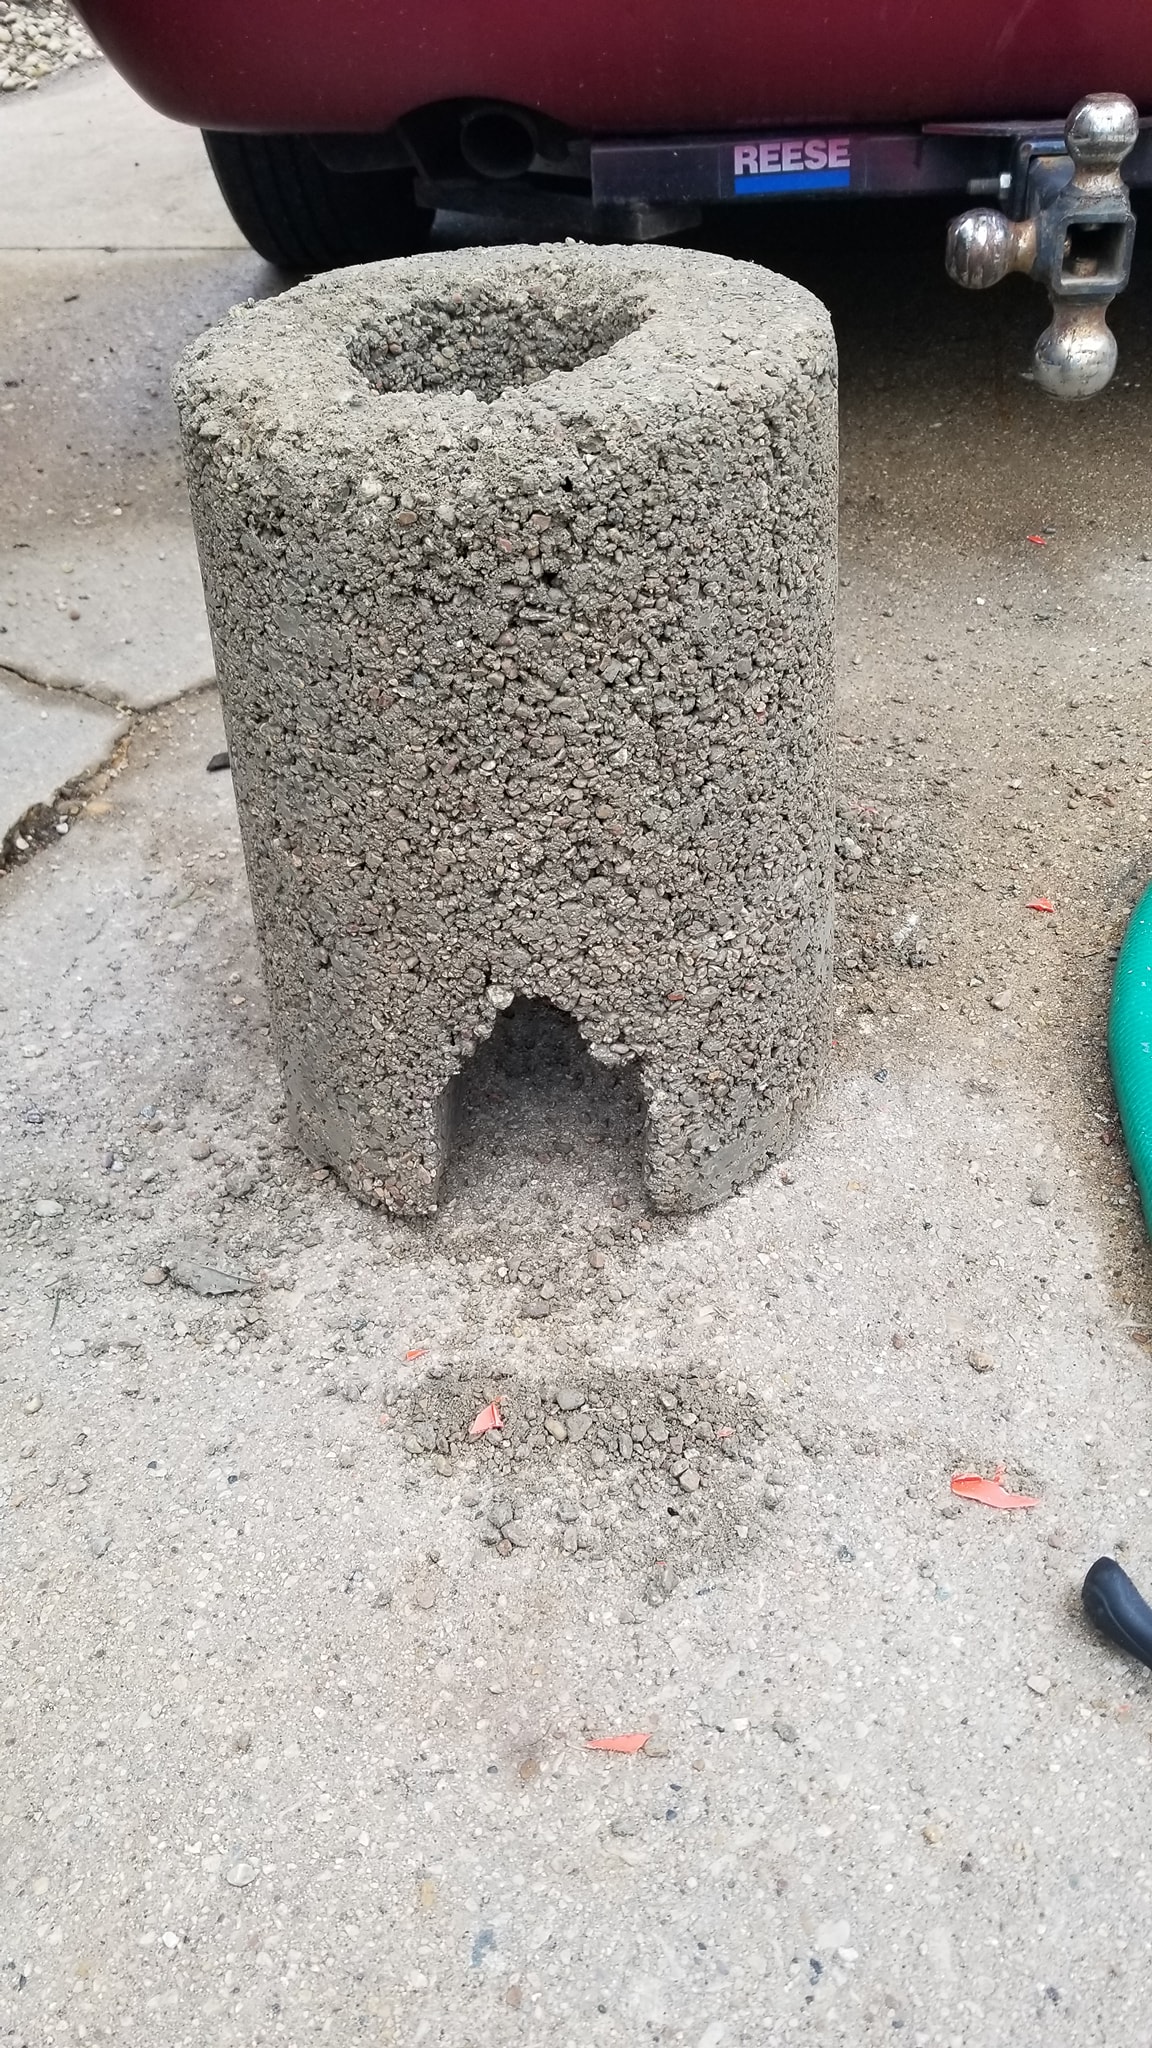
The homemade wood-fired heater was built as an experiment to supplement the existing electric spa heater.
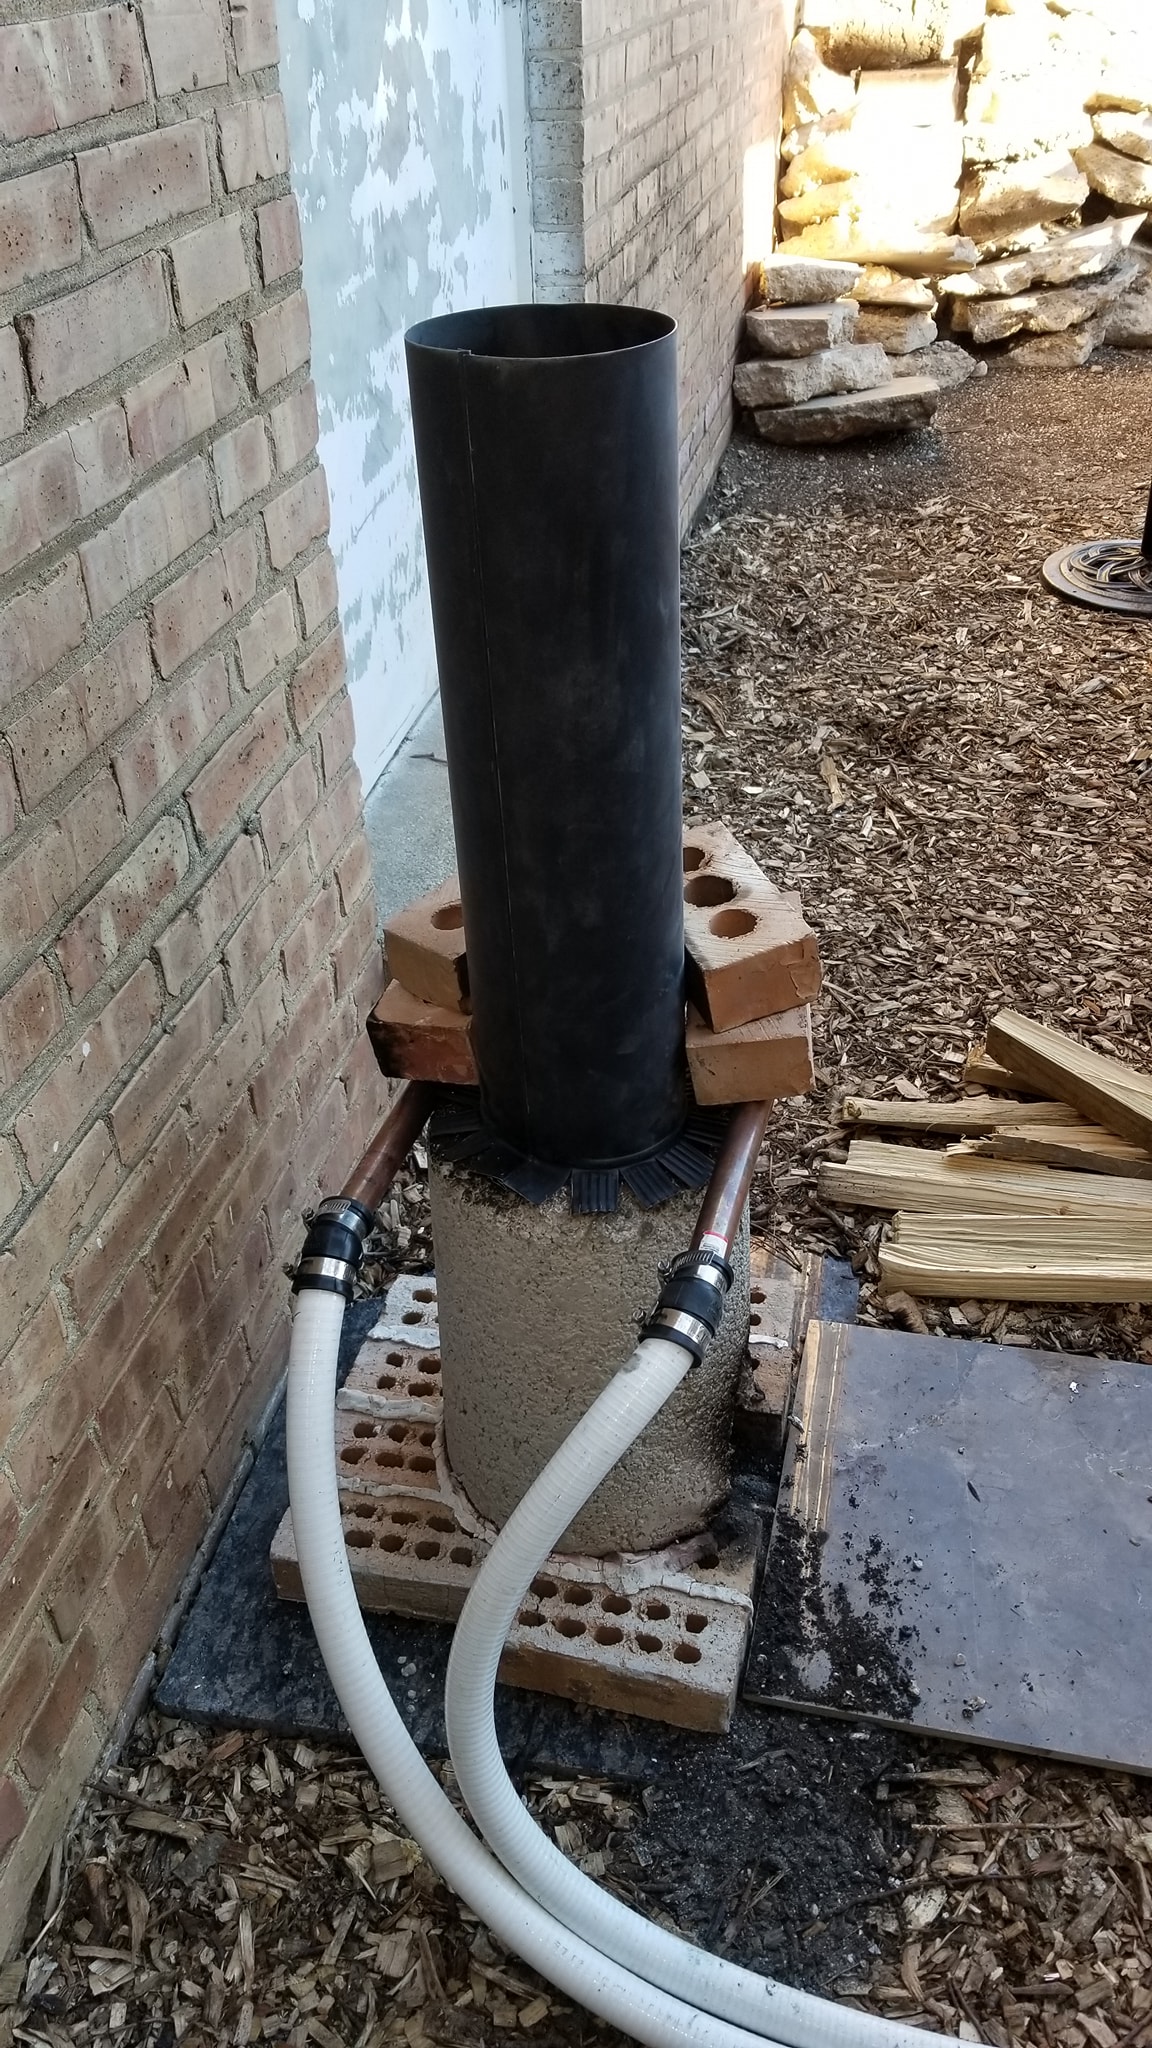
The heater kept evolving, including changes to the chimney as I tried to improve the way the fire burned.
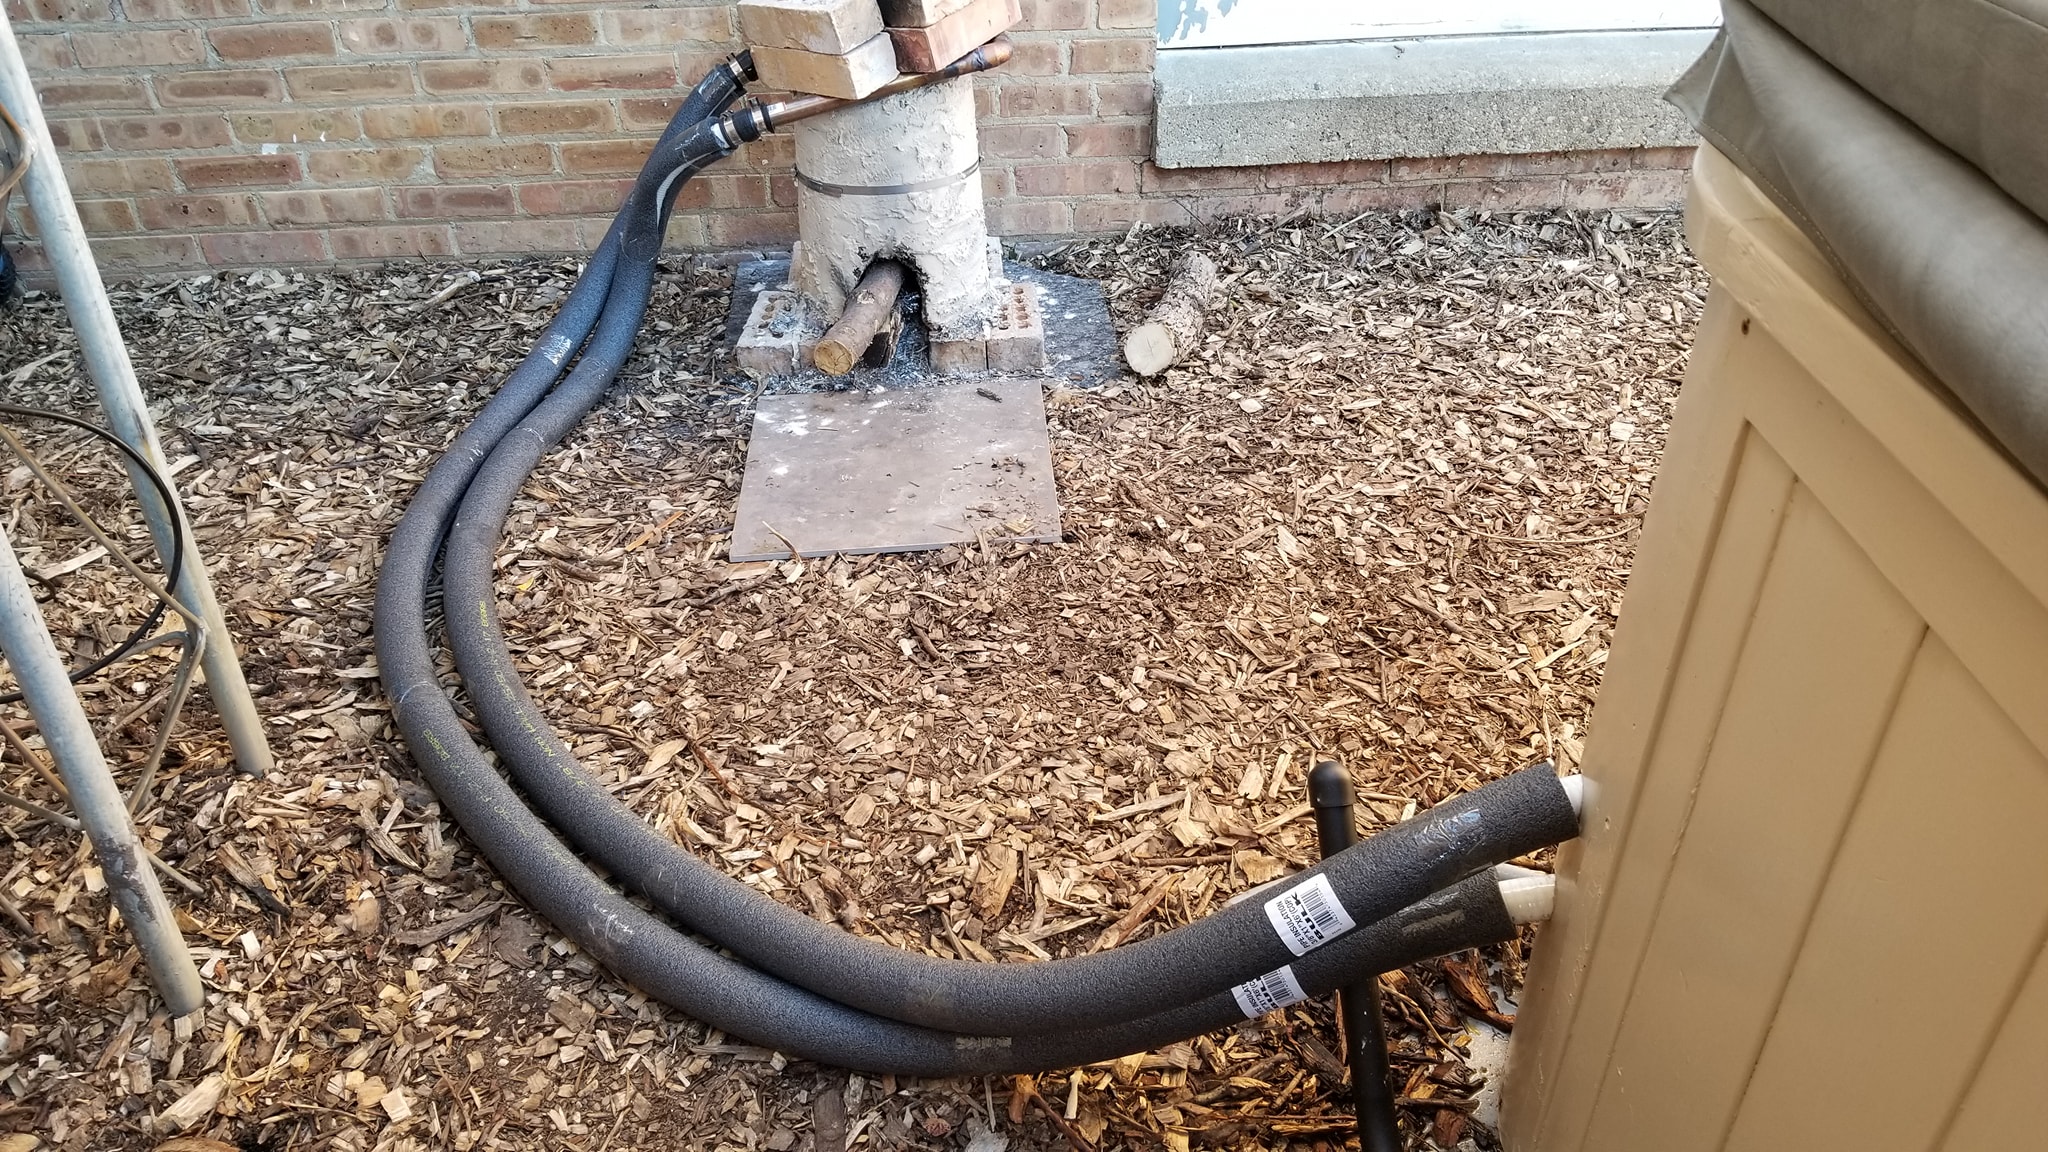
The lines between the heater and the hot tub were insulated as another attempt to reduce heat loss and make the experiment more efficient.
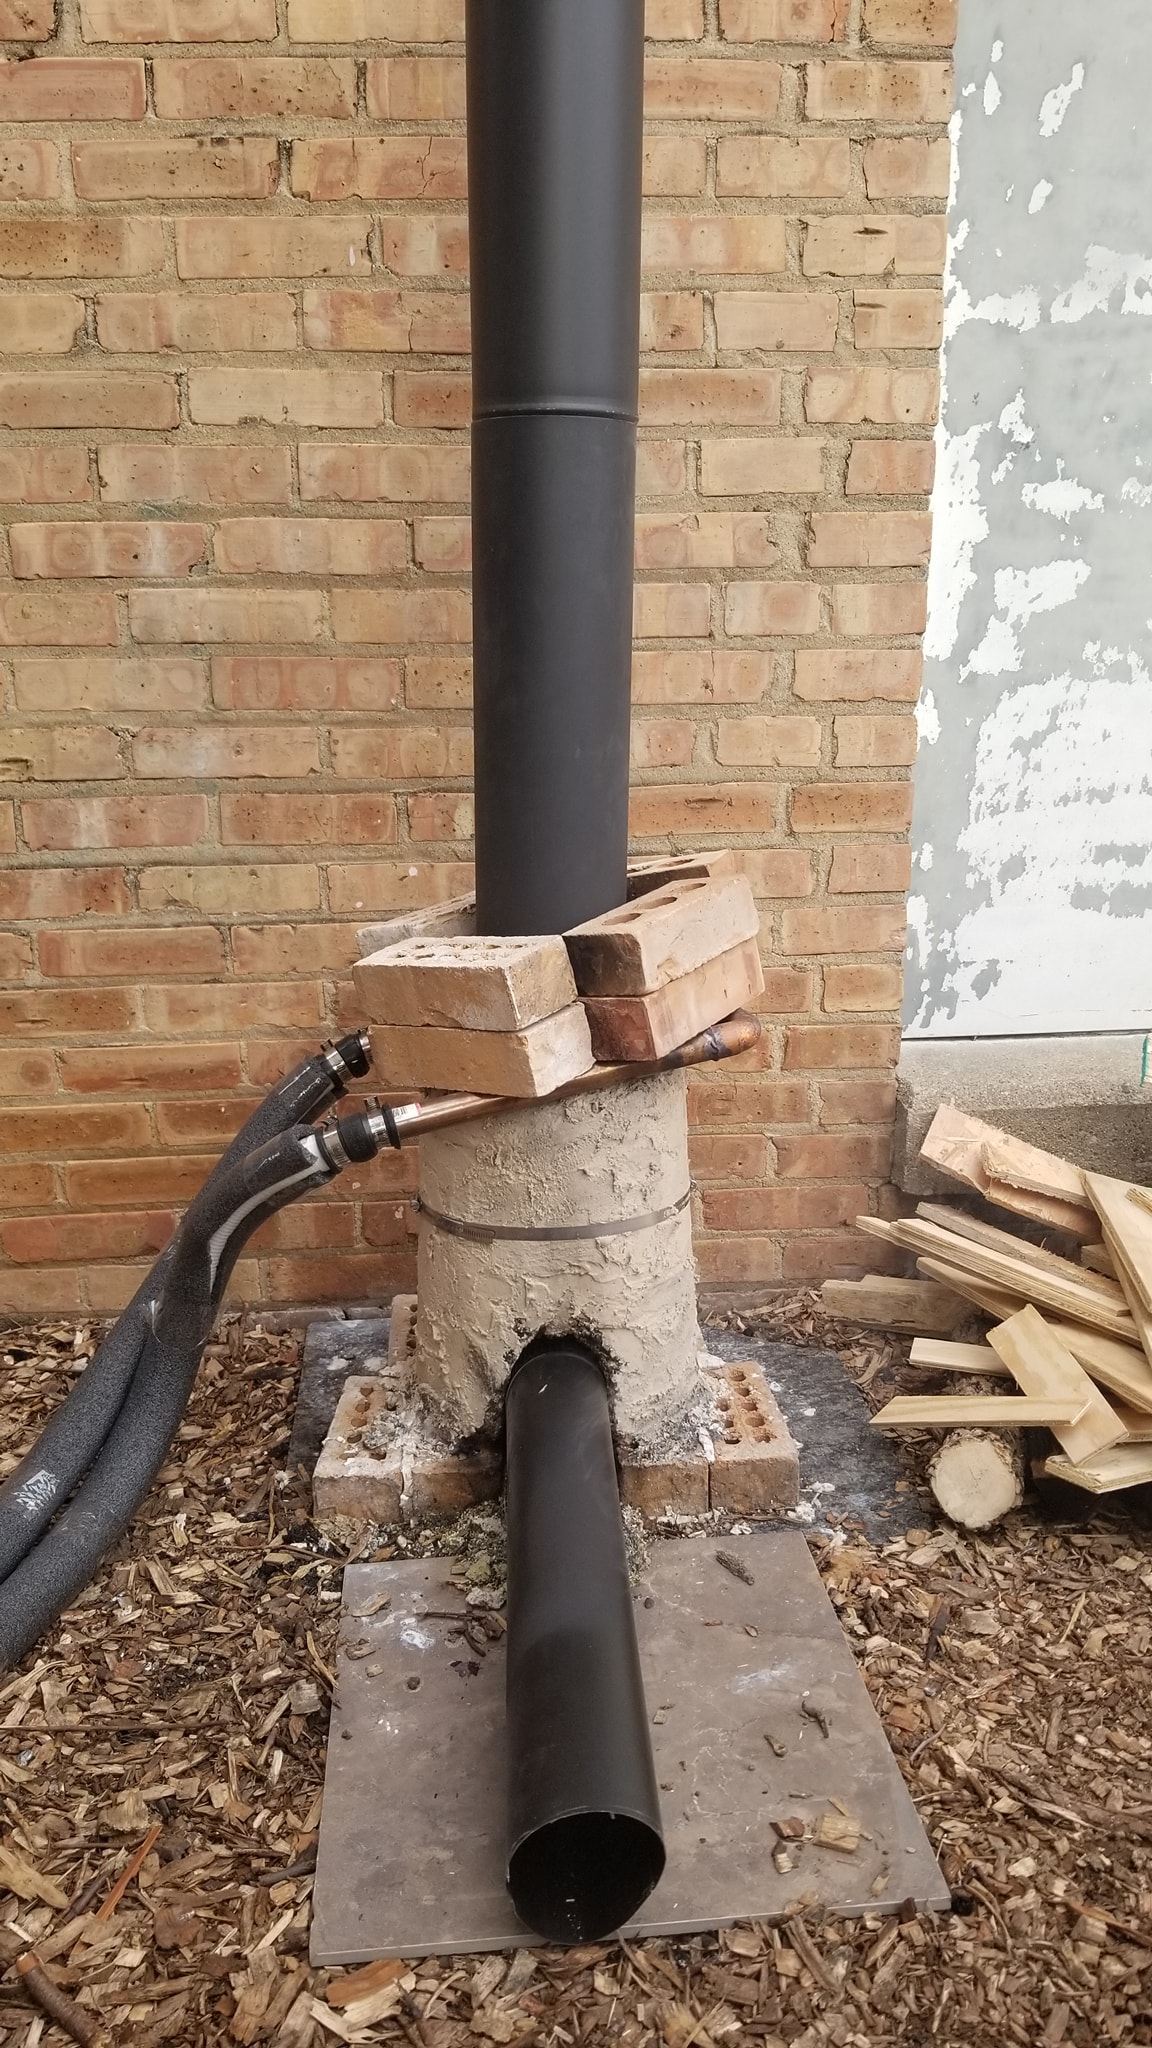
The rocket heater went through several versions. Every test suggested another change I could try, so naturally I tried it.
Lighting the rocket heater for one of the early tests.
Testing another version of the heat-transfer system and talking through the changes.
The rocket heater burning wood during another test run.
Even after the major repairs were done, the tub still had a few surprises left. Another leak showed up on the opposite side, and later another one developed behind one of the jet pumps.

At this point, finding another leak was almost becoming part of the routine.

Then another leak developed behind one of the jet pumps, because apparently the hot tub had not yet exhausted its list of things for me to repair.
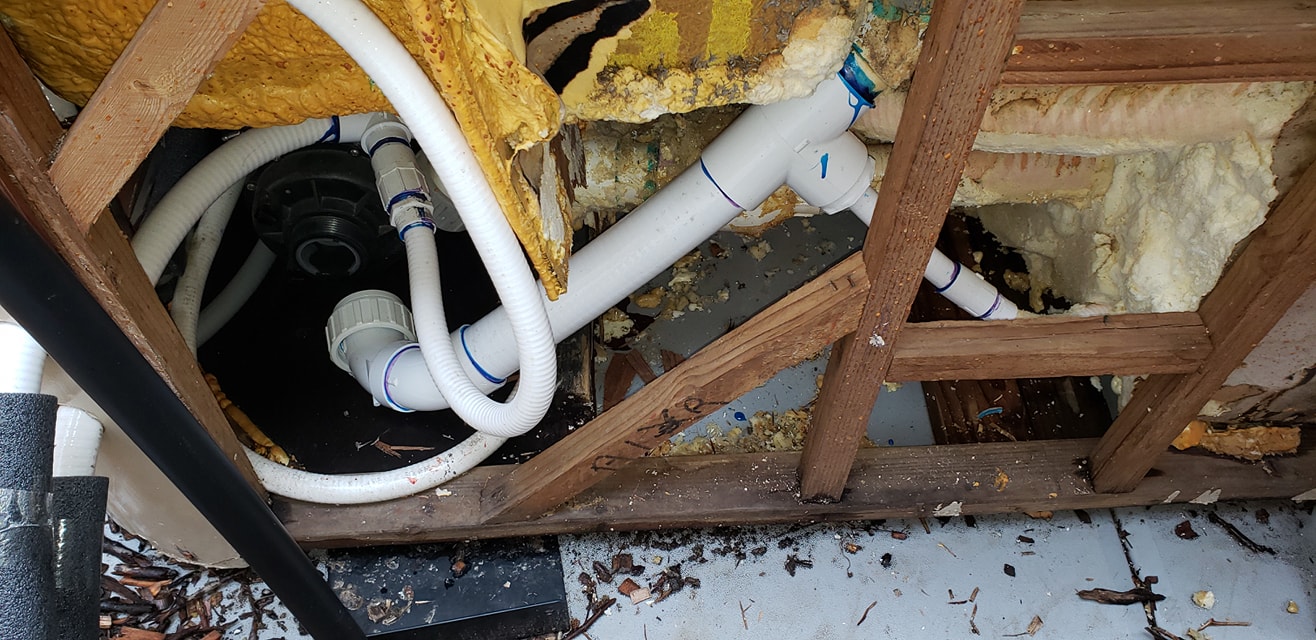
After digging out the damaged area and replacing the leaking plumbing, that problem was finally fixed.
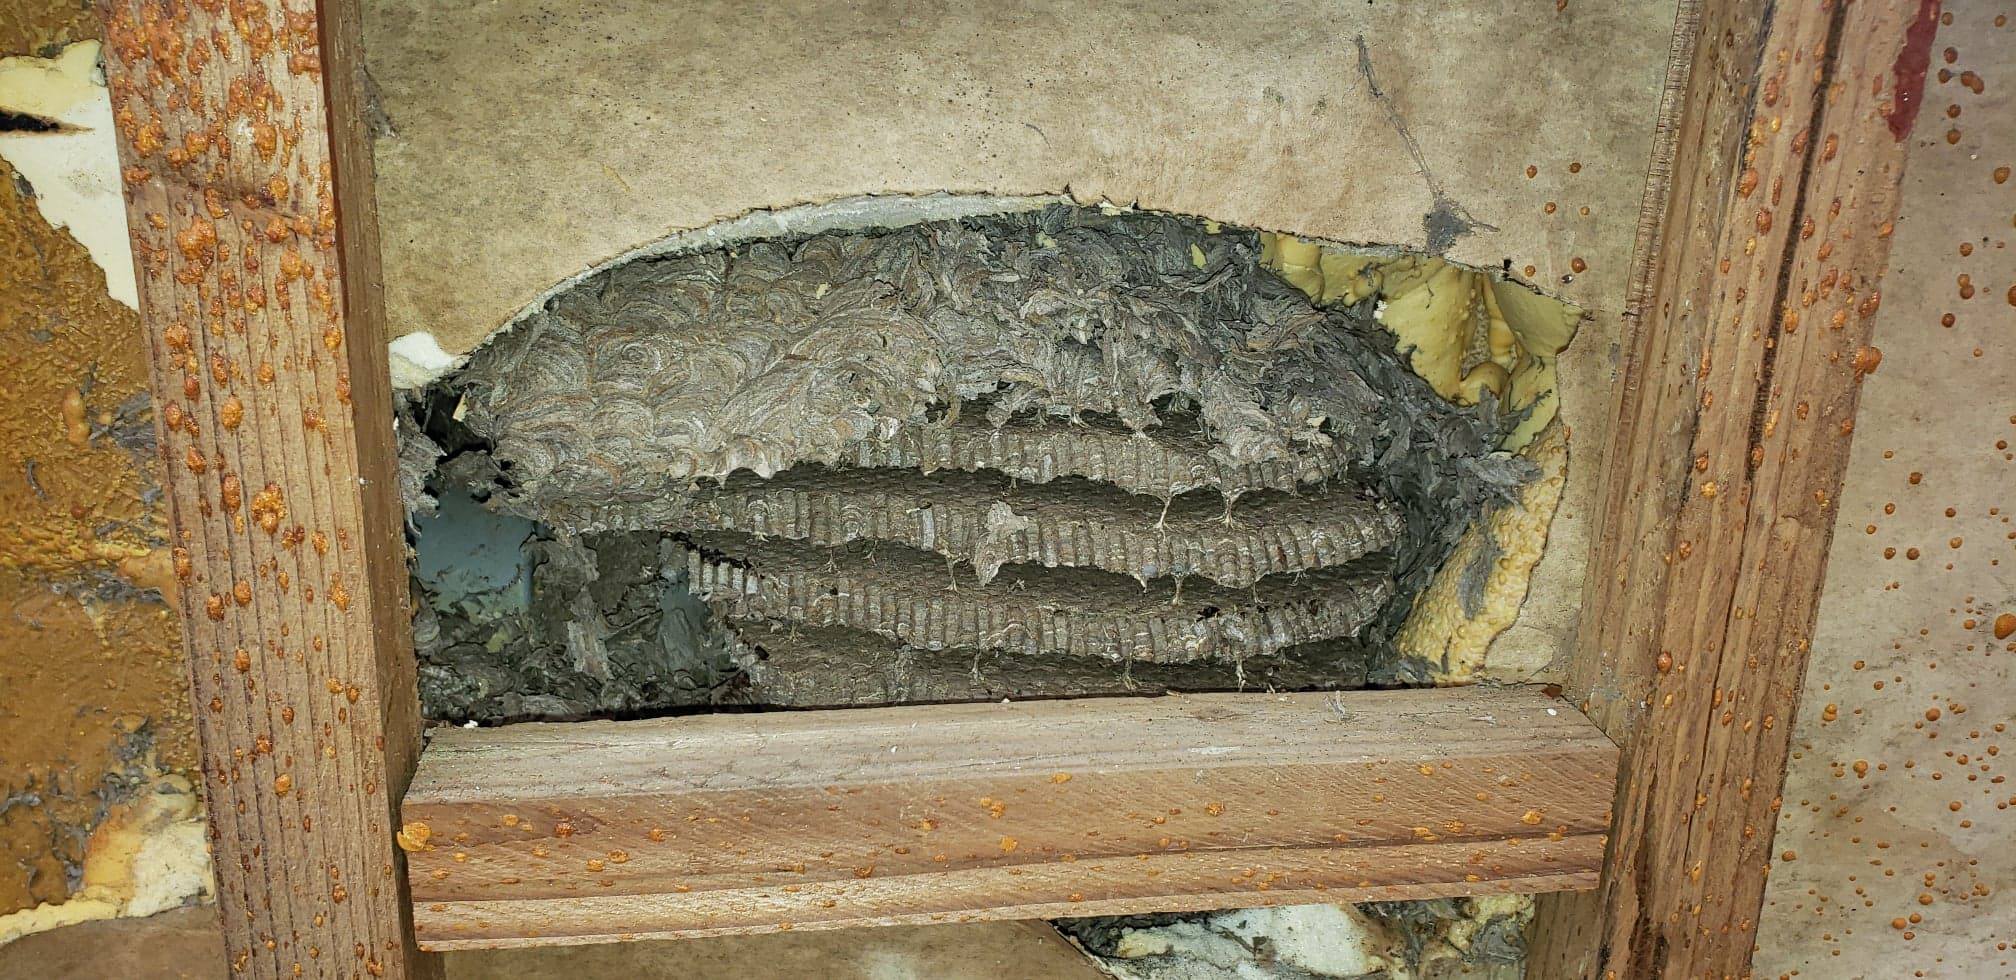
While opening another section of insulation, I found a gigantic old wasp nest inside. Thankfully, it had been abandoned for a long time.
Eventually, after the manifold, frame, shell, pumps, blower, plumbing, electrical, insulation, cabinet, and several follow-up leaks had all been dealt with, the hot tub was finally doing what it was supposed to do.

After yet another repair, the tub was finally running at 100%.
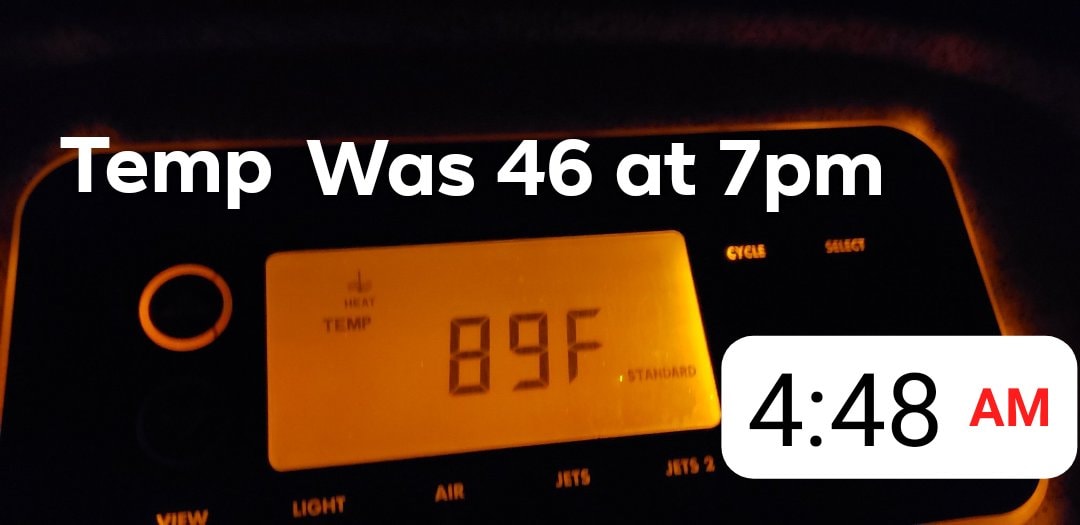
The built-in heater was working properly and the tub could finally heat and circulate the way it was designed to.
Final update after repairing the leak behind the jet pump.
A slow-motion look at the hot tub running after the repairs.
By the time everything was repaired and the tub was permanently installed, I had kept track of what the project actually cost.
When I brought it home in 2018, this Sundance Altamar was already almost 20 years old. It had frozen plumbing, rotten framing, shell damage, failed pumps, a destroyed blower, leaks hiding in the insulation and plenty of other surprises.
But eventually everything worked. And along the way I learned how nearly every part of that hot tub worked too.
Of course getting the hot tub working was not the end of the project. The area around it kept evolving too. First came a temporary cabana with tarp walls. Later I decided to replace that with something much more permanent.
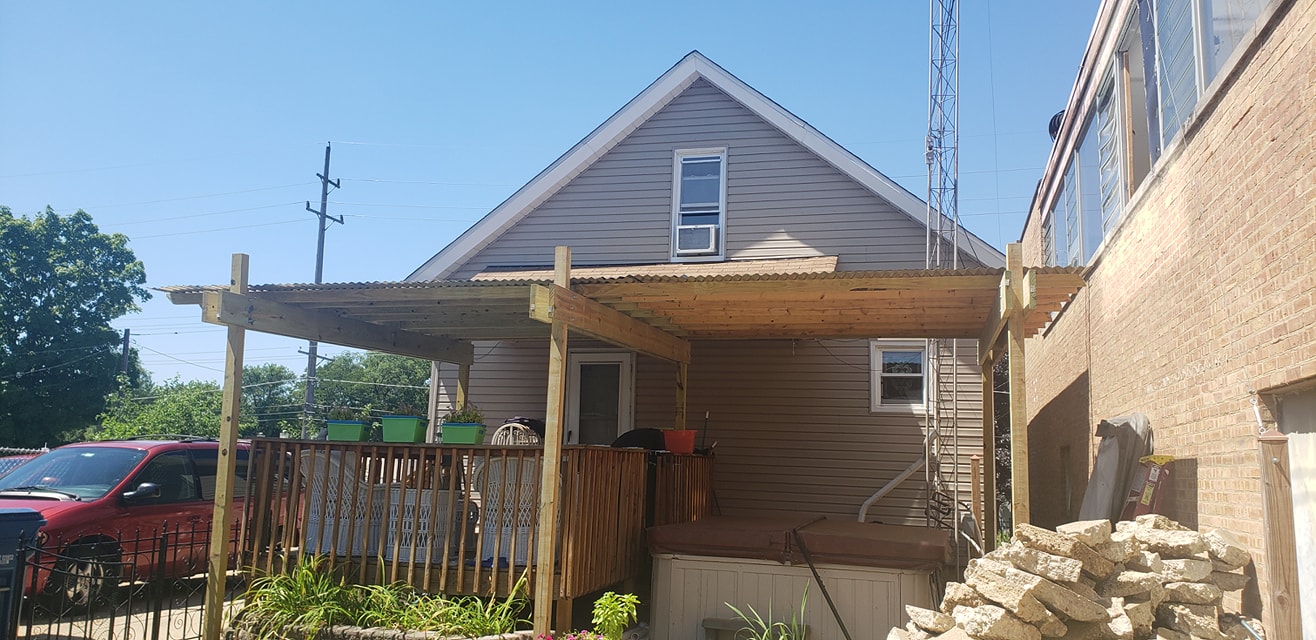
The next project turned the hot tub and deck into one covered outdoor space with permanent 4x4 posts, heavy roof framing, a metal roof, gutters and eventually enclosed walls.
Facebook and YouTube were my construction diary while I was doing the work. I photographed and recorded nearly every little step. This page is the director's cut: the important moments, the problems, the fixes and the parts of the project that tell the story.